


Christmas Tree Crate Skirt DIY
5 Materials
$12
45 Minutes
Easy
I hated the look of our tree stand and it seemed no tree skirts would cover it enough to hide the ugly! The base was way too big for any crates/metal pails or anything that I had lying around the house and I certainly didn't want to pay an arm and a leg for something.
Don't forget to stop by my blog to see more in depth photos and explanations for this project!
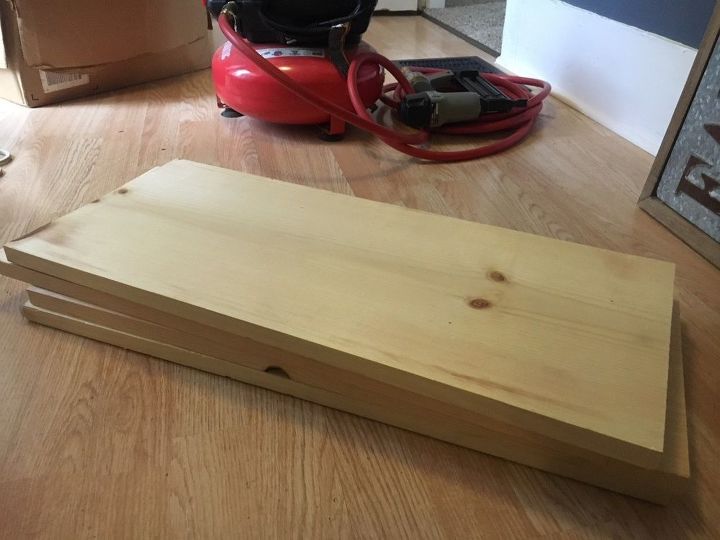
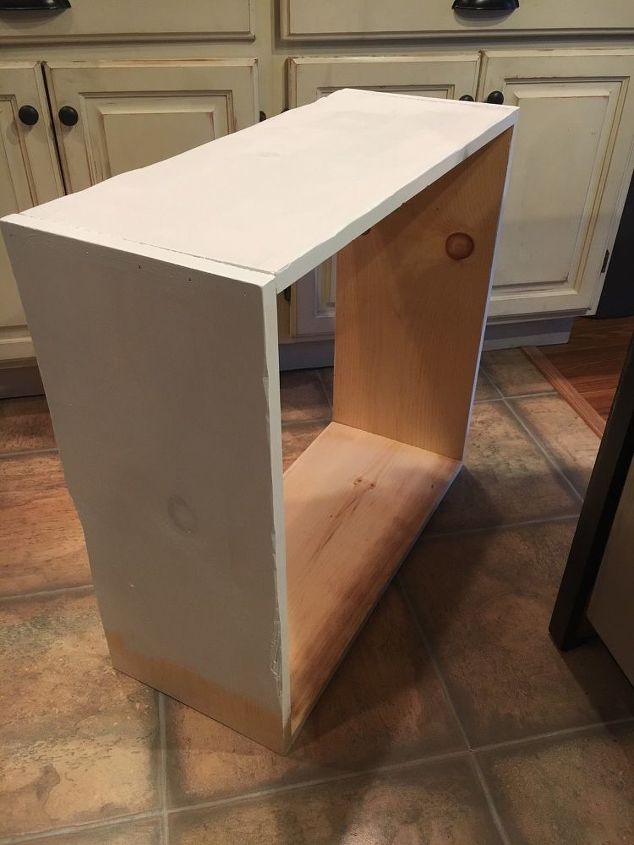
I started by purchasing a 1"x10"x12' piece of common board at about $12. My base was 21" wide so I had Home Depot cut (4) pieces at 25" long to make sure it was going to clear the base.
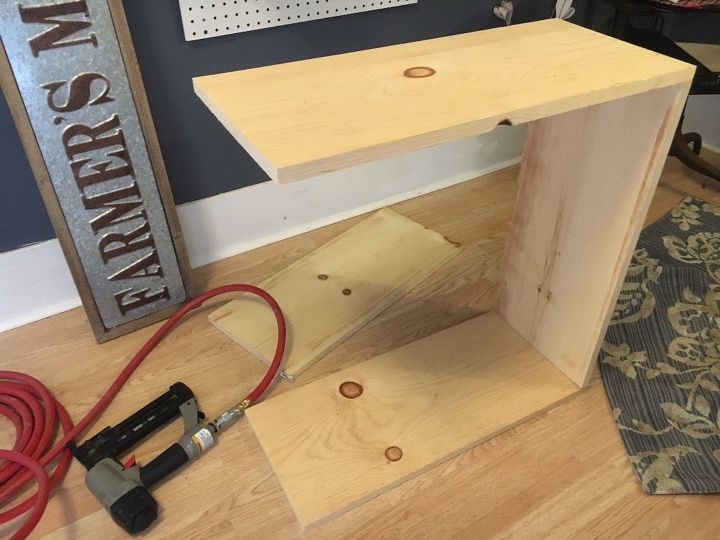
I used an 18 gauge nail gun to nail each piece together, creating one big box.
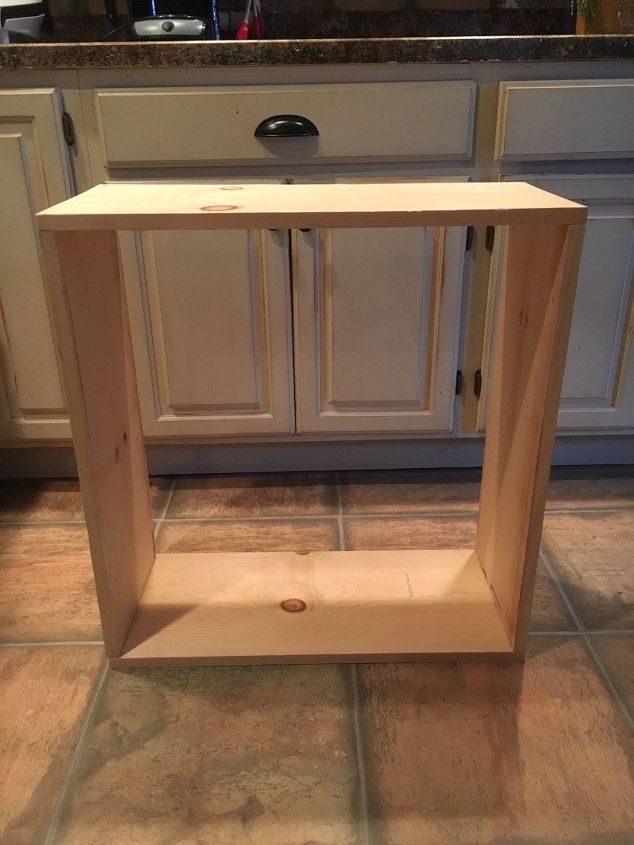
This is what my box looked like when it was finished. Now on to the fun part, painting and waxing!
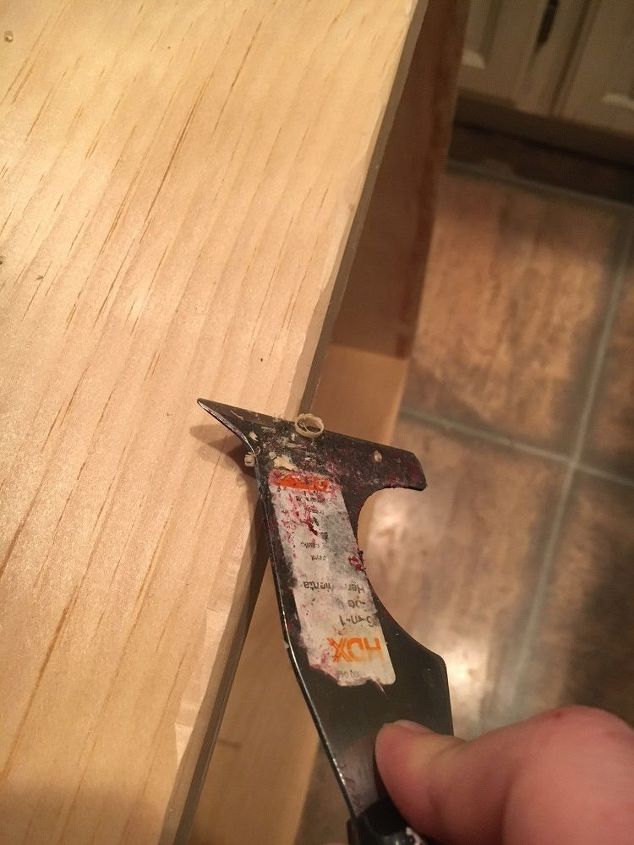
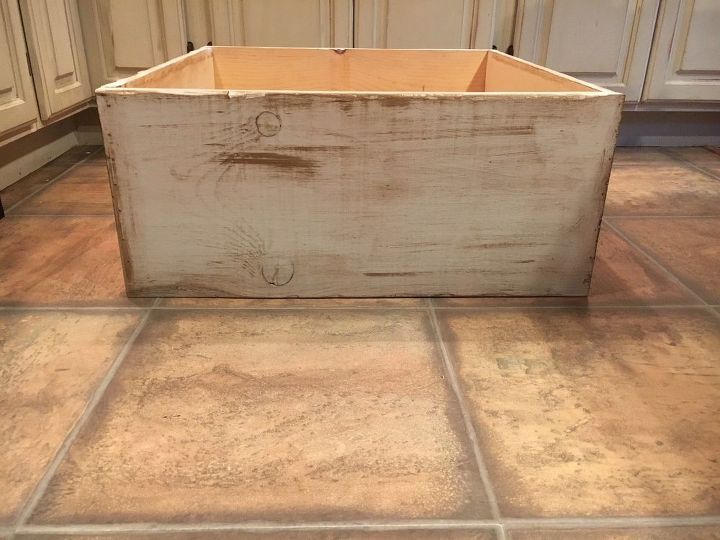
I wanted my DIY christmas tree crate to have a rustic look, so I used a 5-in-1 paint scraper to scrape the wood from the edges. Once this was done, I used a piece of sandpaper to soften the edges a bit that I had just scraped.

Here is what your crate will start to look like once you've distressed and sanded the edges.
Next I painted one layer of white linen chalk paint. I only did one coat because I was going to be dark waxing the whole crate anyways.

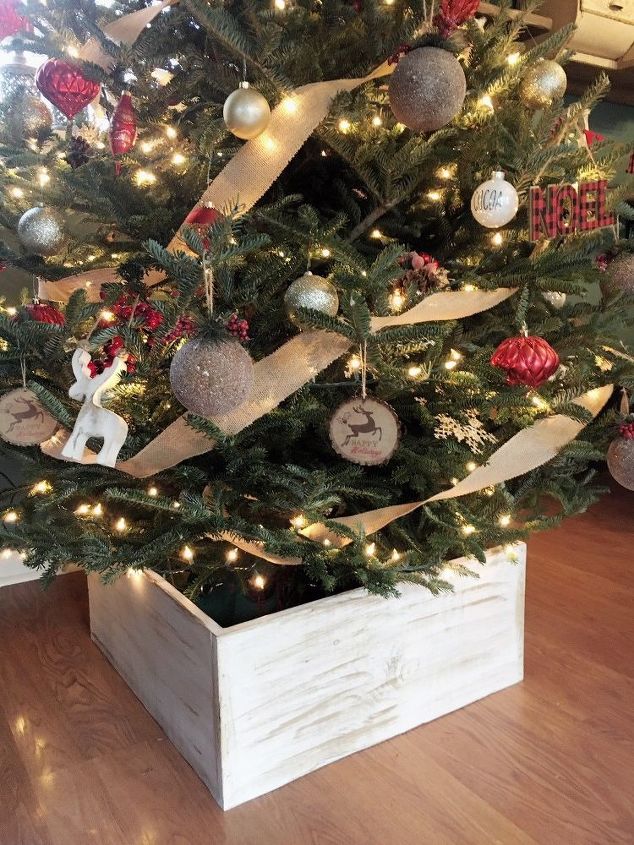
I started applying Annie Sloan's Dark Wax generously all over the outside and edges of the crate with her large wax brush. It looks streaky until you have everything blended together.
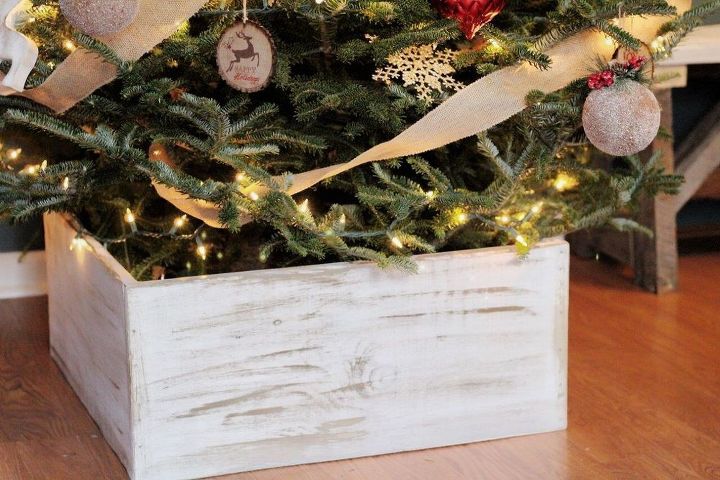
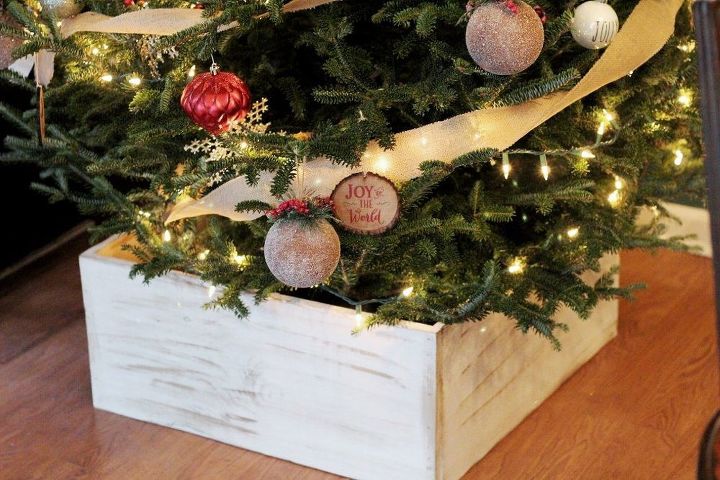
And for the finished product! The distressed edges add more detail when you wax them for a rustic, aged look!
I would advise putting this over your tree base BEFORE you set your tree up and decorate it. I did it the other way around and there was no way we were going to lift our 9' tree into the crate. We had to disassemble one side and nail it back in place.
You can see more after photos as well as links to ALL of my products on my blog!
Resources for this project:
See all materials


Any price and availability information displayed on [relevant Amazon Site(s), as applicable] at the time of purchase will apply to the purchase of this product.
Hometalk may collect a small share of sales from the links on this page.More info

Want more details about this and other DIY projects? Check out my blog post!
Comments
Join the conversation
2 of 20 comments
-
Wonderful idea. This is great, I might add a hinge to one side to be able to level the tree and then place around the bottom.
Thanks for this great inspiration.
-
Super duper idea. It looks so nice with the tree in it 🤗.
Carolyn from NH


Frequently asked questions
Have a question about this project?
Storage ? Do you plan to use this again Next year? How do you store it?
I copied a similar idea I saw on the HomeTalk site — I covered a corrugated cardboard carton with wrapping pape. Inexpensive, quick, and disposable/recyclable.