


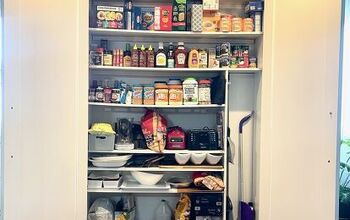
From Coat Closet to Kitchen Pantry, the Next Step ....

by
Cat Shaw
6 Materials
$25
2 Days
Medium
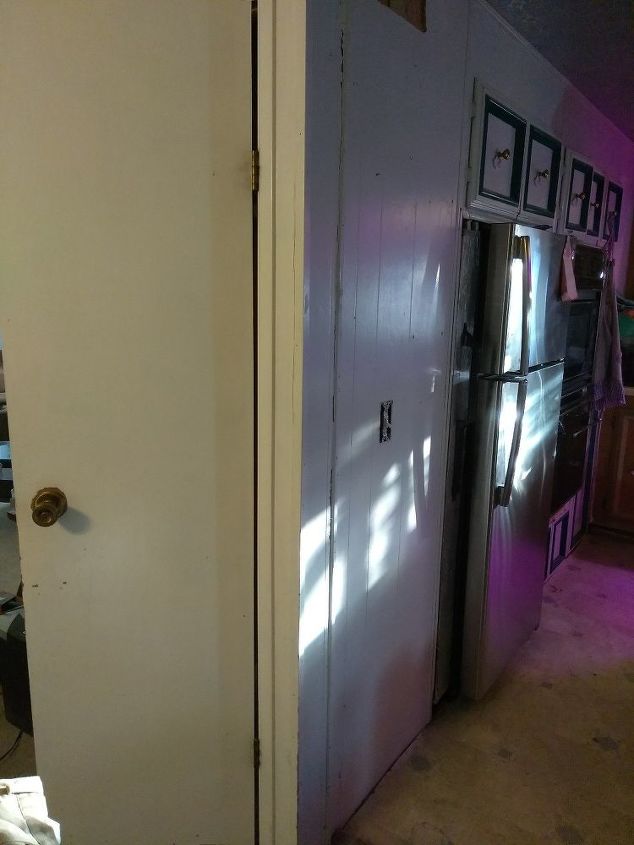
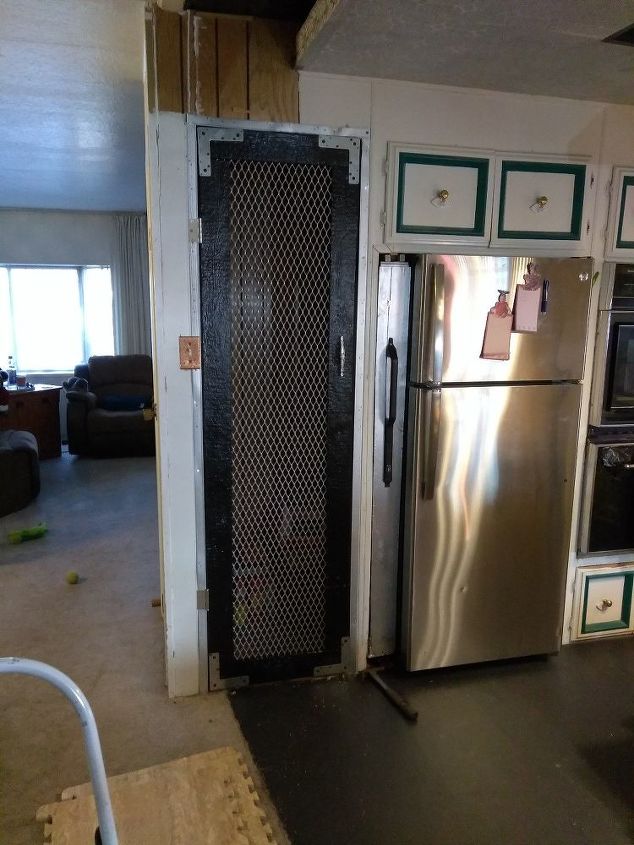
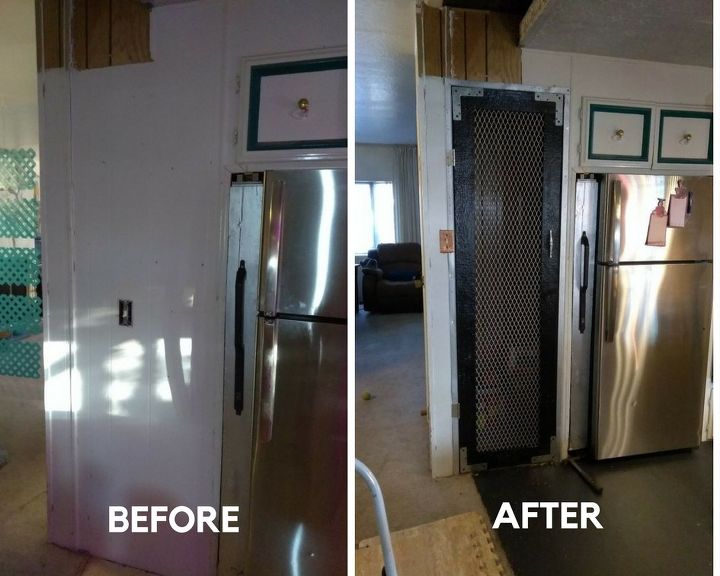
In our strange little kitchen remodel. As some of you may know, hubby and I are remodeling our strange little kitchen in our mobile home. We're really into the industrial look and have built a really cool electric shelf in our kitchen. We had some leftover grating, a coat closet too small for coats, a little imagination and lots of extra time so we decided to transform the closet into a useable pantry.
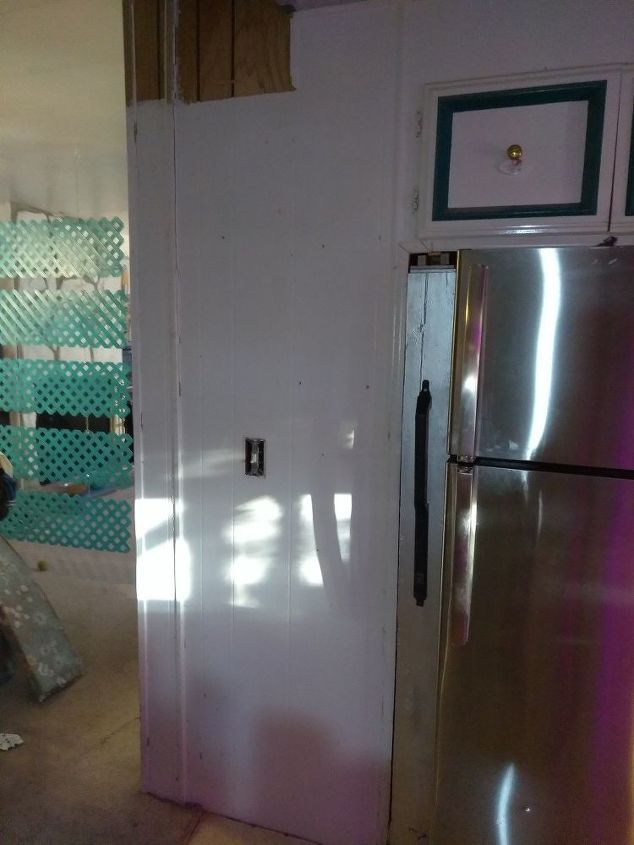
Using a sawsall we cut out the opening of the soon to be pantry on the kitchen side. The walls are relatively thin and thankfully there wasn't a load-bearing stud or wall in the way. We did have to relocate the light switch to the outside wall though.
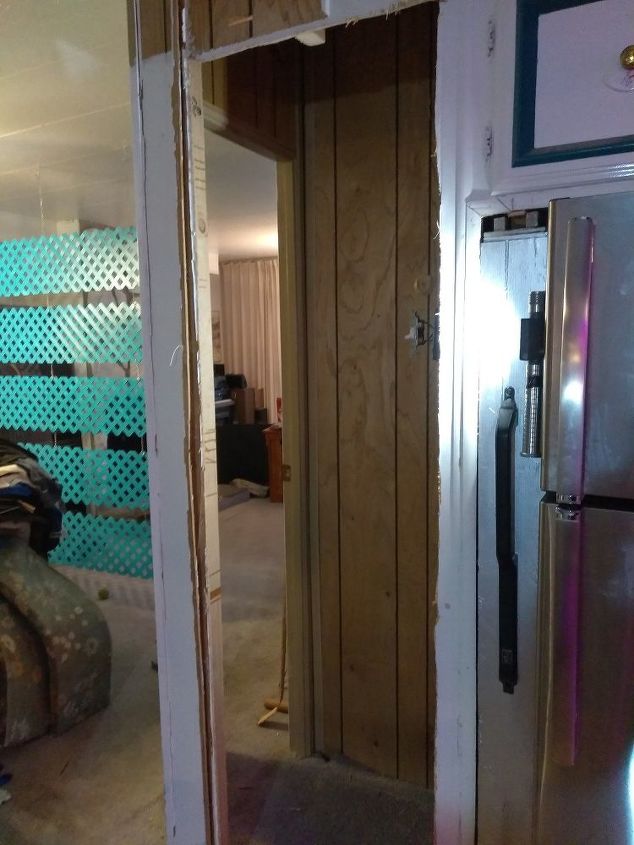
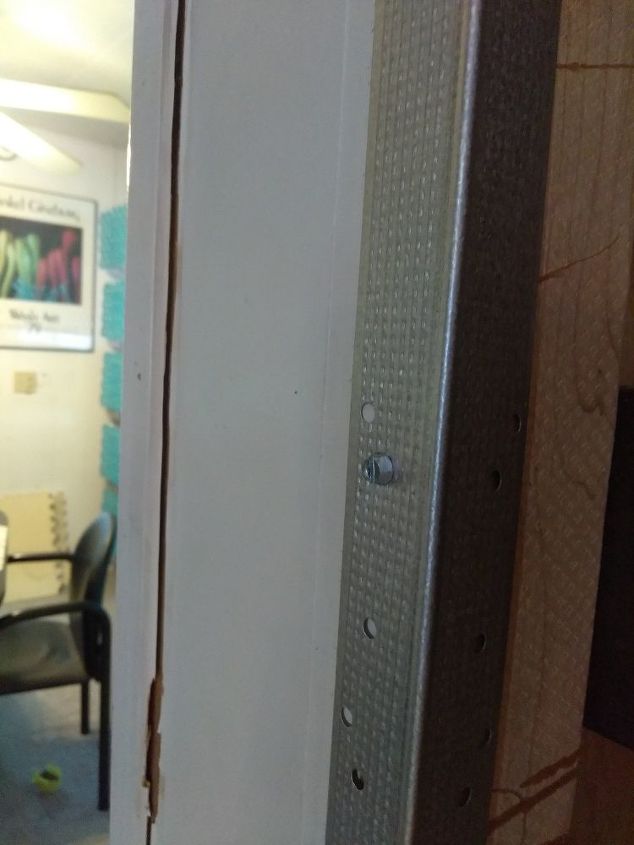
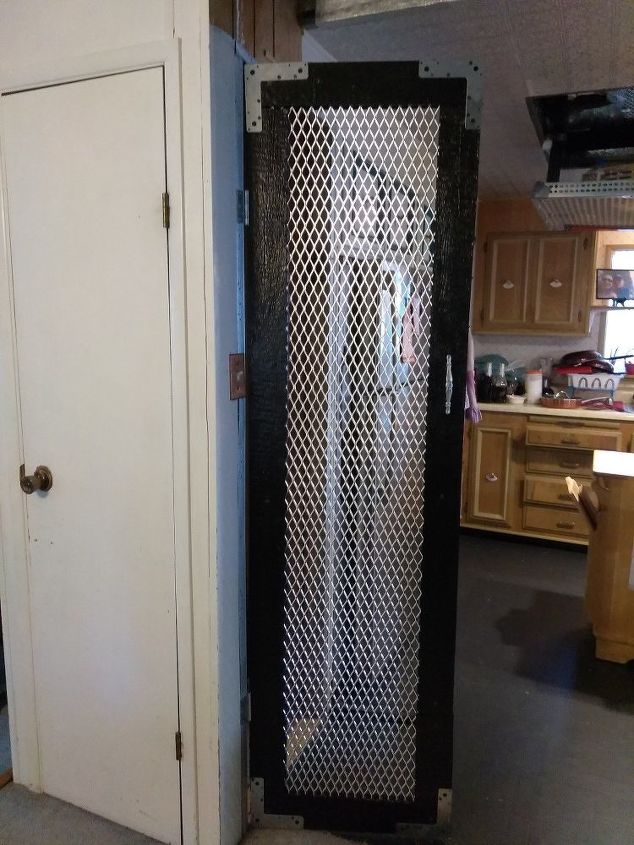
We used some aluminum trim for the border which covers the not so pretty sawing job.
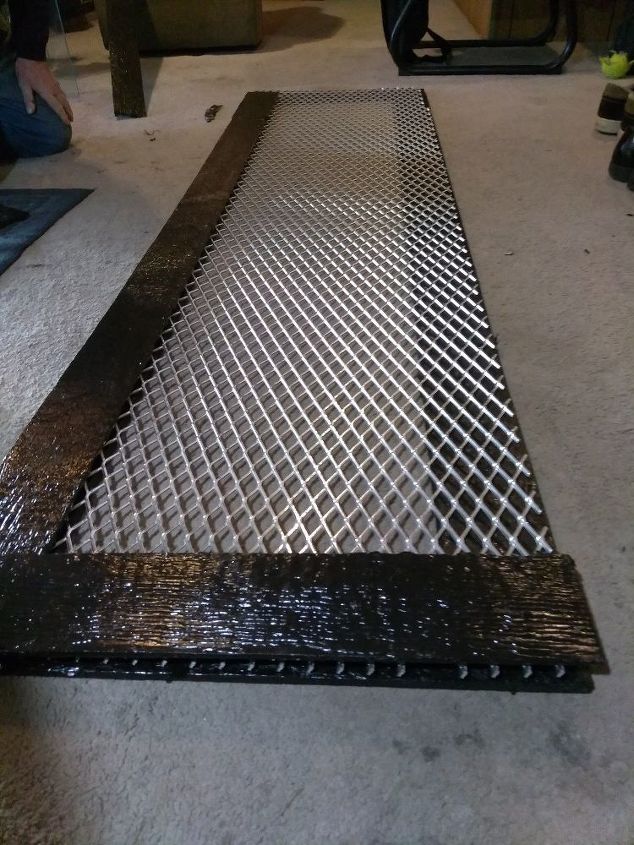
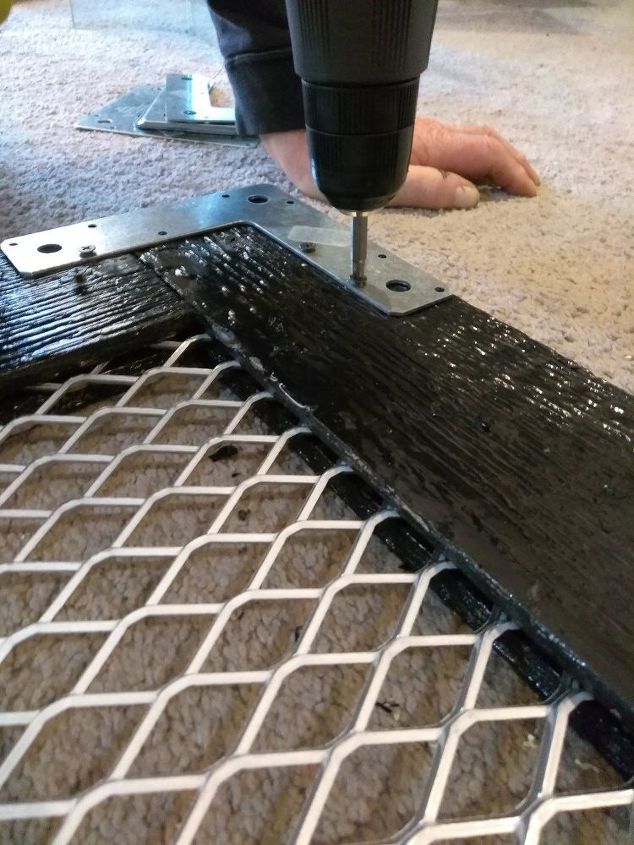
Believe it or not, the pantry door was the easiest part! We measured the opening of the pantry and left about a 1/2 inch gap all the way around to accommodate the new door. We had some wood slats laying around and the leftover grating from our shelf. We cut the slats to size, painted them black and let them dry overnight. Meanwhile, we cut the grating to size making sure that we were accurate so with hinges, the pantry door would be able to open and close. The next morning we used wood screws, the slats and the grating to make the door. As you can see by the picture, the grating is sandwiched between the wooden slats. Using the wood screws, we screwed the slats together with the grating in between. We added steel L-brackets on both sides of the door for added stability.
The final step was to hang the door with hinges , and add the handle. We also added a small piece of wood to the inside of the door to act as a stop. We hot glued a magnet to the stop and also to the inside of the door to keep the door closed. We are not too bothered by the door on the other side, it just means we have two ways into the new pantry.
Next steps, wallpaper, paint and remaining countertops. There's a light at the end of the tunnel 😉 Happy Hometalking friends and I hope to share with you soon.
Resources for this project:
See all materials


Any price and availability information displayed on [relevant Amazon Site(s), as applicable] at the time of purchase will apply to the purchase of this product.
Hometalk may collect a small share of sales from the links on this page.More info
Comments
Join the conversation
2 of 16 comments
-
Great job! I love the way you left the bracket to mach the metal on the inside of the frame!
-
I did this with a rent house (not as pretty as yours). on the back side I put up a wall on the back side of door way, installed shelves and made a medicine cabinet that was the size of the door frame, or what-nots any small thing you need to put away Since it was a rent house I did not install doors because they seem to get torn down.
I loved the door. It looks like it mite be there for a while.


Frequently asked questions
Have a question about this project?
What are the green stripes that look like painted grate material?
Why didn’t you paint the L brackets to match the door frame?
Why didn’t you paint the L brackets to match the door frame?