


Luminaries Are Not Just For Christmas Anymore

5 Materials
$1
12 Minutes
Advanced
Did you know you could easily make your own luminary? And with that skill, luminaries become useful for a lot more ways to decorate. But let's start with the basics. How to make one.
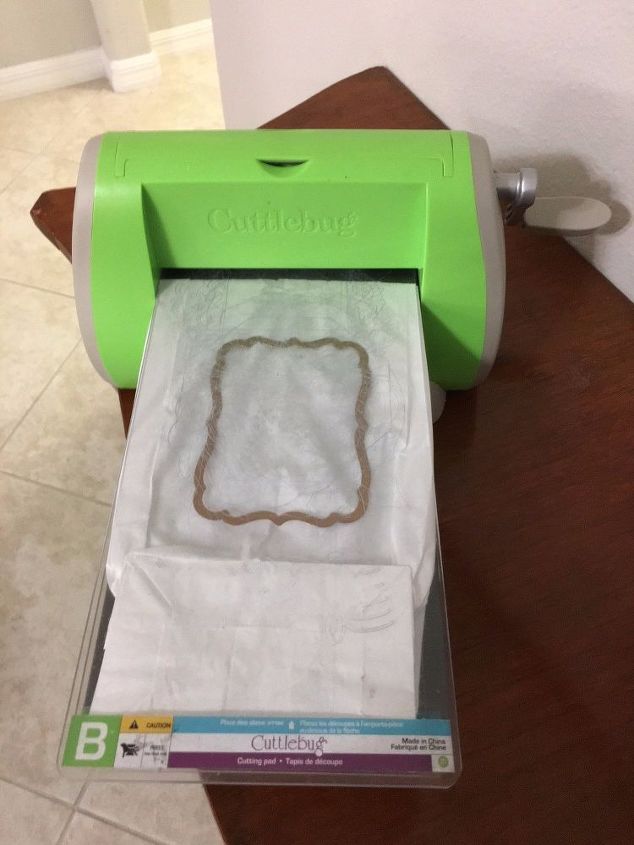
I started with one of my favorite tools - My Cuttlebug. (In this project I have not included the price of the machine or the dies because I already had them on hand. I can research these extra costs if you ask for these specifics in the questions.) It became my favorite because even when the power goes out, I can still use it. All it requires is "elbow grease". It runs without electricity. This comes in handy when the power goes out or when you are traveling to countries that have different electrical currents than the USA. I begin with an ordinary white lunch sack, unfolded. I then fold under the sides in small folds, so that the entire bag will fit through the machine. The sandwich for the next step goes thusly: C plate, Magnet - to hold the die in place, lunch bag folded to fit in machine, die - cutting edge facing down, second B plate. This sandwich is then run through the Cuttlebug. You may hear some cracking and popping. It is OK! Just keep going. You are NOT breaking your machine.
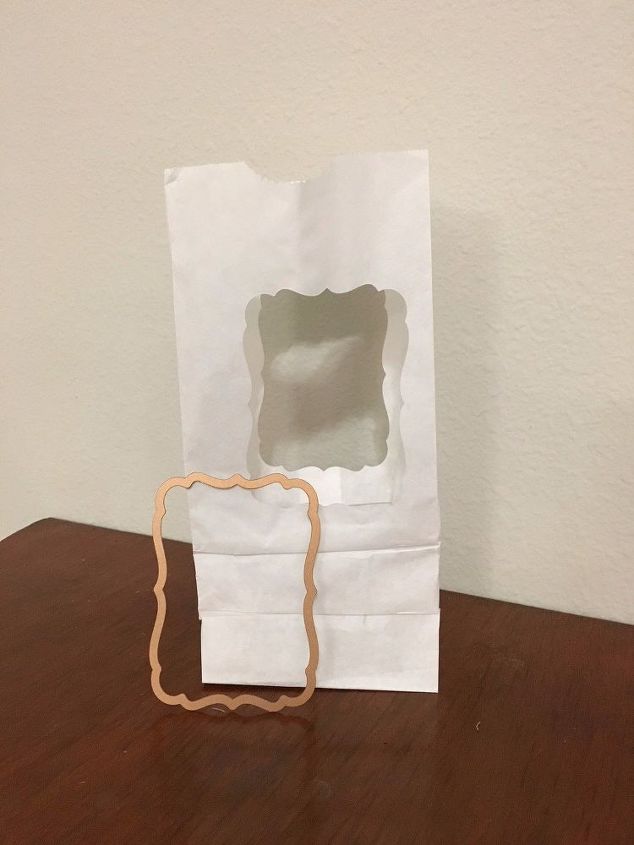
This is what the bag will look like when the die space is taken out. It usually holds onto the part of the paper bag that it has cut. If not, just remove that cut piece of paper.
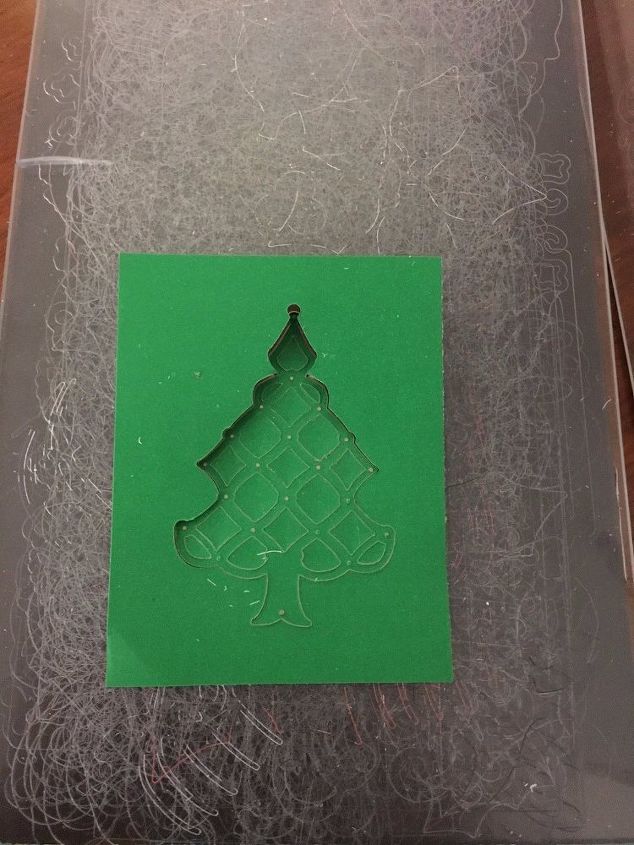
This picture is of the die cut out of a Christmas tree using the same procedure as was used on the paper bag previously. This piece will be removed from the die and mounted on velum to be used in the window of the luminary.
All of the individual parts have been cut out of the tree die and it is ready to be removed from the mold.
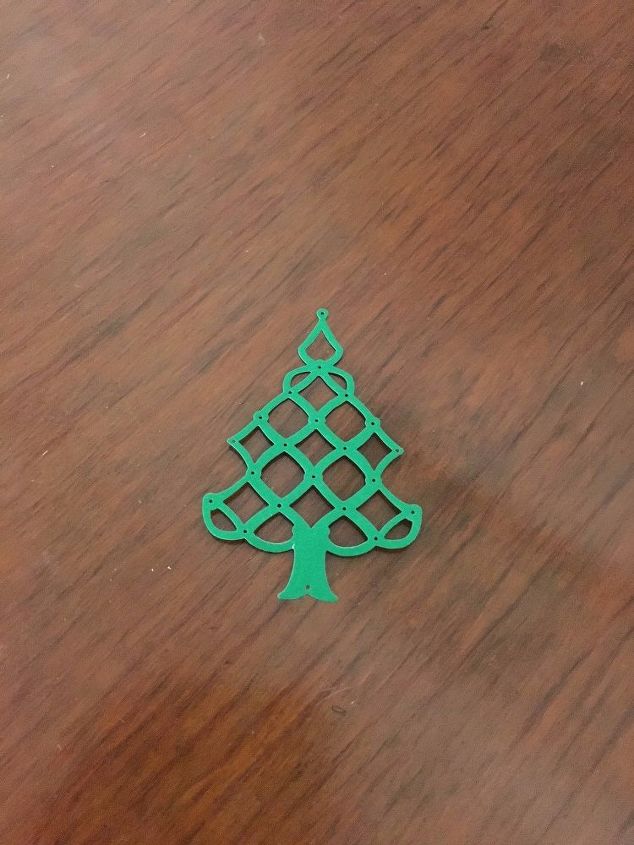
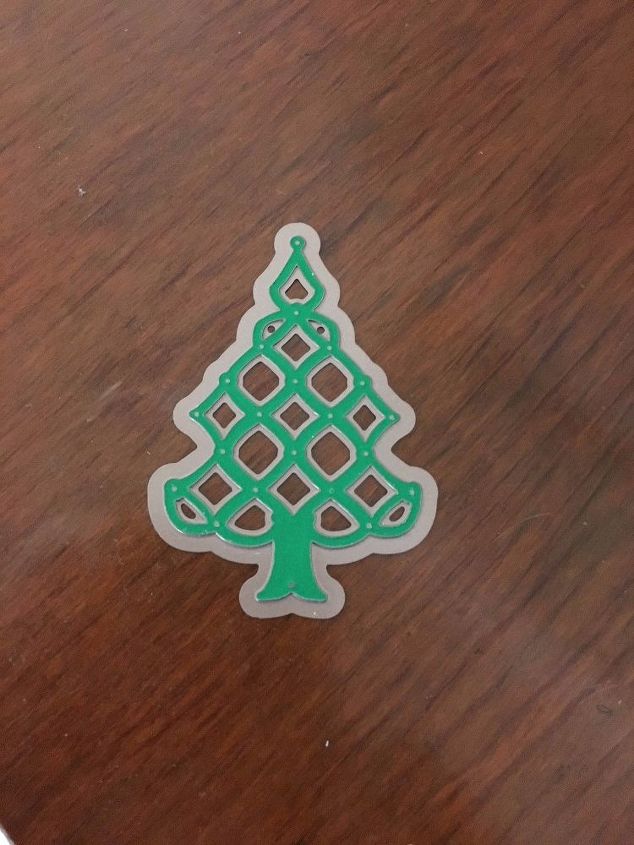
This piece is now ready to attached to the velum with some transparent tape.
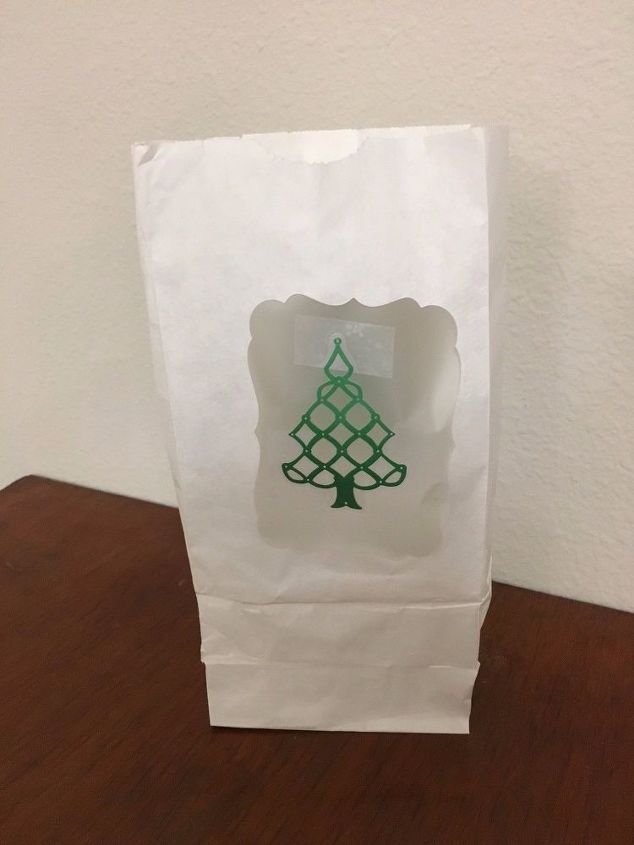
Pieces of Velum are taped to cover the blank spaces in the lunch sack. Now the Cut out tree has been taped onto the Velum.
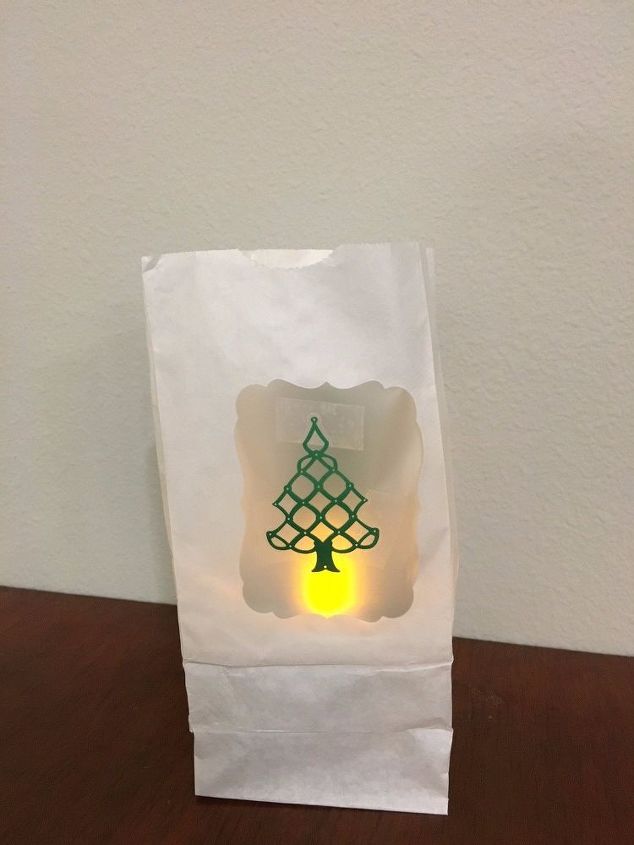
Sand is put into the bottom of the lunch sack with an electronic candle turned on inside the bag.
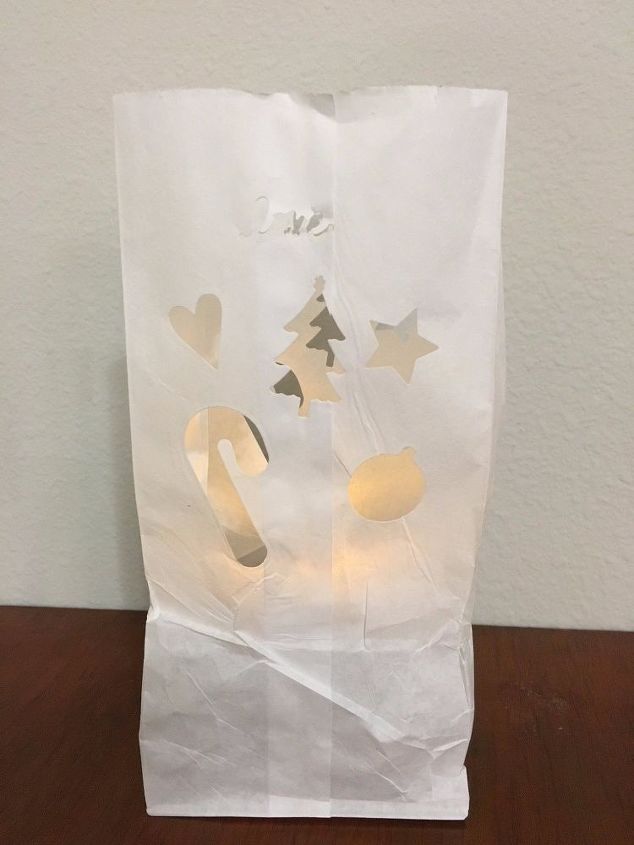
This is a luminary with Christmas figurines cut out of it and the sack loaded with sand and an artificial (electric) candle in it. You could cut any shapes out of it that you wanted as long as they do not join up and white sack is left to hold the luminary's strength together. You could just cut the design out of one side, if desired, or let the dies cut all the way through both layers of the lunch sack.
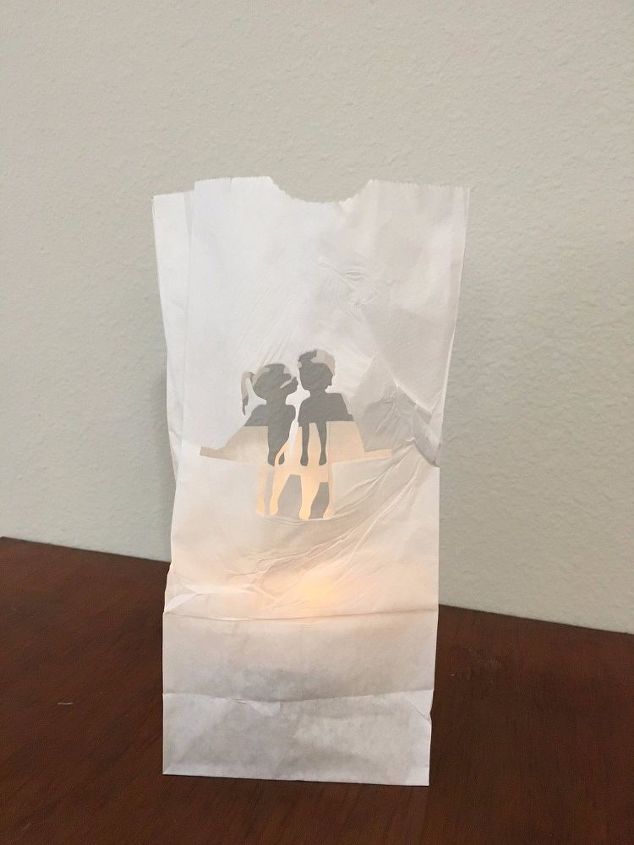
The wonderful thing about luminaries is that you DON'T have to use them just for Christmas! This cut-out design is of a young girl and boy kissing and would be perfect to put outside leading up to the doors of a wedding reception or on the table for the refreshments for the reception. There are even dies of a bride and groom that can be used.
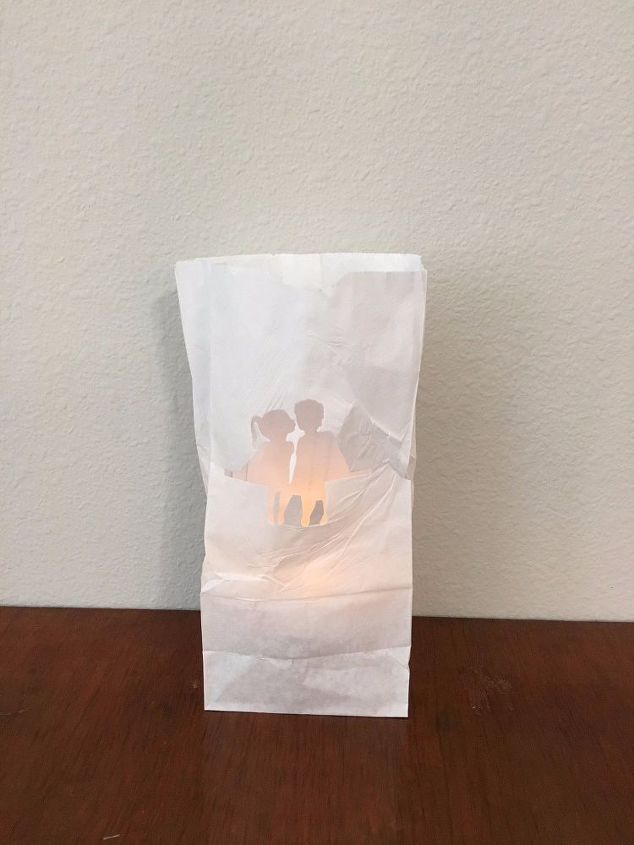
This is a picture with the die cut out only on one side of the luminary. I think that you can see the cut out much better, but it would have to face only one way.


Frequently asked questions
Have a question about this project?