


How to Make a Christmas Explosion Card Box
5 Materials
$6
1 Hour
Easy
The best part about knowing how to make an explosion card box besides the thrill of opening one, is that you can make it to fit any occasion - birthdays, valentines' day, any holiday or special events! And you can make it as simple or elaborate as you can imagine! You can even hide special gifts in the center like small jewelry or keepsakes in handmade boxes or small envelopes!
For a basic design, start with three sheets of solid color 12"x12" cardstock.
Keep one full 12"x12" size (red), Cut down one sheet to measure 11 3/4"x11 3/4" (green) and the last one, measure 11 1/2"x11 1/2" (white)
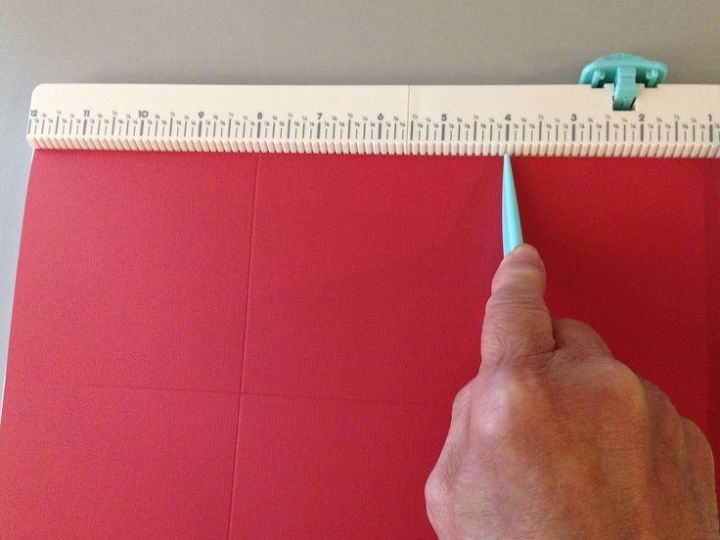
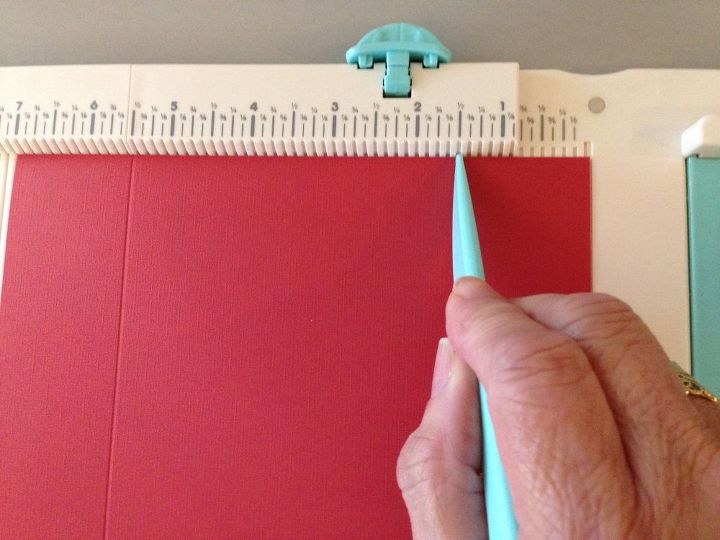
Next, score all sheets using a bone folder and ruler @ four inches all the way around. Do this by scoring the cardstock sheet, then turn or rotate paper to the next side, score and turn, etc., until all four sides are scored.
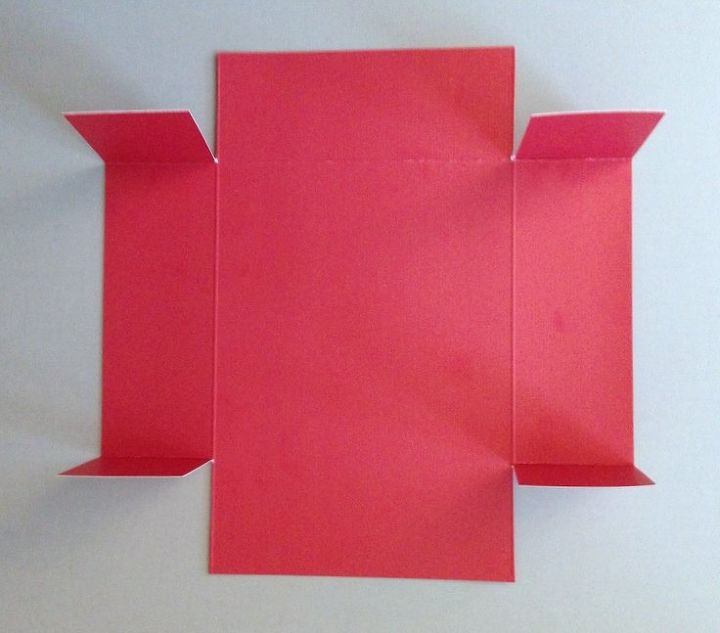
Cut off each outer corner on all three cardstock sheets. (looks like a cross)
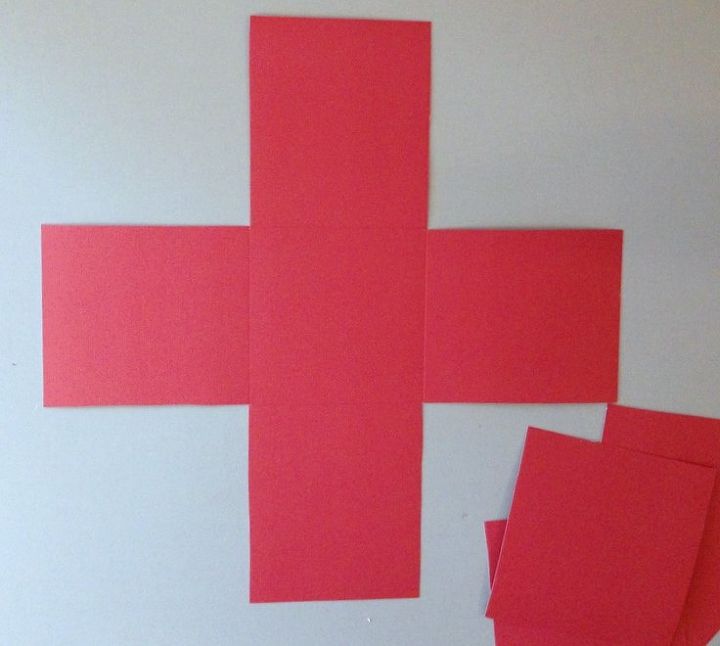
Then fold up scored lines and set aside to make the lid.
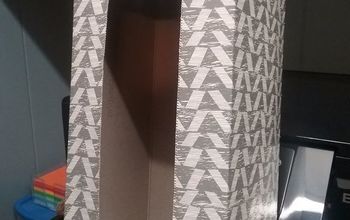
For the lid, cut a matching cardstock sheet to measure 7 1/4"x7 1/4" square.
Score cardstock sheet at 1 1/2" all the way around. It's easier if you score and turn, one side at a time, all the way around.
Next, cut the 1 1/2" score lines and then fold corner sides inside and . . .
glue together.
To decorate the sides of the box lid, cut 3 or less solid color cardstock strips to measure in small graduated sizes. It's best to eyeball the border sizes and cut out. Make four sets for the sides of the lid. Adding these helps to make the lid sturdier. Glue the strips on in layers on the side panels, centering.
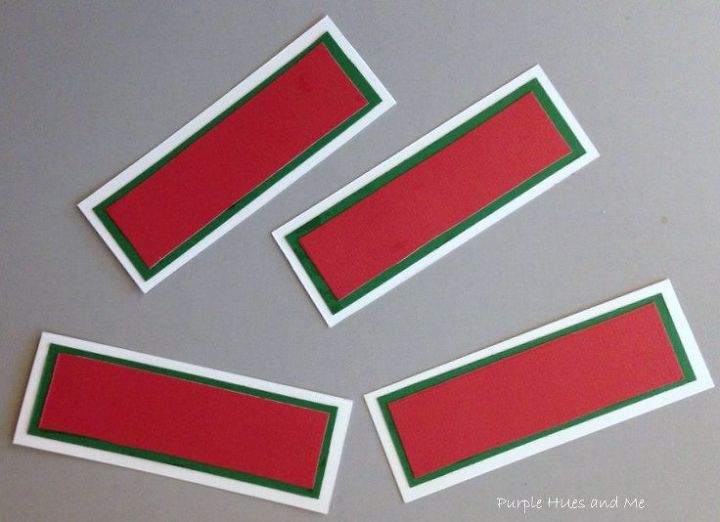
Add a decorative cardstock strip to the top layer for each side.
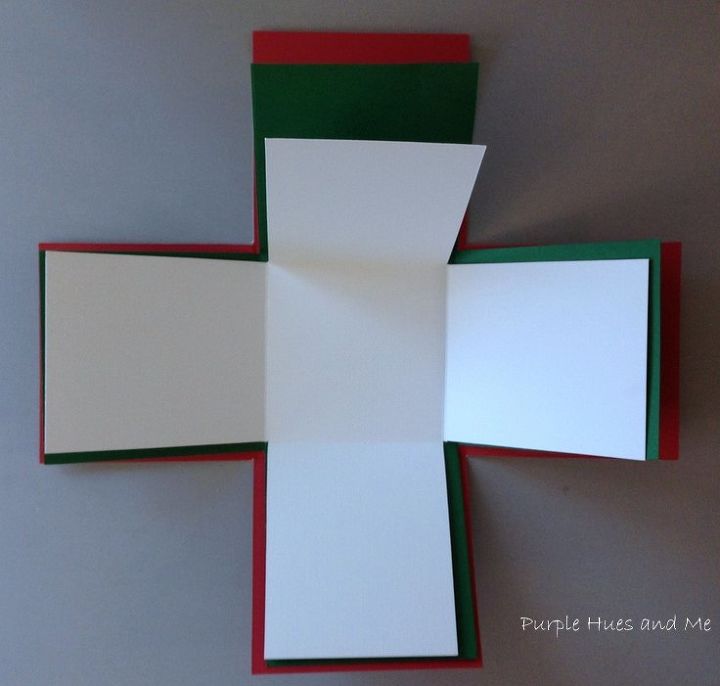
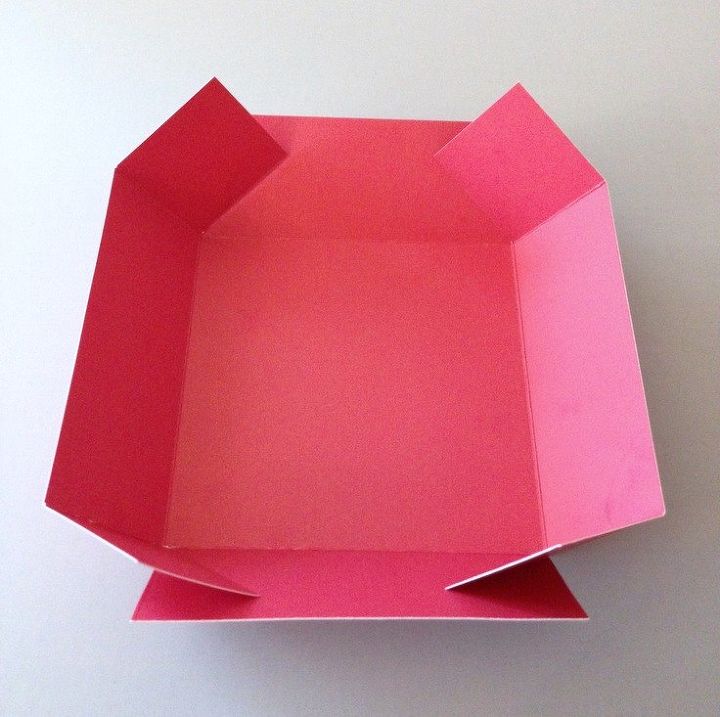
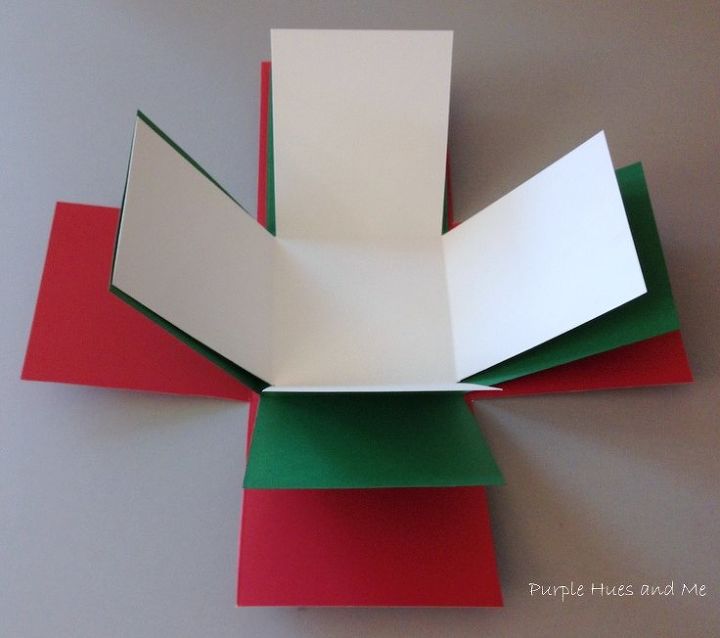
For the box, fold up cardstock sheets on score lines. Line up according to size with the larger piece on the bottom, then add the next size, etc. Add glue to center square back and place on top of second piece, evenly spaced. Repeat for adding glue to the last sheet and centering on top.
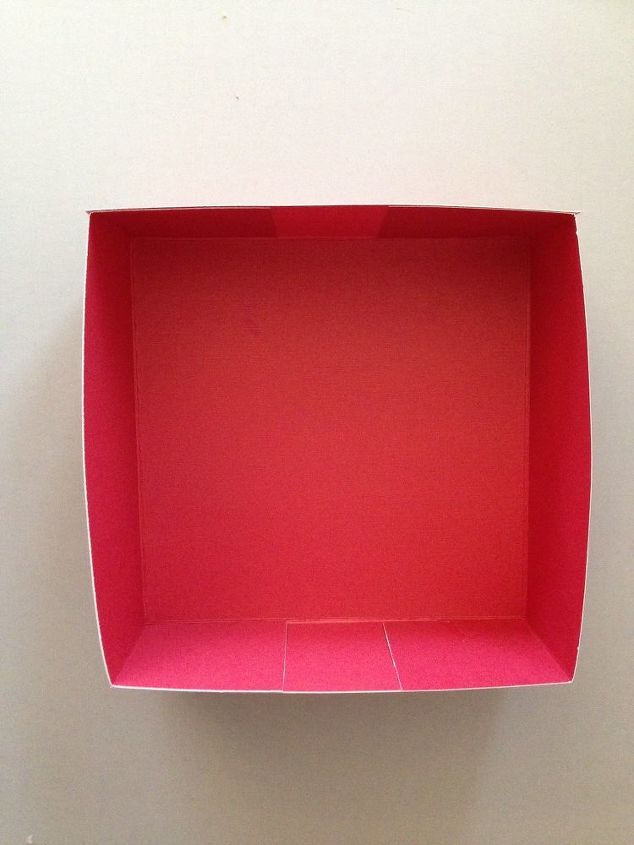
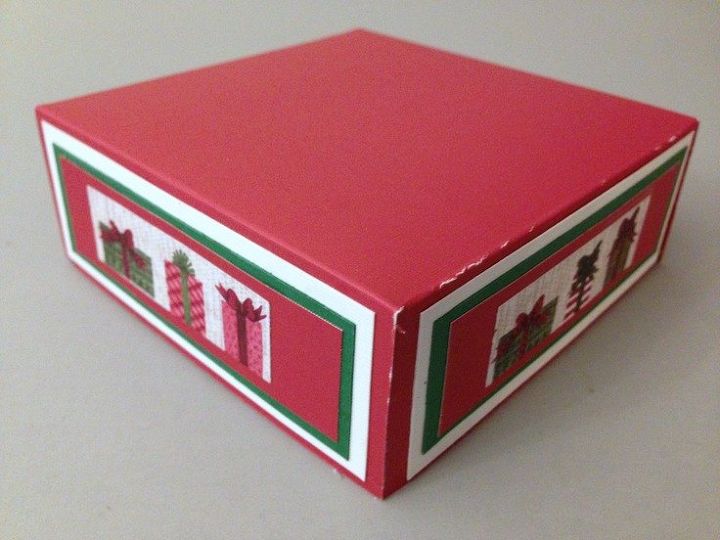
Then fold up the sides of the box and add the finished lid. The box and lid should fit together perfectly!

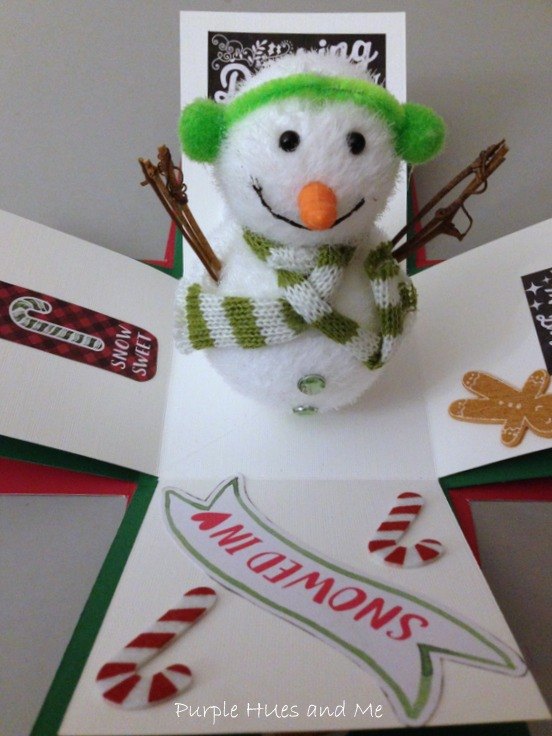
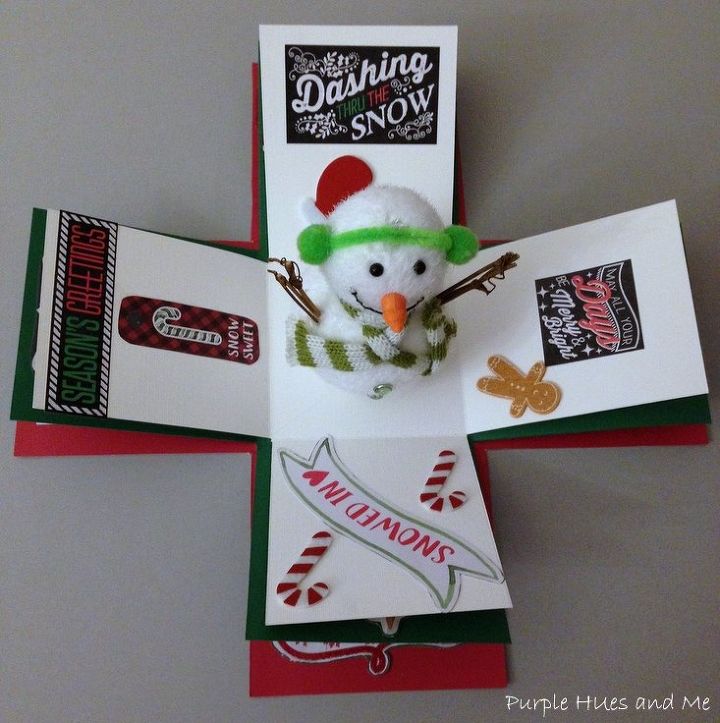
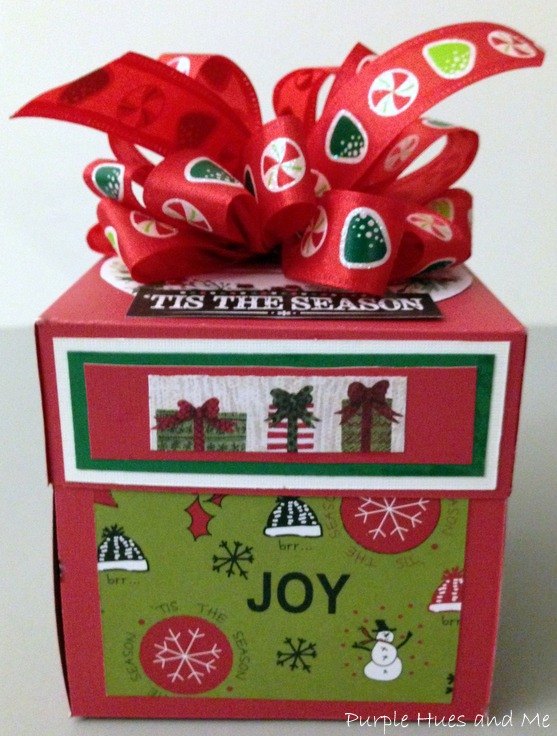
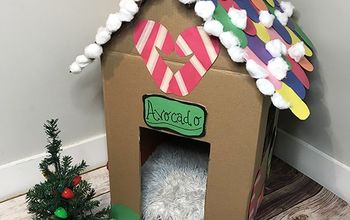
Have fun by getting creative, decorating the inside and outside flaps with themed items, sayings, photos, pictures, images, etc. Add small items, trinkets to center. My theme for this Christmas card box was based around the adorable snowman I placed in the center. How cute is he! And added sayings and tiny items depicting snow, cold weather and Christmas!
And don't forget to decorate the outside! Add a decorative bow on top and a bit of wording to let you know where the front is, when the lid is taken off and the box explodes! How exciting is this!
Resources for this project:
See all materials


Any price and availability information displayed on [relevant Amazon Site(s), as applicable] at the time of purchase will apply to the purchase of this product.
Hometalk may collect a small share of sales from the links on this page.More info

Want more details about this and other DIY projects? Check out my blog post!
Comments
Join the conversation
2 comments
-
I am gonna do this for my mom for christmas. Thank you so much!!!
-
You are quite welcome, Sie! Thanks! Have fun and enjoy!


Frequently asked questions
Have a question about this project?