


Making a Honey Dipper
3 Materials
$25
2 Hours
Medium
This is a great beginner project for new wood turners. And the honey dipper is beautiful craft for the kitchen. I particularly liked this project because my father is a beekeeper, and l made one for him. You will need a wood lathe for this project. But the good news -- you can make dozens and dozens of other fun & exciting projects for your home on a small wood lathe. Don't worry about your skill level -- you don't have to be an "expert" woodworker to use a lathe.
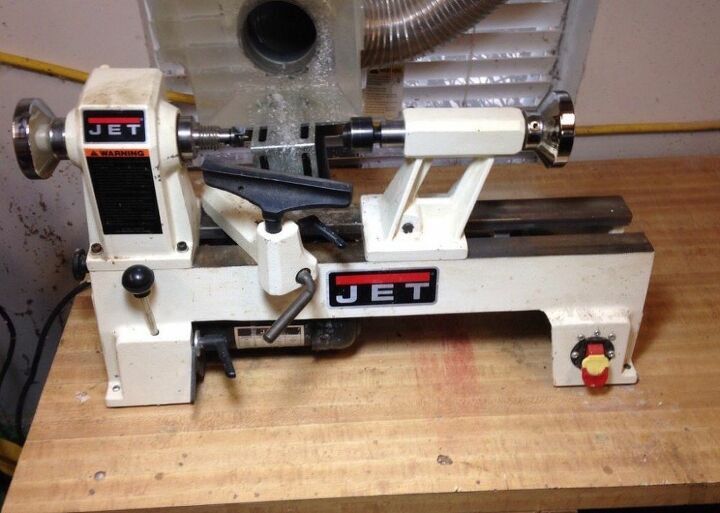
Let me begin with perhaps the biggest challenge with this project -- do you own a wood lathe? You might discover that wood turning can open up a huge possibility of home projects that you haven't thought about. For about $300 you can get a mini lathe (like mine in the photo) and you can turn smaller projects like small bowls, platters, pepper mills, bottle stoppers, writing pens, etc. With a bigger size lathe, you can turn bigger projects OR the smaller projects. Check out my Guide to Choosing a Wood Lathe to learn more.
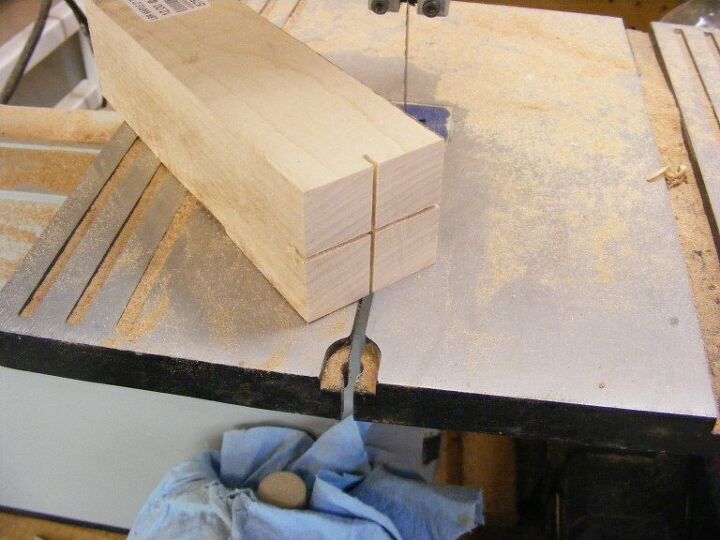
To start, of course, you'll need wood. I used a piece of maple: 2 inch by 2 inch by 7 inches long. I like to use hardwoods for these type of projects, but use a wood of your choice. The notches you see are going to help me attach the wood block to my lathe. I used a bandsaw to cut these out.
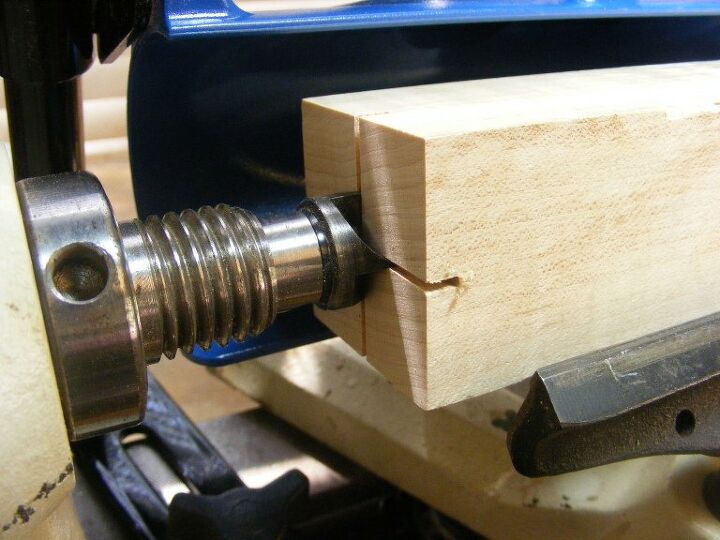
One end attaches to the lathe on my spur drive. The spur drive can conveniently fit into the notches I cut with the bandsaw.
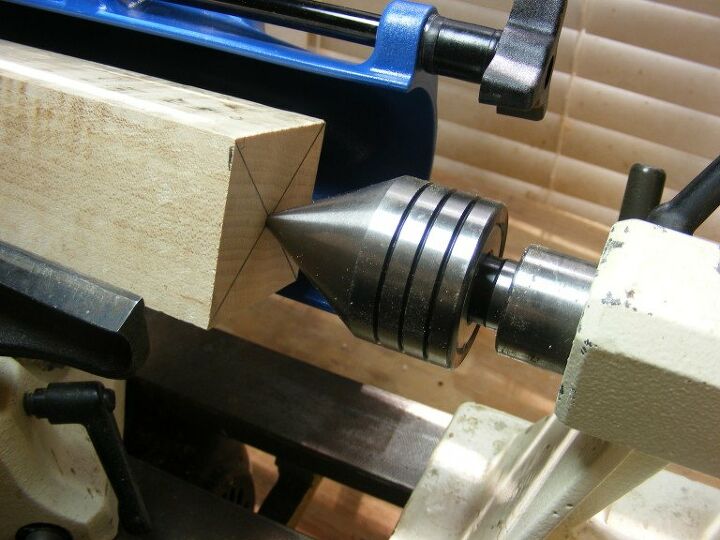
The other end is held by a 60 degree live center. The live center rests in the tail stock. And I use the tail stock (and live center) to apply the needed pressure to the block of wood. You need to mark the center point of the wood as I've shown here.
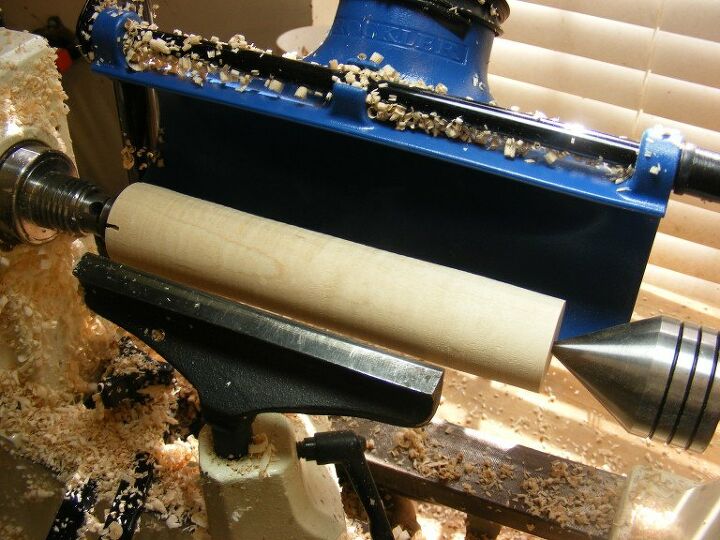
I used a 3/4 inch roughing gouge to make the block completely round and uniform.
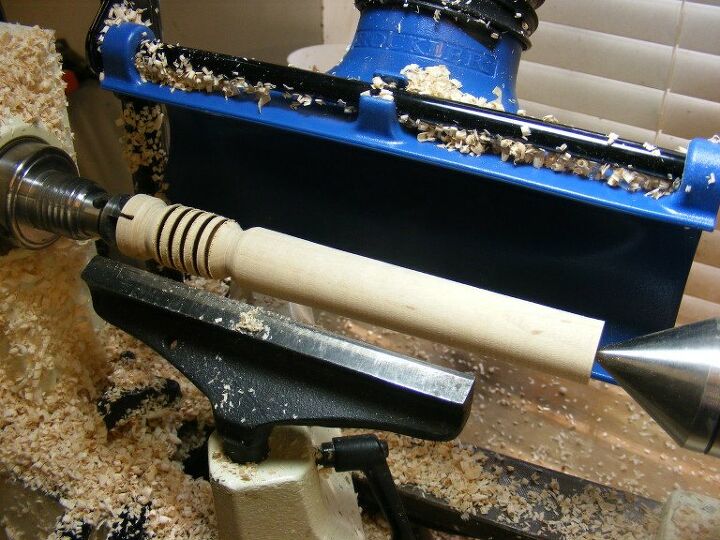
I continue to form the shape of the honey dipper with my roughing gouge and I used a parting tool to form the 5 grooves.
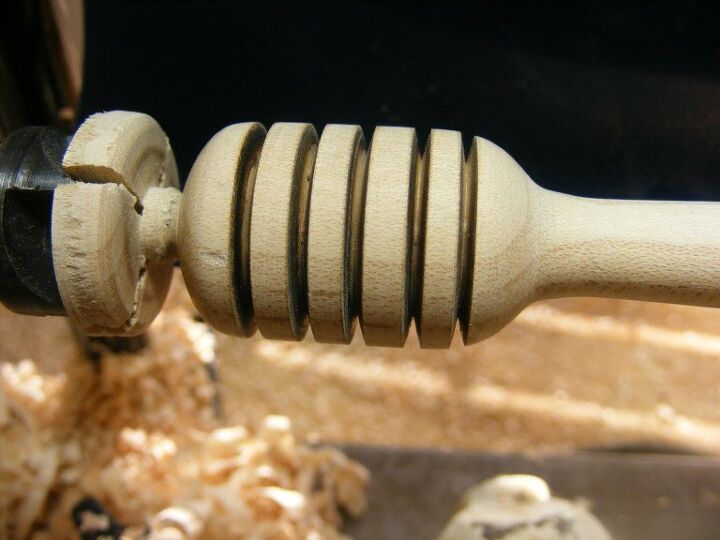
Here's a close up of the honey dipper end. The grooves are about 1/8 inch and probably a 1/4 inch deep. I spaced them about 1/4 inch apart.
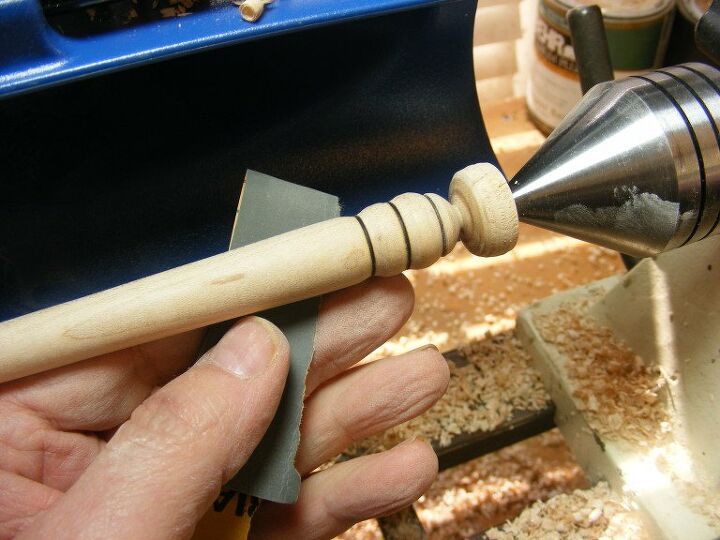
Here I am shaping and sanding the handle. I'm trying to make the very end of the handle look like the body of a honey bee.
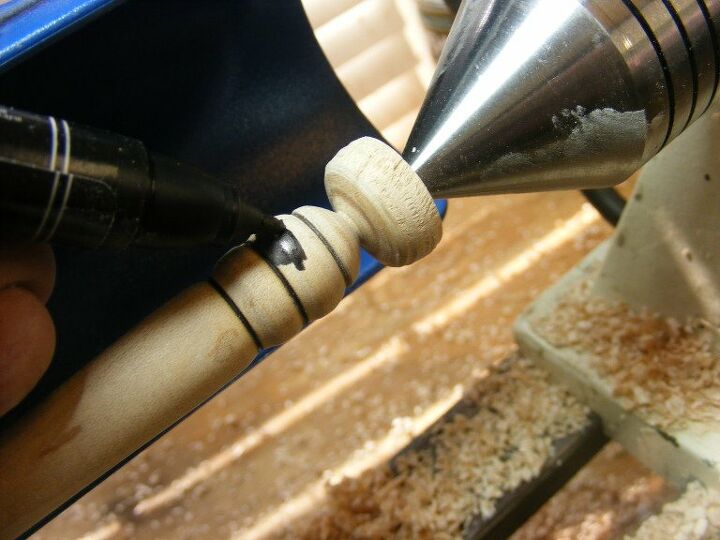
I used prismacolor felt-tip markers to color the handle. I used a black and yellow color.
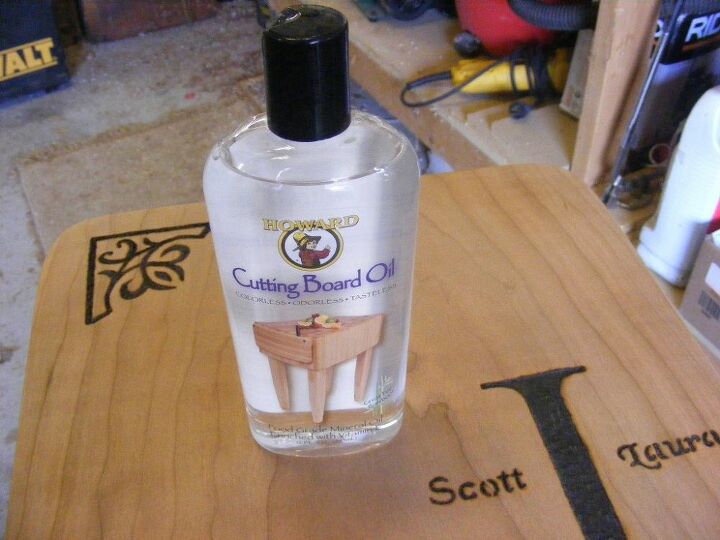
I recommend using a food-safe mineral oil to finish the honey dipper. Or you can use my homemade beeswax butter recipe.

Here is a close up of the finished handle. I think it kinda looks like a bee .. LOL. This is after I cut it off the lathe and sanded the very end point.
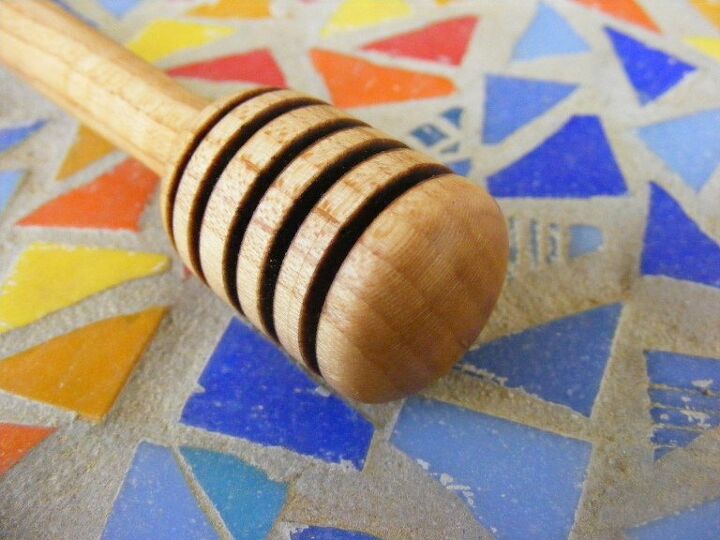
A close up shot of the honey dipper end. Again, this is after I cut it off the lathe and sanded the ends.
Be sure to visit my website at the project link below to see a more expanded tutorial on making the honey dipper.
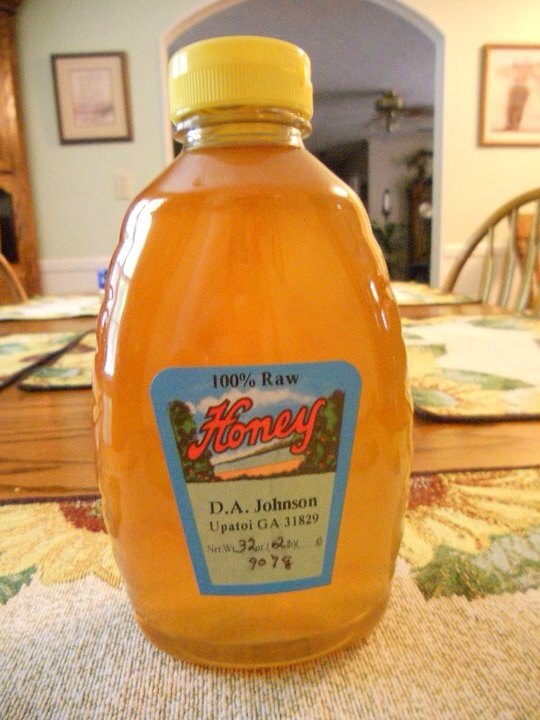
Now go and enjoy dipping out some honey. This is a photo of some honey produced from my dad's beekeeping farm.

If you are starting a new shop or reevaluating your existing shop, you might want to get a copy of my FREE Home Shop Safety and Tool Checklist. You can get this by visiting my website and look for the signup form on the left hand side. This will also allow you to get access to my FREE monthly newsletter.
Resources for this project:


Any price and availability information displayed on [relevant Amazon Site(s), as applicable] at the time of purchase will apply to the purchase of this product.
Hometalk may collect a small share of sales from the links on this page.More info

Want more details about this and other DIY projects? Check out my blog post!


Frequently asked questions
Have a question about this project?