


Colorful Spring Chipboard Button Wreath

by
DesignedByBH
Easy
It's Spring time, whether the weather likes it or not! Bring it on in bright and cheery style with this Colorful Spring Chipboard Button Wreath! It only takes a handful of supplies, and is easy to make, as long as you've got the patience (and the ability to handle some minor glue-gun burns...)
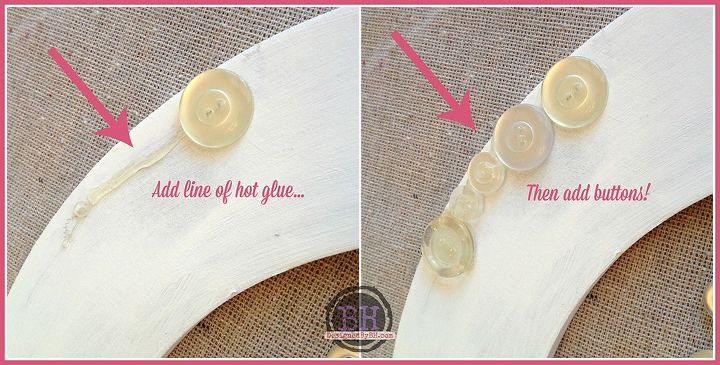
Start off this great wreath by painting your chipboard wreath form. Then start gluing on your first "level" of buttons!
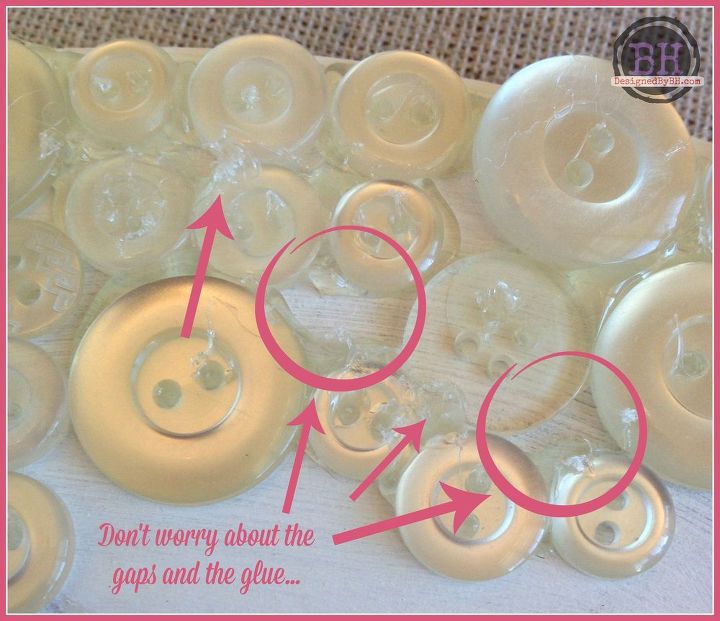
Once your first layer of buttons is on (I used clear and frosted ones for the base), you'll notice some holes and clumps of glue. But that's okay, it will all be covered.
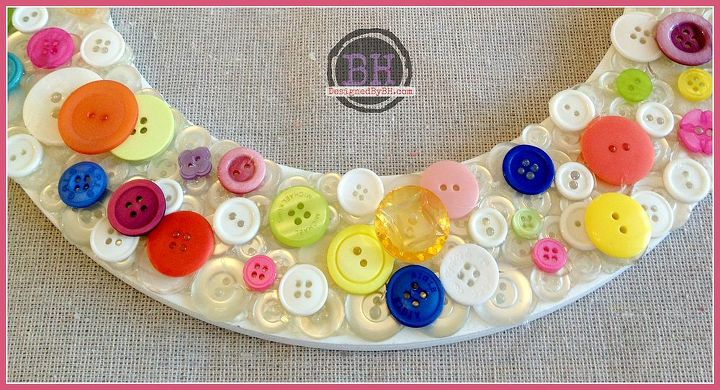
Start adding white and colored buttons on top of the first layer to add dimension and pops of color. There is no right or wrong, just keep adding until you're satisfied!
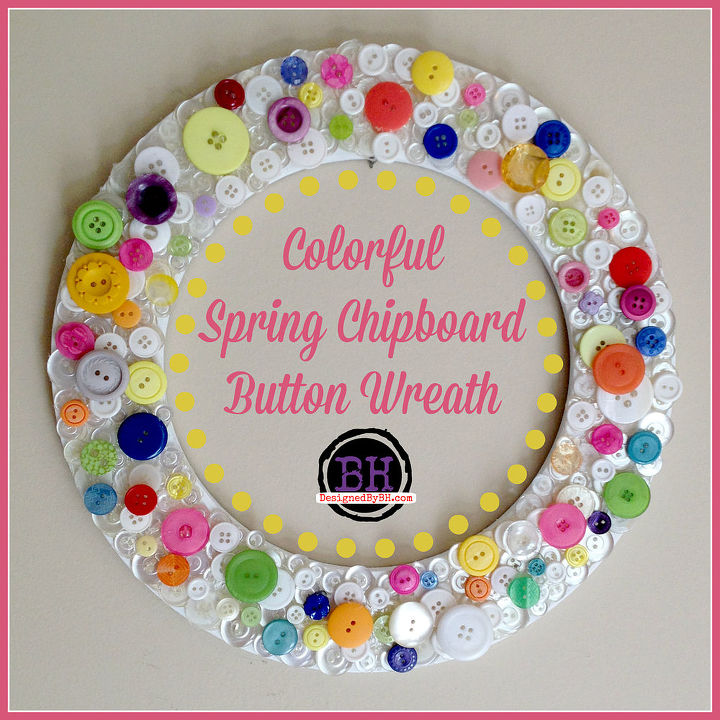
Ta-da! It's a pretty, finished, bright and colorful Spring Chipboard Button Wreath! I don't know about you, but I love it!
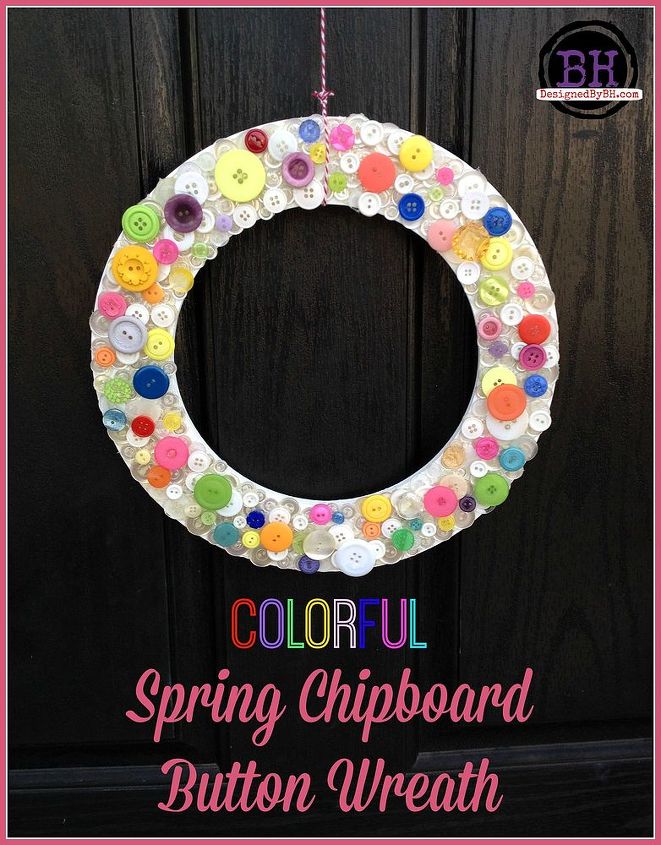
Here's the finished wreath on our front door. I love the way it pops against the black door, don't you?
Want more details about this and other DIY projects? Check out my blog post!
Comments
Join the conversation
2 comments
-
AMolto originale!ggiungi a questo post ...
-
What a wonderful way to use up all of those extra buttons we craft people seem to accumulate. It is absolutely adorable!!:) I know that you must smile every time that you see it!


Frequently asked questions
Have a question about this project?