


Wood Cutting Board

by
Robin Lewis
3 Materials
$40
1 Day
Easy
This is one of the most fulfilling wood working projects you can do. The process is straight forward and you can spend as much, or as little time on it as you want.
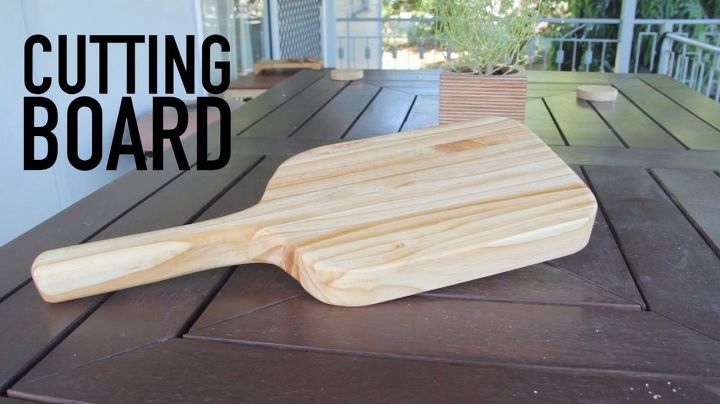
This is the cutting board that I made. I used pine 1x2s and it's glued together with standard PVA wood glue.
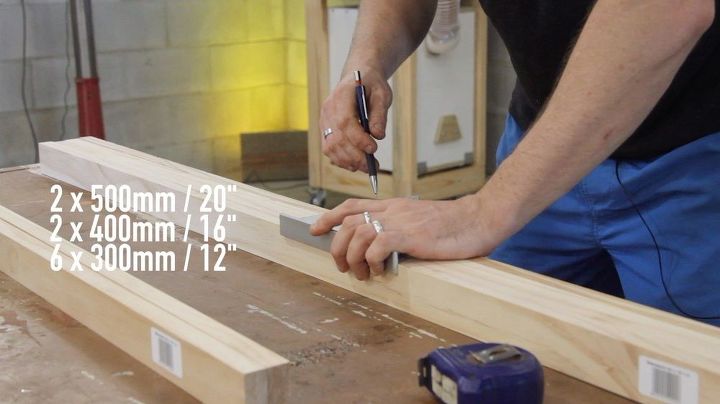
Start by cutting 2 boards to 500mm/20", 2 boards to 400mm/16", and 6 boards to 300mm/12"
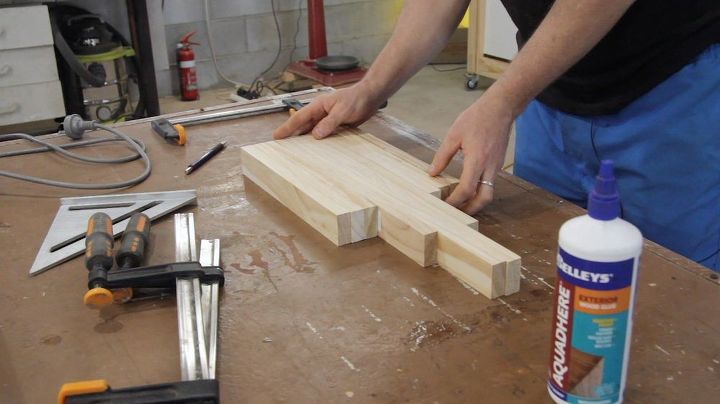
Glue the boards on their side to give it a chunky look. This also helps to stop the board from cupping or twisting. This is the shape that I needed to create the inside curve going up the handle.
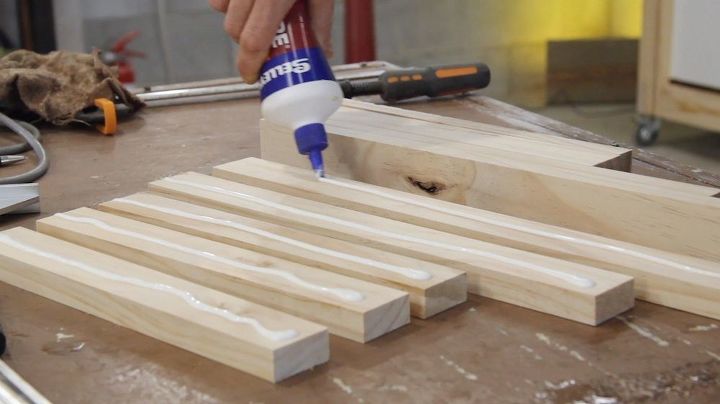
Glue the boards together on their edges by adding a bead of glue to one face of each board. It's a good idea to spread the glue over the boards, ensuring all of the surface is covered.
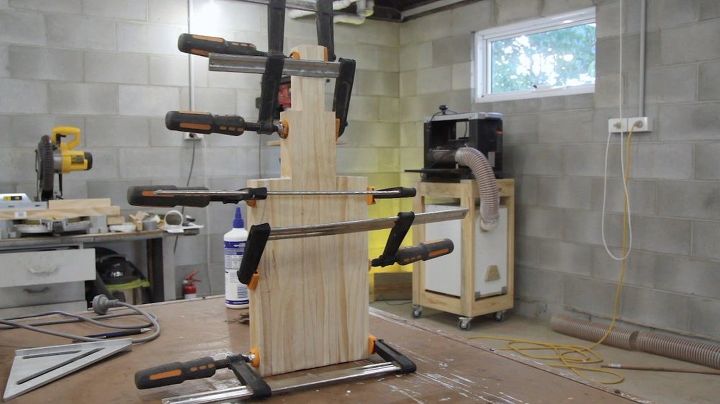
Clamp all the pieces together making sure to glue all the individual pieces (as shown in the image). Use as many clamps as possible, you can never have to many.
Try to get the boards to line up as best as possible. In a later step you'll be sanding the piece flat and if the individual boards are all over the place the sanding process will take longer.
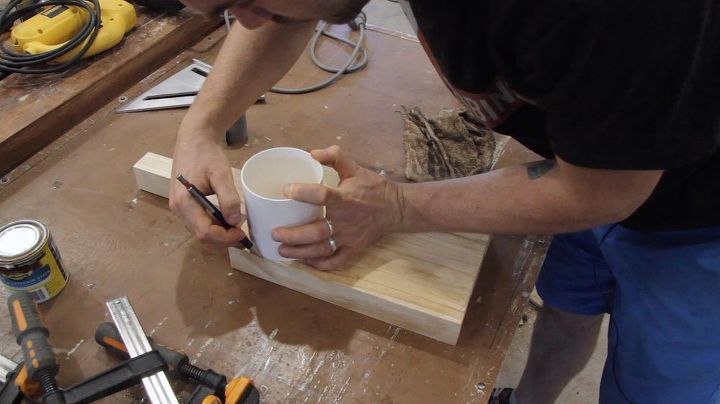
After the glue has dried remove the clamps and start creating some curves. I used a piece of PVC pipe but any circular object will work.
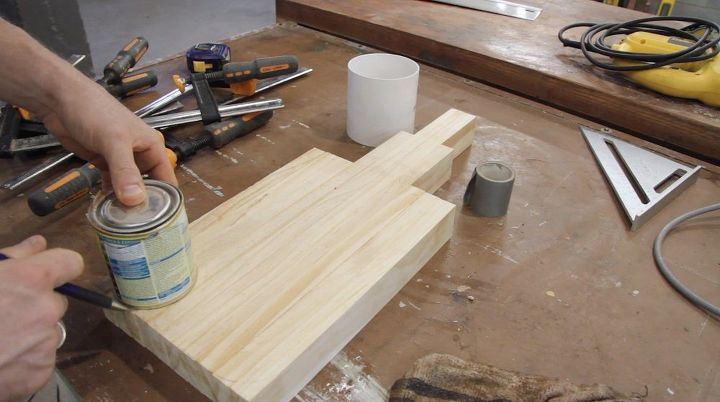
For the bottom corners I used a small paint tin.
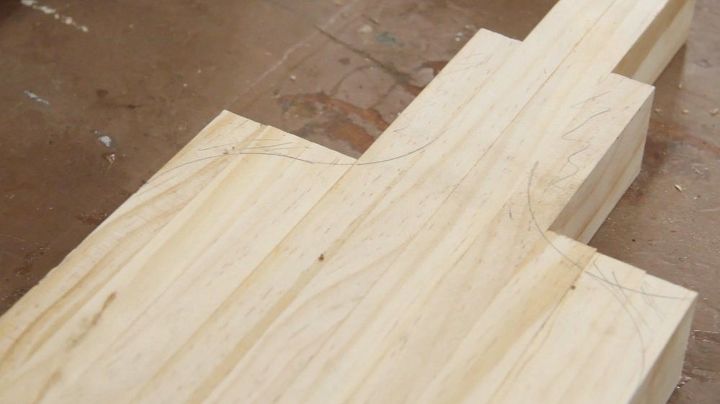
Here you can see the curves created.
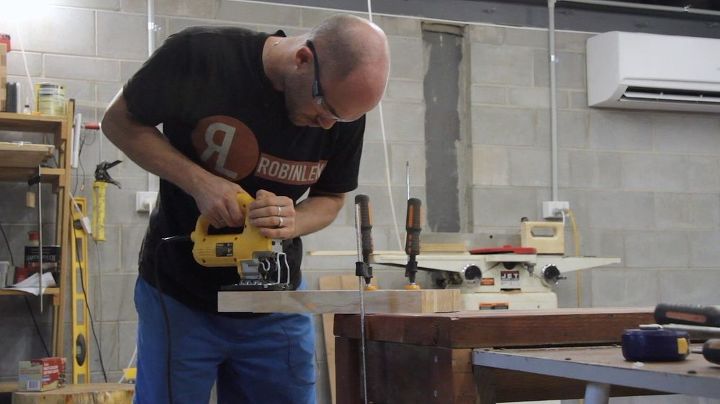
You'll need a jigsaw to cut these curves out. Follow the lines you drew earlier and make sure to take your time with the cut. Forcing the jigsaw will cause the blade to deflect and you'll end up with a terrible cut.
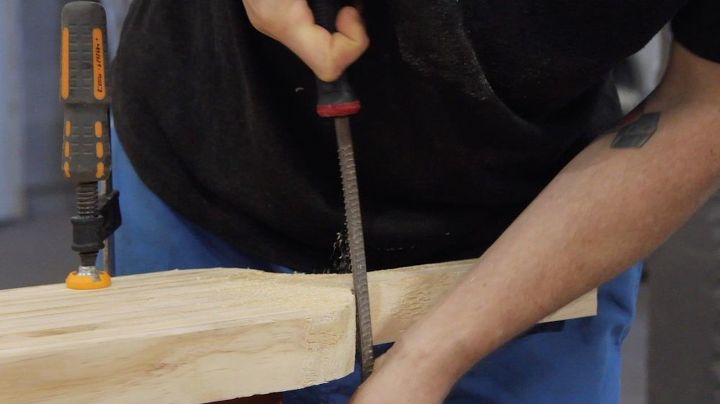
Use a rasp to ease over all of the sharp edges and refine the curves. You can also adjust the curves at this stage and round over the handle.
It's important that your rasp has a flat and curved side. The flat side is for any outside corners and the curved side is for any inside corners.

After using the rasp you'll need to use some sand paper to get rid of all the scratches. Using a small piece with your thumbs is a good way to smooth the inside corners.
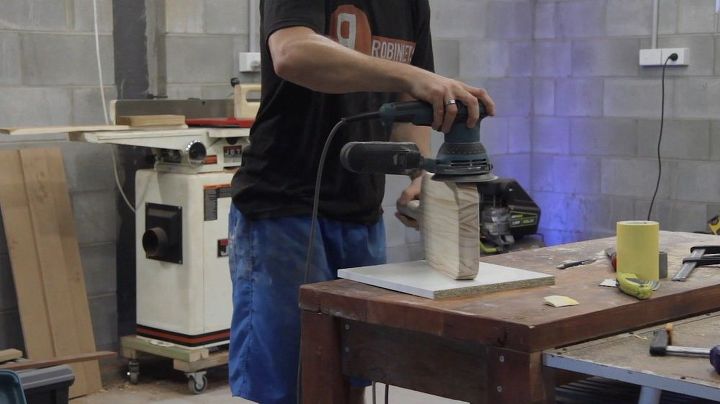
For the flat sections and outside corners you can use an orbital sander. I sanded the piece up to 320 grit.
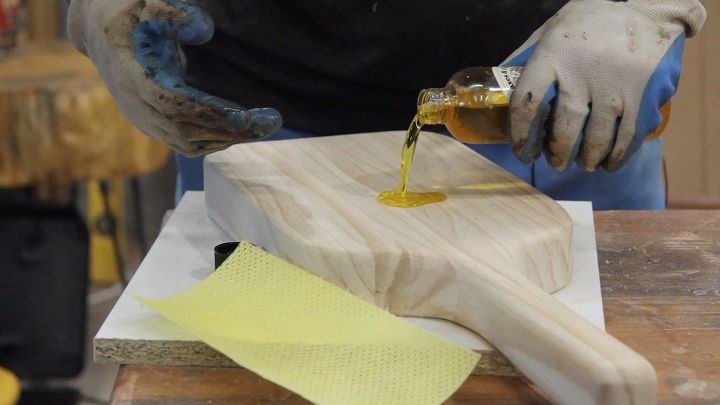
To finish the cutting board make sure to use a food safe oil. I used an orange based oil specifically designed for chopping boards.
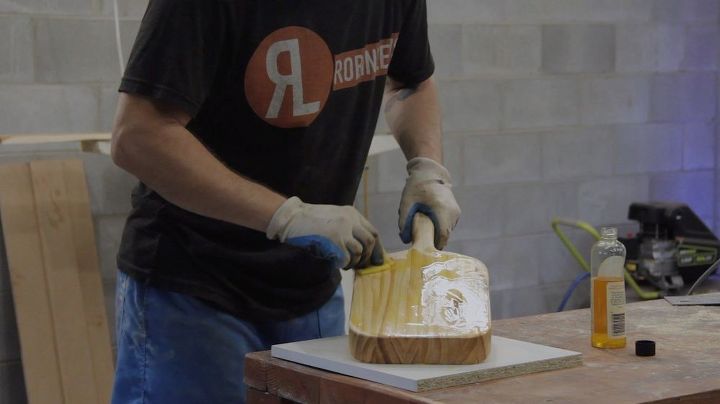
Applying the oil is easy; flood the surface with oil, wait an hour or two, wipe off the excess and wait for it to dry. Do this twice and you'll have a sealed and hardy board.
Resources for this project:


Any price and availability information displayed on [relevant Amazon Site(s), as applicable] at the time of purchase will apply to the purchase of this product.
Hometalk may collect a small share of sales from the links on this page.More info
Comments
Join the conversation
1 comment
-
Great project! Looks great! I made a lot of cutting boards in my time as gifts. Never thought of a handle.


Frequently asked questions
Have a question about this project?