


Faux Paneled Door

17 Materials
$35
4 Hours
Easy
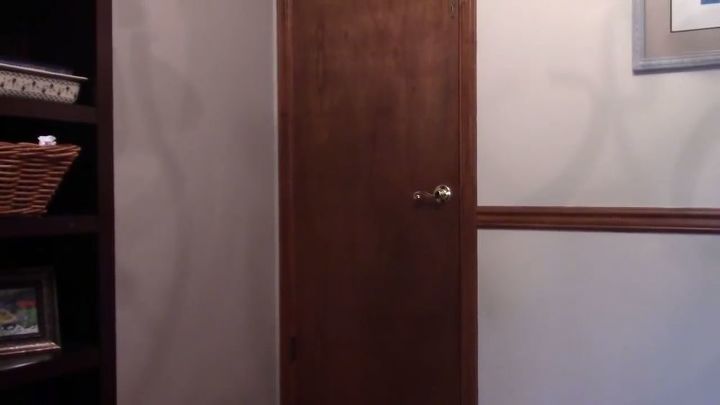
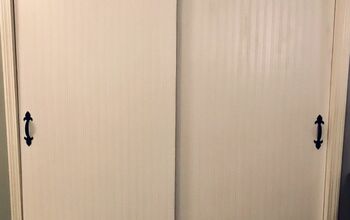
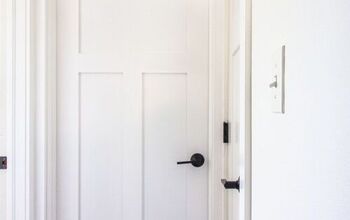
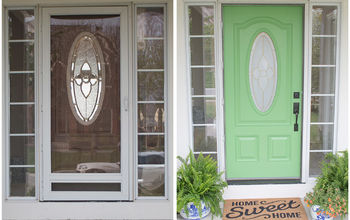
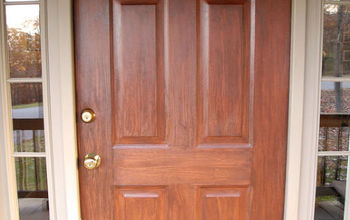
No matter how many upgrades you do on your house, if you've got the flat, 'flush' hollow core interior doors, your home will still look dated. Spending hundreds of dollars replacing fully functional but less-than-aesthetic doors isn't necessary when you can use trim to quickly and easily create faux panels!
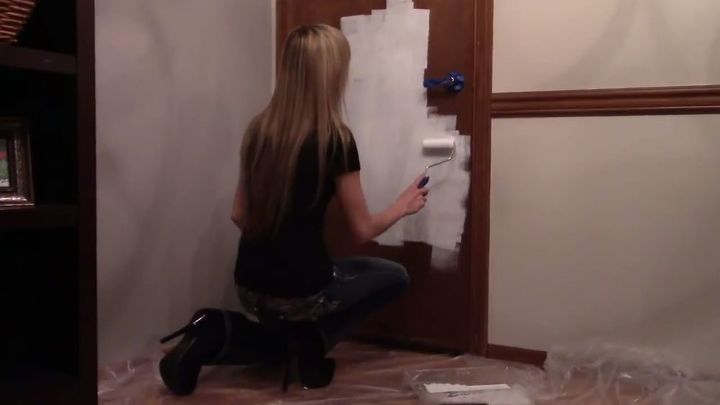
First, tape off the hardware and paint the door.
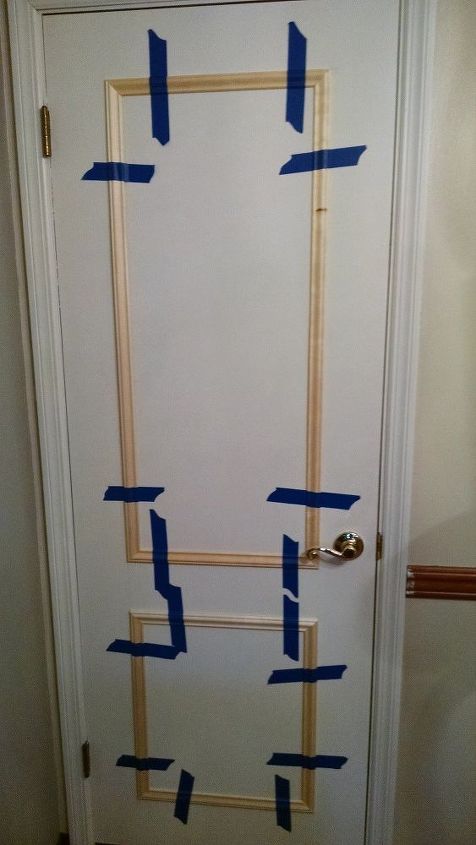
When the paint's dry, measure for the trim pieces. I measured in five inches from each side, the top, and the bottom, and used a straight edge to draw exactly where the trim would sit. I also determined where one panel would end and measured 5 inches between that and where the next panel would begin.
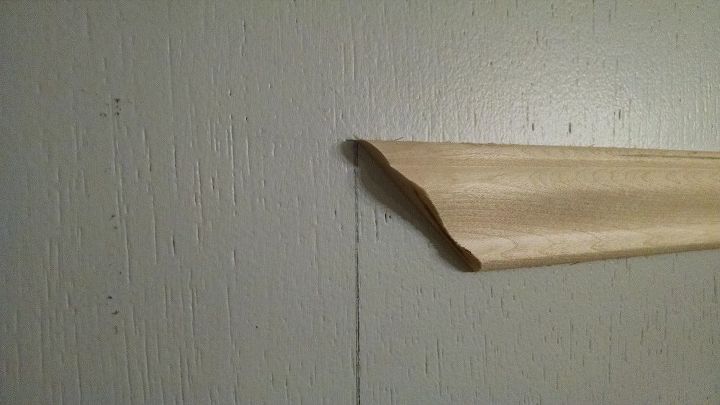
Time to miter! If you've got serious mitering prowess, you won't need this next bit and you can just cut away. But I've historically been terrible at mitering 45 degree angles - my cuts ended up as wide gaps that needed lots of caulk. Totally embarrassing! But this one simple piece of advice from another DIY'er changed that. Three little words - Mark, don't measure. Here's what I mean:
Cut one end of your trim at a 45 degree angle. Then hold the trim up on your line so that the cut end sits at the very end of your line.
MARK your trim exactly where the other end of your line stops. Use that mark as your outer edge and cut that end at a 45 going the opposite way. Place the trim back up on the line and secure it in place with the painters tape. Next side! Again, cut one end at a 45 so it butts up next to your first piece of trim.
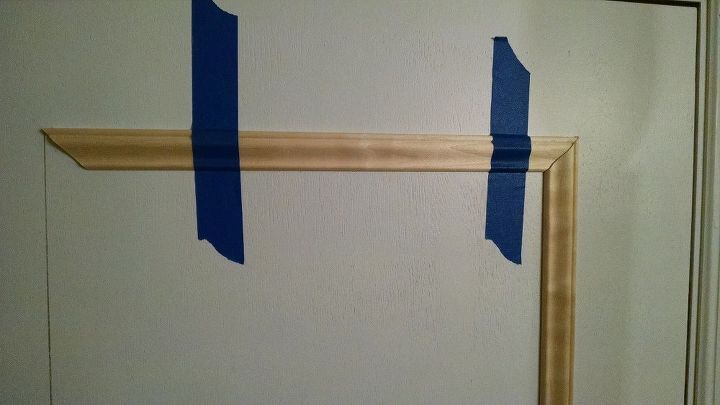
Mark the trim at the other end of the line. Continue doing this, one piece at a time, until you have both panels complete.
Take off one piece of taped-up trim and run a thin bead of Liquid Nail along the entire length of the back. Return it back to its line on the door and press firmly, lining it up with the other pieces. Retape it to the door to keep it in place until the glue dries. You can also shoot a nail at either end of the trim piece to ensure it stays put. If you do this extra step, use wood filler to fill in the nail hole. Continue for each piece, again, one at a time, so everything stays lined up.
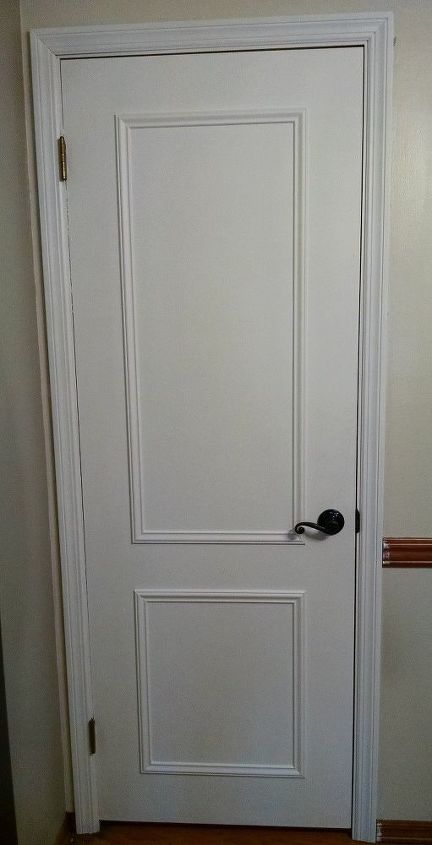
Once the Liquid Nail has fully dried, remove the tape and caulk. Caulk around the entire outer and inner edges as well as through the middle of each corner. Wipe up any excess caulk with a damp washcloth and let it dry. Paint over your trim with the same paint used on the door so the trim blends and looks like it was part of the door all along!
You don't want a new door with dated hardware so update that as well! Simply remove the doorknob and use a good spray paint to refresh the look.
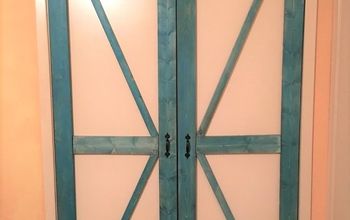
From flat and boring to paneled and popping!
{
"id": "4556329",
"alt": "",
"title": "",
"video_link": "https://www.youtube.com/embed/ok1XvG1GpAk",
"youtube_video_id": "ok1XvG1GpAk"
}
{
"width": 634,
"height": 357,
"showRelated": true
}
Resources for this project:
See all materials


Any price and availability information displayed on [relevant Amazon Site(s), as applicable] at the time of purchase will apply to the purchase of this product.
Hometalk may collect a small share of sales from the links on this page.More info
Comments
Join the conversation
4 of 25 comments
-
Great job! Just goes to show what goes around comes around too! We had paneled doors in the house I grew up in and my Mom wanted "Hollywood" style doors back in the late 50's so my wonderful Dad "modernized" all the doors in our house with flat doors but saved the solid paneled oak doors in our basement! I hope whoever bought our house realized what a treasure had been left behind!
-
We


Frequently asked questions
Have a question about this project?
What kind of moulding did you use? Does it have a name?
You did a beautiful job. Are you going to paint the chair rail also?
Did the spray paint last on your door handles?