Ceiling texture

+4
We removed our popcorn ceilings, now it’s time to cover up the visible dry and wall. whats the next process? Do we do texture and paint or can we just paint?
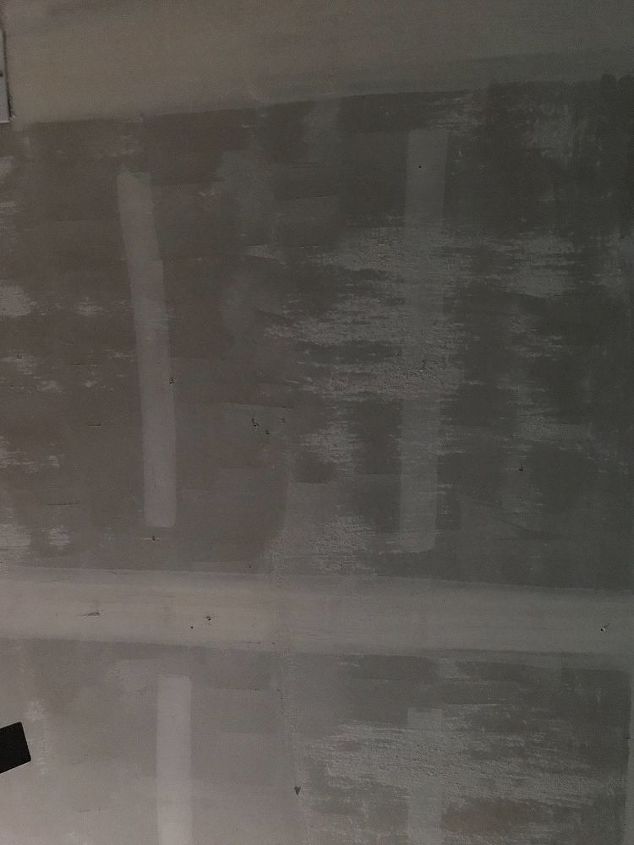


You may never get your ceilings completely smooth after removing the popcorn finish. If you are happy with the look then be sure to put a good Zinsser Bullseye 123 primer on and then use a good quality ceiling paint. Some ceiling paints now have a color added so that when you roll it on you can see where you have done it and then once it dries, it dries white.
https://www.hometalk.com/categories/remodeling-renovating/ceiling
What about putting a thin coat of plaster on the ceiling before you try to paint it. Or you need a paint roller with a thick nap that will get into the nooks and crannies of the ceiling. That paint mentioned above is also a good idea.
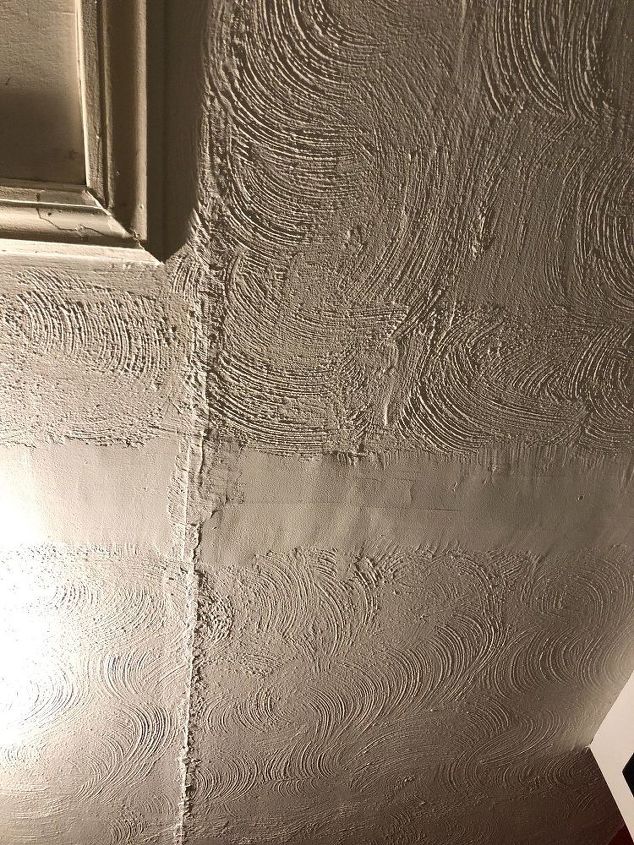
We recently remodeled a room and was looking at this same question. Apparently, the ceiling is one of the hardest surfaces to make smooth, and the way light reflects from it makes it double trouble. That is why most ceilings have a texture of some sort. (Believe me - I did a ton of research on this!)
Because of all the warnings I read about ceilings, we knew we would texture it. After doing drywall/tape and floating work...? That truly is a skill that can take an artists hand. Seriously. It's not easy. Surfaces that look perfectly flat, usually are not.
We ended up rolling mud on the ceiling, in small sections (about 4x4 feet) and using a texture brush to make it look good; and then moving on to another section. A room of 243 feet took me all day to do by myself. And my arms, neck and shoulders were not happy!
After texturing, the next day, I primed it, and then painted it with a ceiling paint.
Now, whenever somebody sees the room, they always comment on how much they love the ceiling! It made the pain and trouble worth it. :)
I'll attach a picture, but we are super proud of the work we did; so if you'd like to see it from start to finish, you can see that here.
Even trying hard to take a good picture of a ceiling provides lackluster results. With the flash, you can STILL see imperfections that you don't see under normal circumstances! Lesson - ceilings suck! :)
Good luck to you!
Only reason ceilings were popcorned or texture, it was a great coverup for imperfections, cost effective for the builder, and a trend of the 60's, 70's and into the 80's. All the trouble you went through removing the popcorn why would you want to texture the ceiling all over again. Prime and paint. As a former home builder I gave people what they wanted. Years later my remodeling company was removing the popcorn and textured ceilings. About 15 years ago Georgia Pacific saw the removing trend and started making 4'X10' 1/4" drywall to cover the ceiling rather than the pain of removing.
There’s other ways of texturing a ceiling then using the popcorn effect. You can take a 12”x12” board and screw a short dowl or broom stick whatever length you like to work with. Then takes several newspapers and wrinkle them up in a larger piece of plastic that will wrap around your board and broom stick you made so you have a puffy surface when you attach your plastic around your board. Then get a large container of joint compound to dip your plastic into and start in a corner of your ceiling working outwards dabbing the joint compound on the ceiling. Do about a 3x3 foot area and then take a trowel and lightly scrape off the tips of joint compound hanging down from the ceiling to give you a flatter look texturin. Trowel off as much or as little as you like for the look you want And let dry. Just repeat the process every 3x3 feet or so to let it dry a little but not too much where it’s too dry to scrape off the excess you don’t want on your ceiling. This makes a beautiful textured ceiling that will stand up to any professional textured ceiling work. It’s not hard to do at all and you should get the hand of what your looking for fairly quickly. If you don’t like your textured area you can always dab the ceiling area again and trowel off the excess again. Basic thing to do is keep your drying time the same for each section so you’ll be wiping off the same amount with your trowel. This also works great for damaged or cracked ceiling too! My Dad did this process for years in homes from the 60’s thru the 80’s before he passed away and I have done his process myself In homes as well. People that don’t me, see the ceiling are always impressed and want to know who textured my ceiling?
I can tell you if your ceiling has any imperfections in it, when you paint those imperfections will stick out like a sore thumb! Getting your ceiling perfectly smooth with no high or low spots isn’t near as easy as doing this texturing process and it will hide your imperfections really well!