


THANK YOU SANTA!🎅

3 Materials
2 Days
Easy
Santa made a visit to my house on December 26th. When I got up the day after Christmas my husband pointed to the Christmas tree. He said Santa forgot to leave those two gifts for you Christmas eve. Like a little kid I tore into the gifts. The first contained two beautiful tops. He has such good taste in clothes and jewelry.
The next was a bag with a kit made up of Chalkology paste, wax, stencils, chalkboards and squeegy. My husband Edward aka Santa had a friend at work that sells Chalkology supplies make up a kit especially for me. I love this gift very much. It was one of my favorites I've received from him. Don't get me wrong, I love jewelry and clothes. This gift really shows that he listens to me when I talk about the crafts I like to do.
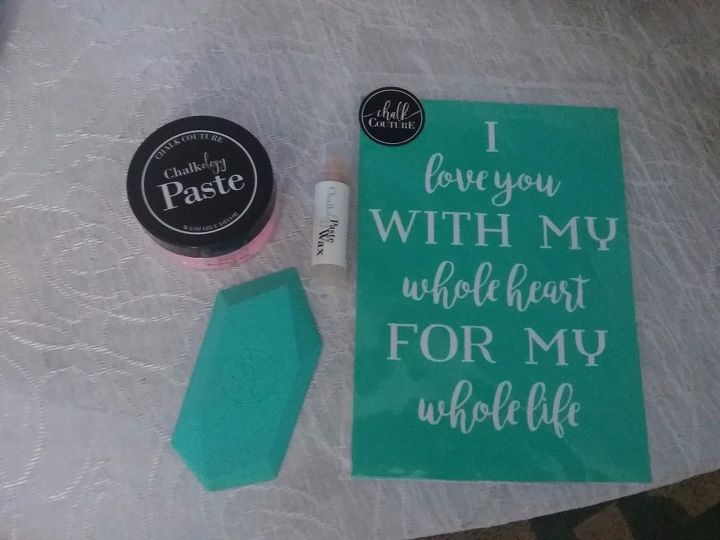
My Chalkology supplies.
First thing I had to do was sit down and read the directions on how to use each product. I've never used this product before. [I am not getting anything from Chalkology for mentioning their product.] I also uploaded Utube videos that were very helpful. After reading the wording on one of the stencils I knew what I wanted to put apply it on. A red wooden heart my sister gave me from an auction her and my brother in law went to. My sister is so sweet. She always looks for items I can turn into projects.
I wiped down the wooden heart with mild soap and water. I let it dry completely. Then I took the tube of wax and started rubbing it all over the area of the heart that the stencil would be covering. It is a small tube so I wanted to use it sparingly.
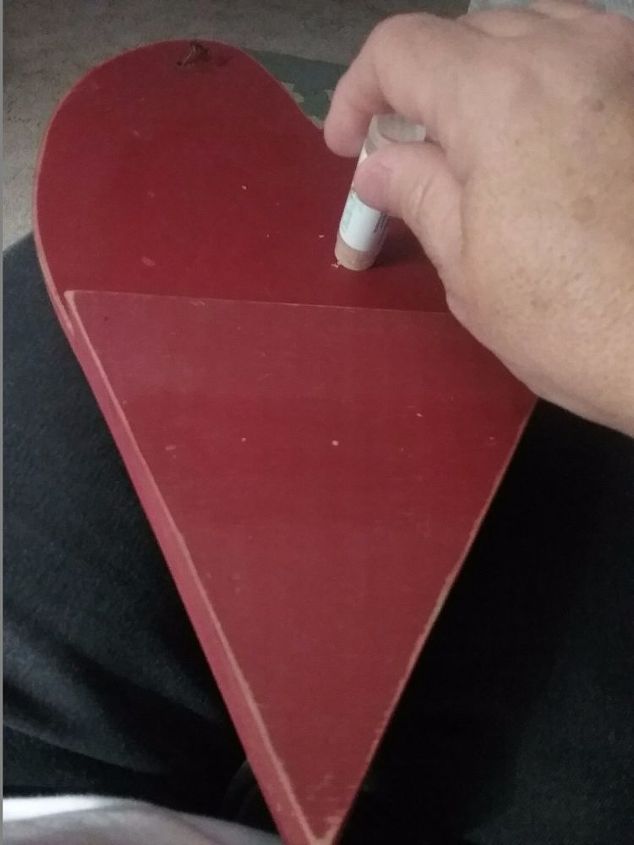
Rubbing the tube of wax across the heart.
I took a lint free rag and rubbed in the wax.
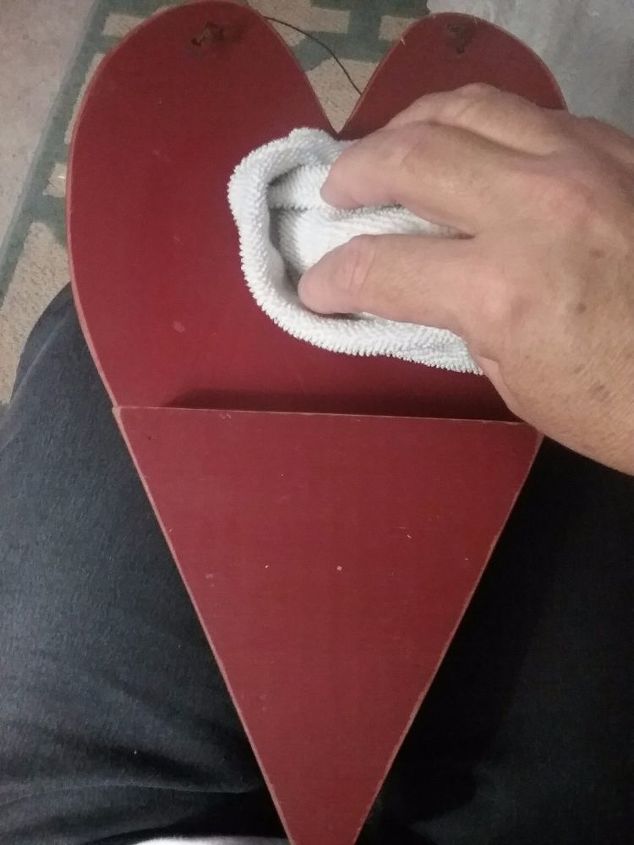
Rubbing in the wax.
I then let the wax sit for 30 minutes per the directions. I then took another clean lint free rag and buffed the wax. It left it nice and shiny. I had to let it sit for 24 hours per directions before adding the stencil and paste. That was the longest 24 hours. I'm very impatient as you can tell. I carefully positioned the stencil. Making sure it was smooth without any air bubbles. I got a small amount of white paste on the squeegy. I pulled it across the lettering on the stencil. I went back over to get a smooth thin coat.
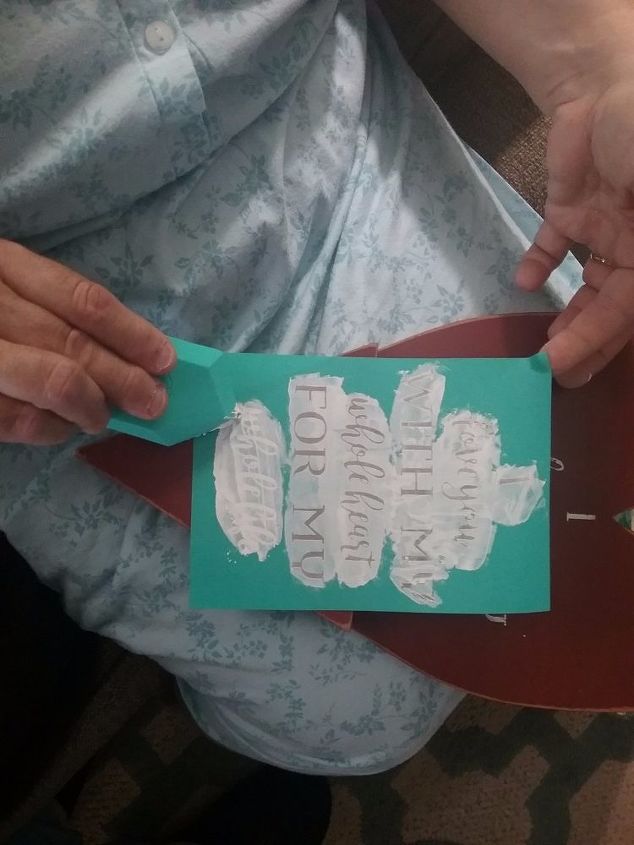
Applying the white paste.
I slowly removed the stencil. Woo who. I like how it turned out. For my first time not too shabby. Later when it is warmer outside I will spray with thin coats of polyurethane. And maybe add some flowers.
Right now it is below zero here in St. Joseph, MO. Way too cold to apply polyurethane.
A few tips #1 Work quickly when applying the paste. It dries fast. #2 Wash the stencil asap under warm water. #3 Wipe it down with a sanitizing wipe. #4 Let dry flat sticky side up.
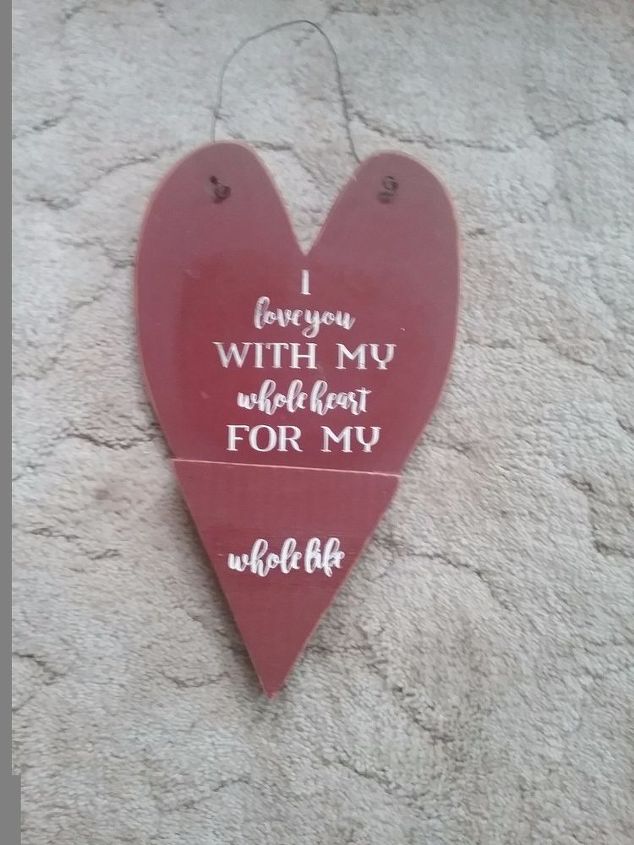
Finished for now.
I cleaned the stencil and squeegy as directed above.
Comments
Join the conversation
2 comments
-
What perfect gifts! I love what you did!


Frequently asked questions
Have a question about this project?