


Pressure Treated Planter Box

by
Zac Builds
5 Materials
$90
5 Hours
Medium
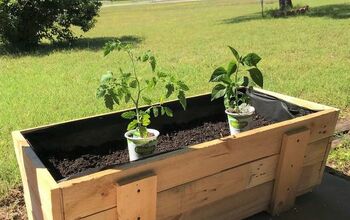
I started this project because I was having trouble finding a planter box that I liked. I was planning on redoing my upstairs deck so I figured I'd start small with some planter boxes.
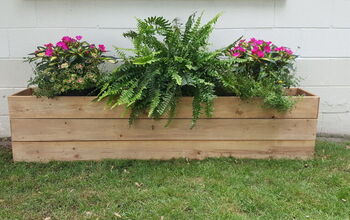
I ended up making them out of brown pressure treated wood. I really like the look of the brown pressure treated wood, so much nicer than the old green stuff. Living in Canada means if I want to build something that's going to live outside I have to build it tough. Pressure treated wood is tough, resistant to moisture, rot, mold and pests so it's the perfect choice. Plus it's cheap. That always helps too.
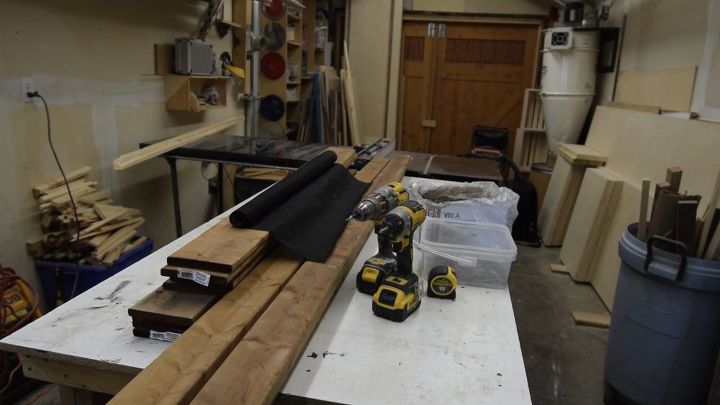
All good projects start at the hardware store. I picked up the following for this project:
4 - 2x4x8's
18 - 1x6x5's
1 - Box 3" Brown Deck Screws
1 - Box 1 1/4" Brown Deck Screws
1 - 20' Foot Roll of Landscaping Fabric
First thing is first.
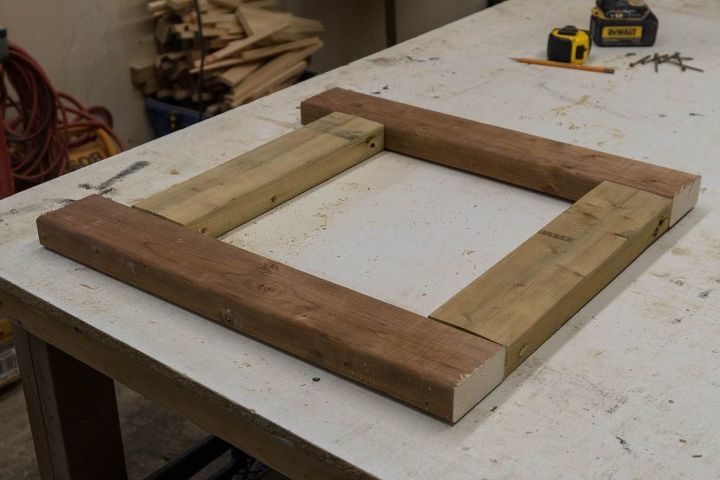
I cut 4 pieces of 2x4 to 22 1/2" long. Then I cut 4 pieces of 2x4 to 15 1/2" long.
I arranged 2 of each like you see above. I then screwed them together using the pocket screw technique and 3" inch deck screws. Some people use a jig for pocket screws, I just free handed it. It doesn't need to be too pretty, no one is going to see it.
Ok now do it again so that you have 2 like this!
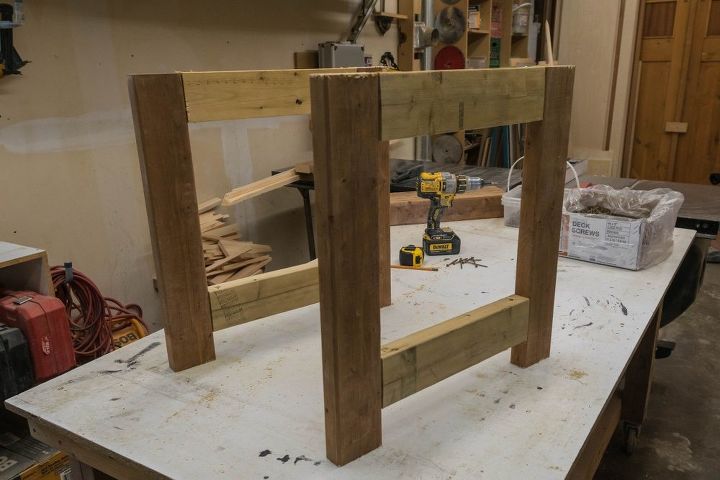
Time to connect the two frames you just made with some cross pieces.
The cross pieces are also 2x4s that are cut 19 1/2" long.
Again I used the 3" deck screws and screwed from the outside of the frames to screw everything all together.
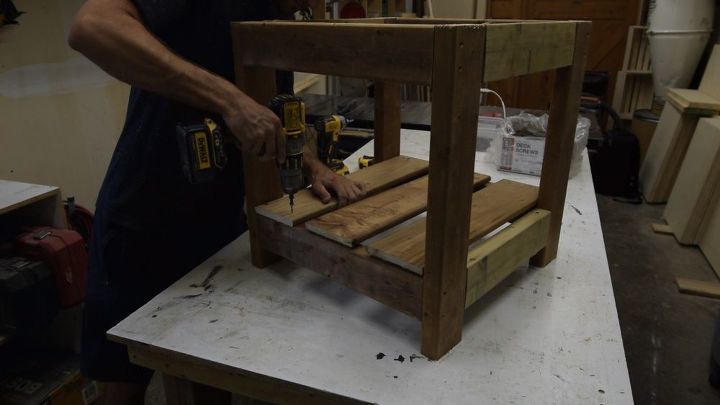
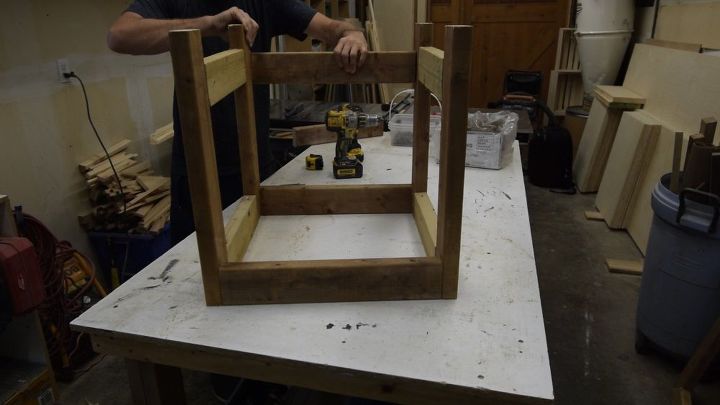
Next I cut 3 pieces of 1x6 to 22 1/2" long. I screwed these 1x6's to the bottom of the frame in order to support the soil and plants. I made sure to leave a little bit of space between each board in order to let water drain through the soil and out of the planter box.
Because 1x6" are so thin they are prone to splitting and cracking if you screw near their ends. So before I used my 1 1/4" deck screws to attach them to the frame I had to pre-drill each of my holes with a cordless drill and a pilot hole bit.
Better safe than sorry, this step ensured I didn't waste any wood.
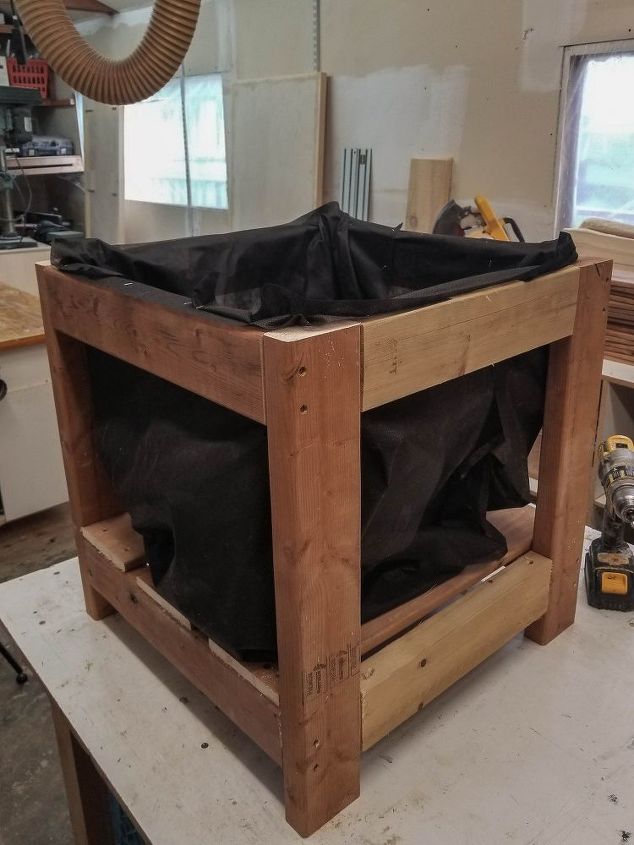
Next I cut a large 4' x 4' piece of landscaping fabric and used a staple gun to tack it to the top of the frame. The landscaping fabric will hold all of the soil in place. I used landscaping fabric because it will allow excess water to filter out, but still hold all of the soil in position.
Don't worry if you don't do the neatest job here, no one is ever going to see it.
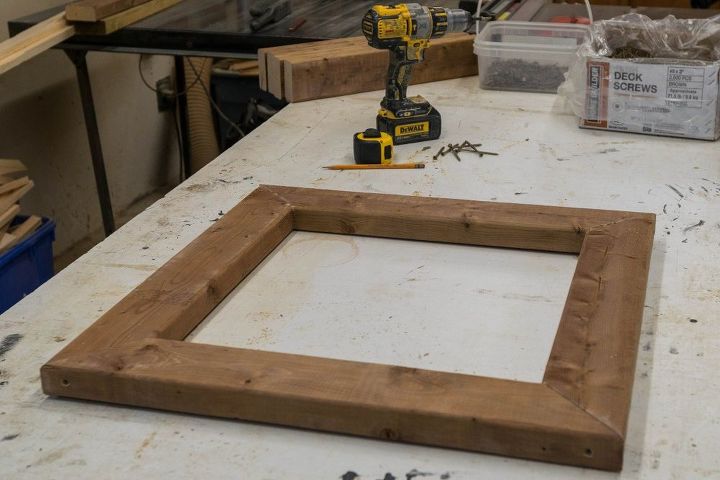
Next I cut 4 pieces of 2x4 with 45 degree cuts on either side going in opposite directions. Basically you're trying to make a trapezoid shaped piece of 2x4 where the long side measures 24 1/4" long.
Once I did that I arranged them all into a square like you see above. I screwed it all together using the same 3" deck screws.
This square piece will be the "lid" that sits ontop of the frame and secures the landscaping fabric in place.
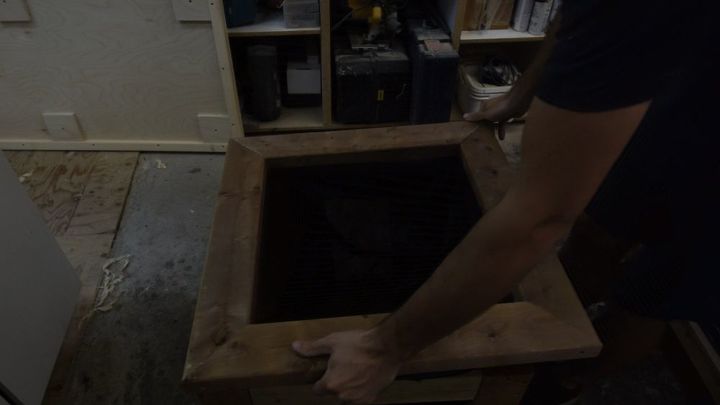
Sorry for the super dark photo, technical difficulties on my end!
Here I'm placing the lid on top of the frame. I made sure it was sitting squarely on top and then I screwed it in place by screwing through the top of the lid and down into the frame using the 3" screws.
The lid then clamps down and really holds the landscaping fabric in place.
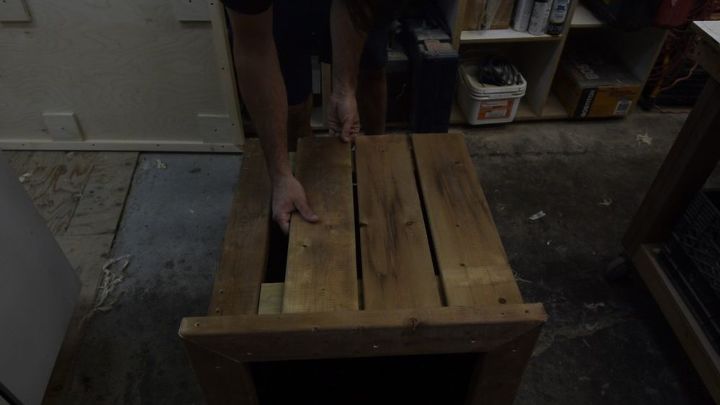
I cut 16 pieces of 1x6 to 21 1/2" long. I flipped the planter box onto its side and I attached 4 pieces of 1x6 to each side.
Don't tell anyone but I just eye-balled the spacing between each 1x6. I think it turned out okay!
Again because the 1x6s are so fragile and prone to cracking I had to pre-drill each piece before I screwed it to the frame using the 1 1/4" deck screws.
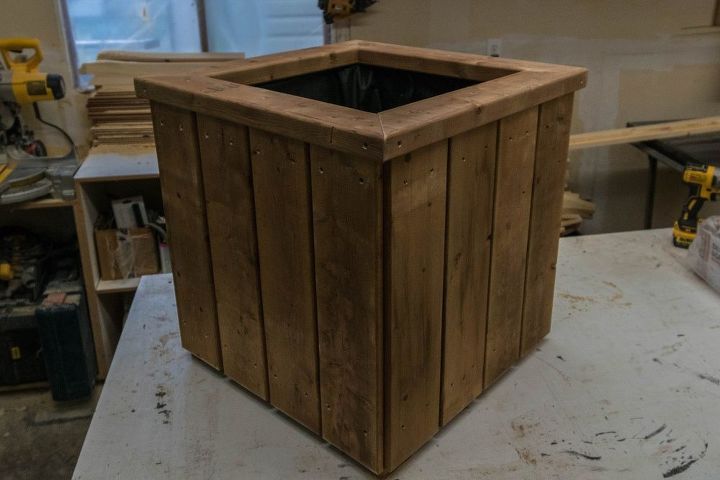
After I was done attaching all the 1x6s I was basically done! I grabbed a sanding block and gave the whole thing a light sanding in order to knock off any splinter or sharp edges.
Now because I wanted to have 2, I did the whole project over again. That part is completely optional though. Feel free to just make one!
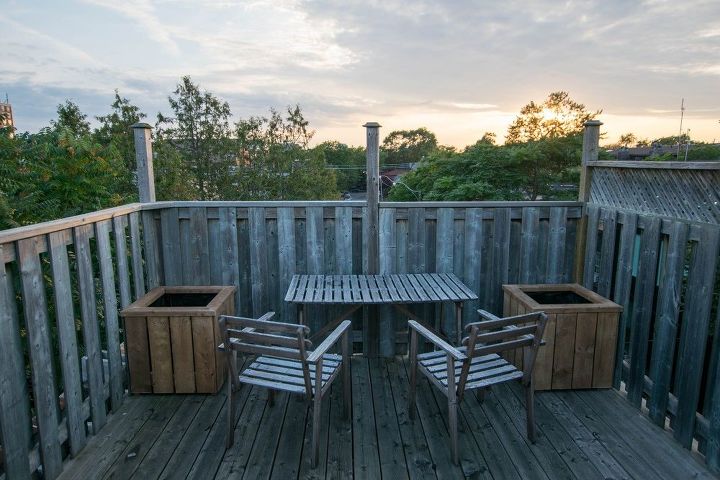
These planter boxes are the first part of my deck overhaul project. I think they look great, and I'm sure they are strong enough to stand up to whatever the Canadian weather can throw at them.
Thanks for checking out my project. Let me know if you have any questions and check out my blog for more detailed instructions if you feel lost!
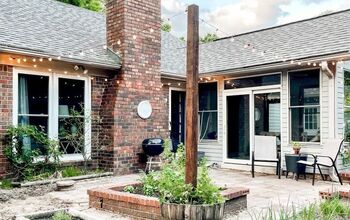
If you're impatient and just want to see what my final deck project ended up looking like you can check it out here: Pressure treated outdoor table


Any price and availability information displayed on [relevant Amazon Site(s), as applicable] at the time of purchase will apply to the purchase of this product.
Hometalk may collect a small share of sales from the links on this page.More info
Want more details about this and other DIY projects? Check out my blog post!
Comments
Join the conversation
1 comment
-
Hi, Thanks for posting this. I am going to build a few for these huge plants i have. What are the finished overall dimensions of the planter? I may have to go bigger.
Thanks again,
Betsy


Frequently asked questions
Have a question about this project?