


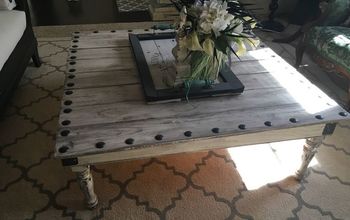
Recycled Pallet Wood Coffee Table With Wavy Edged Planks

by
Ian Anderson
3 Materials
$5
5 Hours
Medium
Coffee table made from wood taken from some old pallets I picked up from a local ceramic tile store.
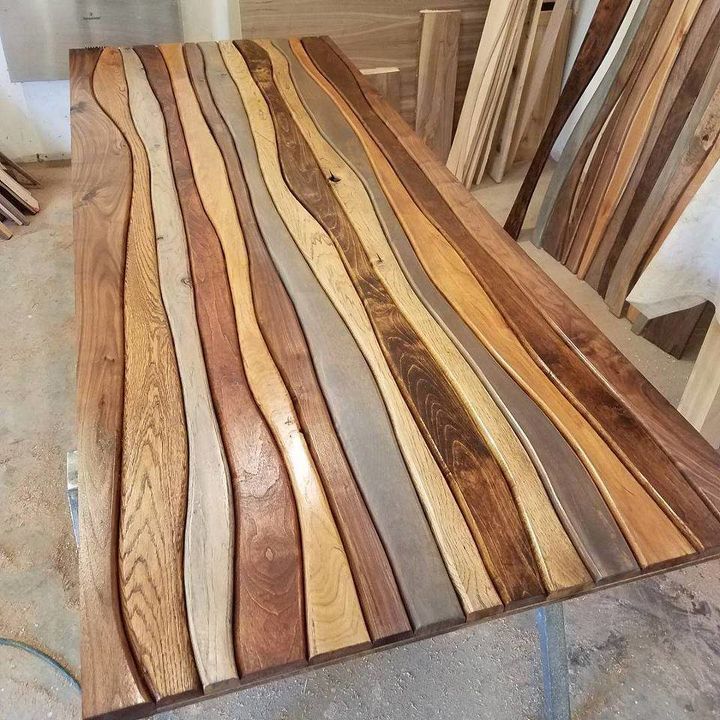
Inspiration...
I saw the above pic a while back and fell in love with the look and the idea of introducing curves into a flat square tabletop. I wasn't sure about the curved edges on each piece though as I figured they would just be a pain to clean biscuit crumbs out of!
It's super important to acclimatize timber
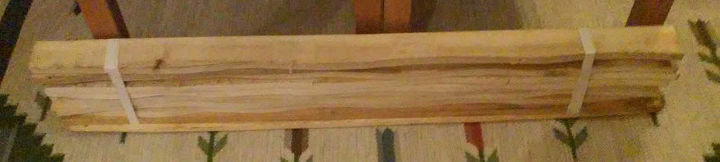
I already had some pallet wood in 'stock' as it's my 'go-to' material for almost everything these days. But, the planks were cold and maybe even still a bit damp so I did some calculations to see how much I needed (plus a little extra to give me some choice when building) and brought a stack into the lounge and then promptly became distracted by life for some months.
But in all honesty, this was a good thing since the finished coffee table now lives about 6 feet from our big wood fired oven, which would no doubt have split the table had the wood still been even a tiny bit too wet!
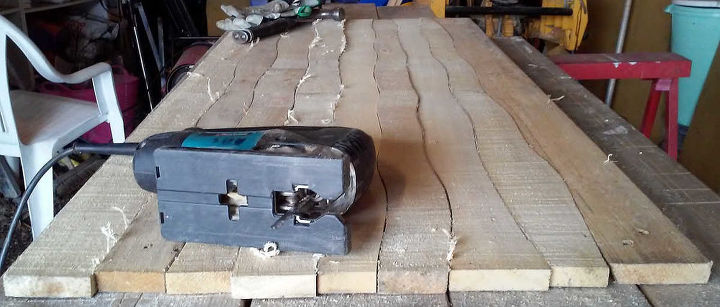
Jigsaws are great for freehand cuts...
I didn't mark out the first curves, I just randomly wandered in and out a little with a good, sharp blade in my jigsaw. It is possible to put one plank on top of the other and cut both at once, but you'd really need a band saw for that ideally. Jigsaw blades are prone to 'wander' out of square when cutting thicker materials, especially when cutting curves (curves push the blade sideways you see).
Once I had a curved edge, I put it on top of the next plank in turn and pencil marked the curve onto the edge. Carefully following the pencil line resulted in a pretty close fit. Basically, it's 'rinse and repeat' across the table top.
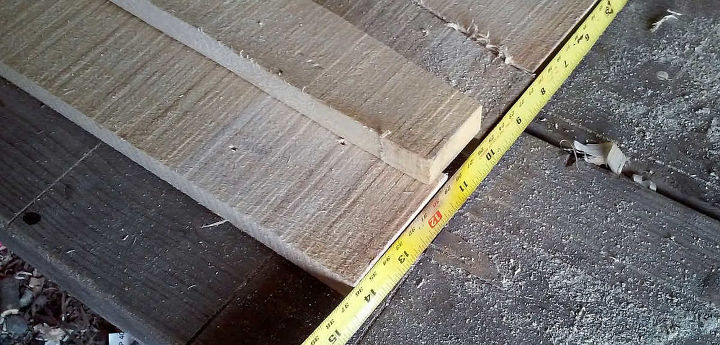
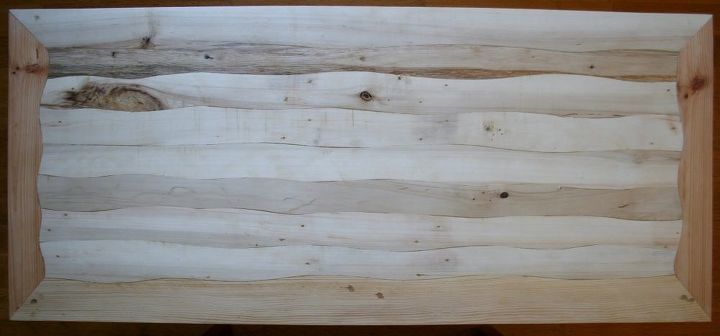
Keep the planks roughly parallel...
As you mark out, even though the individual planks in the middle are curvy on both sides, you still want them to be roughly parallel, because if they wander too far out, you'll have trouble with your last plank being much wider one end than the other and too tapered to look good.
Simply use a tape measure and 'juggle' (official technical term!) each plank before you mark it, to ensure the table top is staying roughly parallel (within half an inch or so). Don't worry, the curved edges will still make the table look wonderfully random.
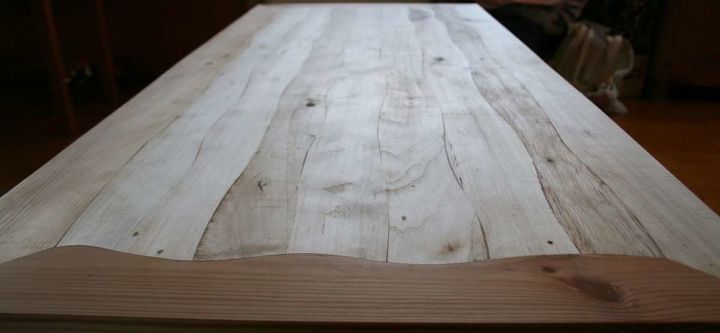
Hiding end grain looks good...
Lots of furniture design avoids exposed end grain so I decided to mitre the outer edges and add a plank across the end. I made this wavy on the inside edge as well which turned out to be quite a lot of work to get right!
I think it was worth the effort though as it definitely makes the table look properly finished off.
Sanding, and sanding and sanding...
Pallet wood is by definition rough. And rough inside the house isn't a good idea, especially if you value your dusters! Using a half sheet sander with a 40 grit paper I gave the top a good going over, pushing quite deep in places to get rid of the deeper saw marks on the planks.
The end result is smooth with gentle undulations, but nothing deep enough to upset your coffee cup! After using the 40 grit to shape the top, it was a simpler job to follow on with 80g, 120g and finally 240g sandpaper to get it silky smooth.
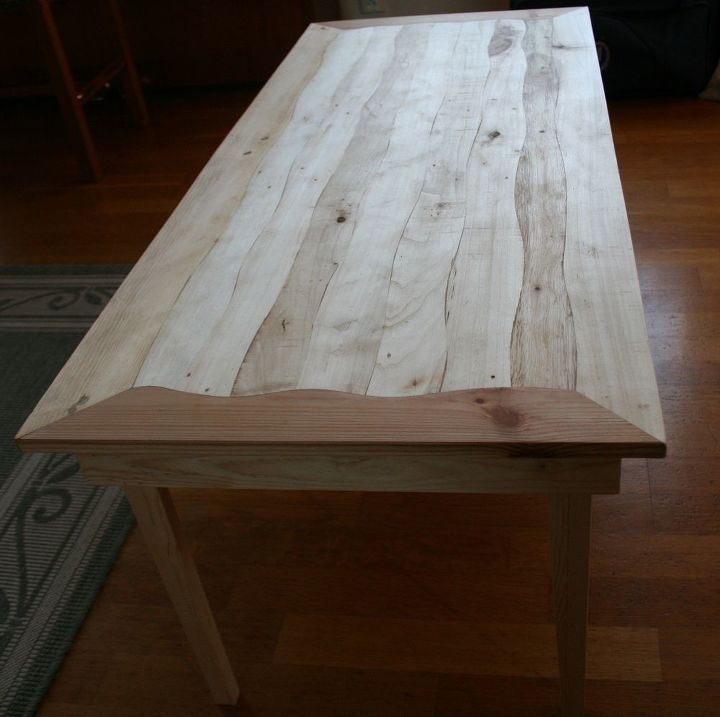
Legs, four of them to be exact...
Every table top needs something to stand on, and I had originally wanted to use hairpin legs, but they are difficult to find here in Norway so more pallet wood it was. I ripped down some 2 inch strips and glued them up into an 'L' shape. I then marked some tapers on each side and cut away the excess to leave delicately tapered legs.
I added a square box to help fasten the legs to the table top and give it some depth.
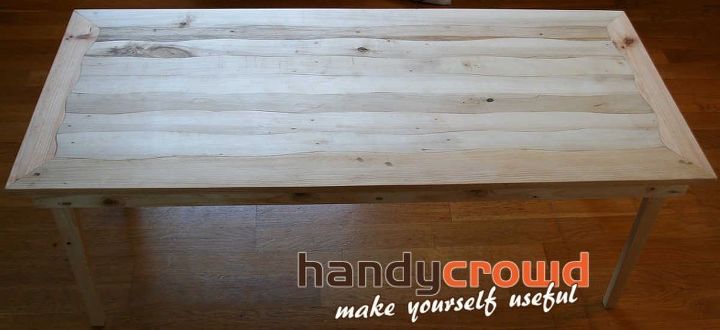
The Finished Pallet Wood Coffee Table
Then it was many coats of IKEA wood oil to finish it all off. This is quick and easy to do with some old torn up T shirt. I'll probably do this again most years to keep it looking good.
Hope you like it! Let me know if I can help you build yours in the comments :-)
Want more details about this and other DIY projects? Check out my blog post!
Comments
Join the conversation
4 comments
-
Woah.... Love your work!!
-
Very cool and original! Great idea and craftsmanship!


Frequently asked questions
Have a question about this project?