


Pressure Treated Outdoor Table

by
Zac Builds
6 Materials
$200
6 Hours
Medium
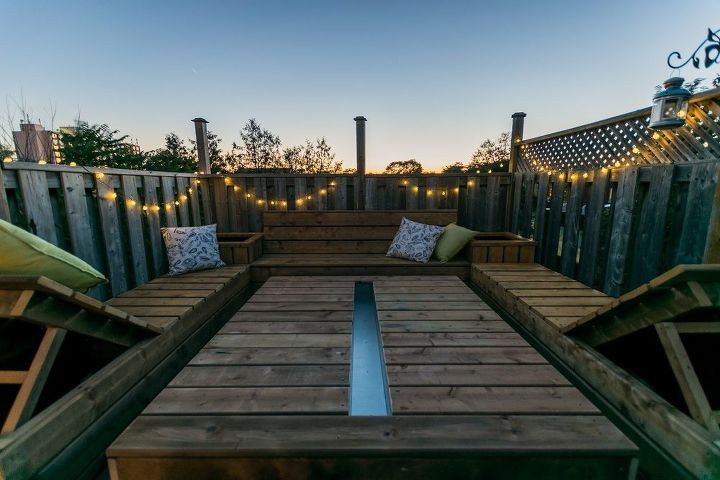
This project is the final part of revamping my outdoor area. It's really transformed my outdoor space and collectively it's only taken me a few days of work. Great return for the effort. This table is pretty basic but I wanted to make it so that a large group of people could all eat outside together. The channel in the middle of the table is design so that it can be filled up with ice and people can put their beer and other drinks in it to be chilled.
I'm really thrilled with how it all turned out. I might have built it a little late in the season but oh well at least it will be ready for next summer and all the rest of you can have the info so you can start your builds at the first hint of good weather!
Check my profile if you're interested in seeing how I built the rest of the elements on my deck, there's a guide for all of them!
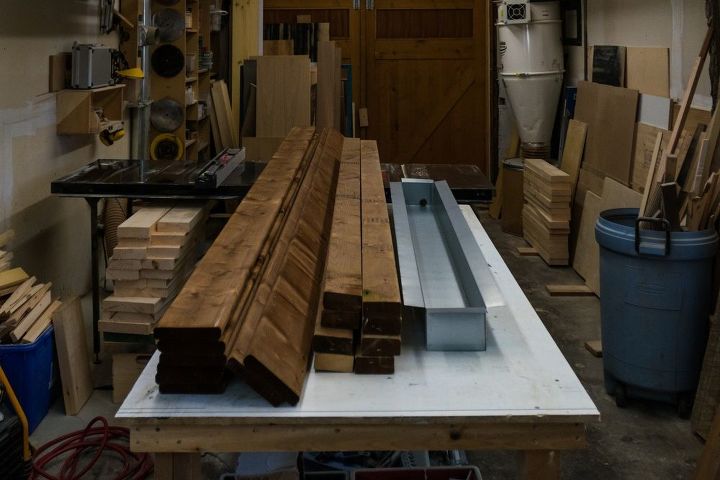
So this is everything I needed to make the table.
In total I used:
8 - 2x4x8s
6 - 5/4x6x10s
2 - 5/4x6x12s
2 - 5/4x6x12s
1 - box of 3" brown deck screws
1 - box of 2" brown deck screws
AND
1 custom metal box, more on that in one second.
I didn't have to buy it all, as I had some left over from other projects but it probably cost me about $200 CAD total.
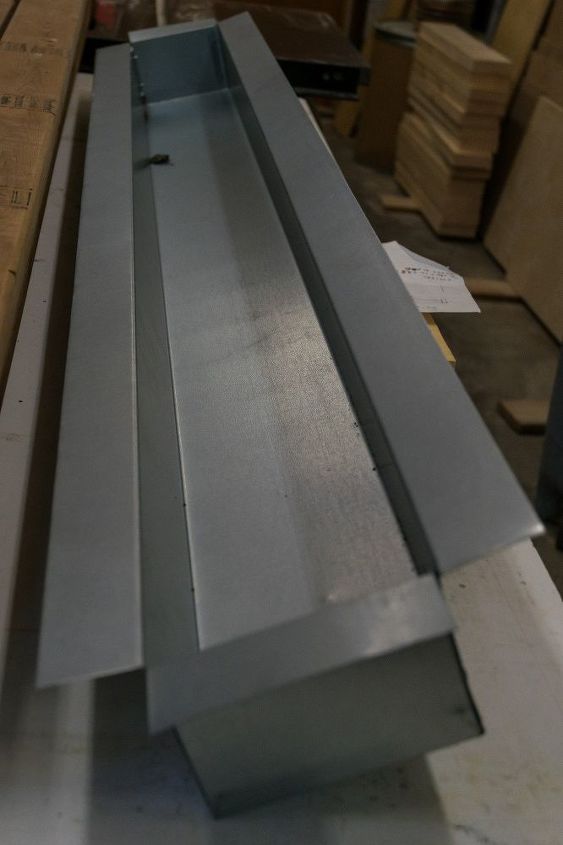
Remember how I said the channel in the center of the table was for drinks? Well I needed something that could hold ice and drinks and was suitable for outdoor use. This is galvanized roofing sheet metal bent and cut into the shape I need, perfectly suited for outdoor use.
I don't really have the tools or skills to cut and bend sheet metal though. So how did I have it made? A roofing supply store. Not many people know this, but roofing supply stores usually have a small shop in the back where they will cut and bend custom pieces of metal for you.
So I went to my neighborhood roofing supply shop with a napkin sketch of what I wanted made and they had it ready and waiting for me the next morning. It cost me $60 which isn't cheap, but this piece is also completely optional if you're going to follow along at home.
The steel box is 60 inches long, 4.5" wide and 4 inches deep. The flanges on all 4 sides are 2 inch wide.
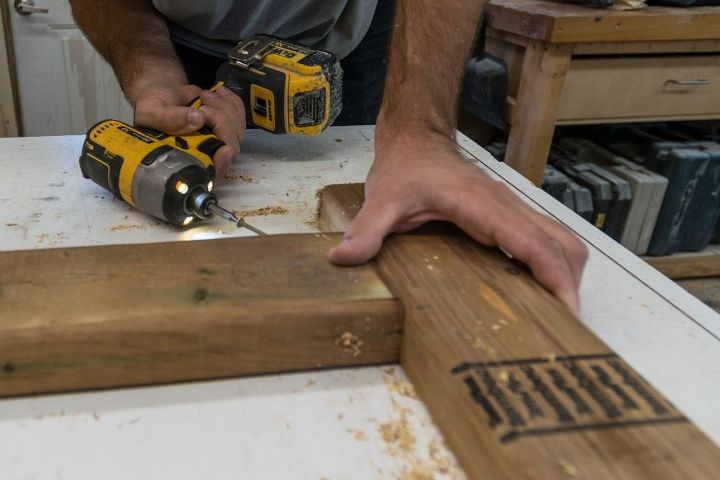
Ok time to start cutting. Start by cutting some 2x4s to 15 inches. You'll need 8 total. Next cut 8 2x4x58".
Screw them together, this is basically a free hand pocket screw. I pre-drilled the holes with a counter sinking bit. Then screwed them together using 3" brown deck screws.
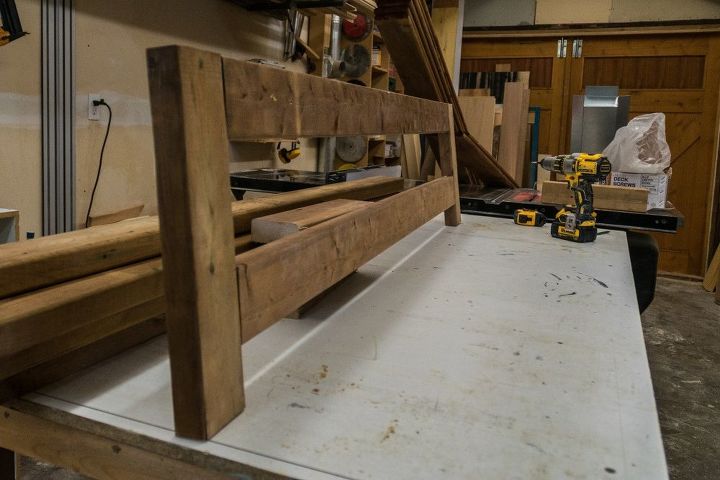
When you're done, it should look like this. Now make 3 more with the pieces you've already cut.
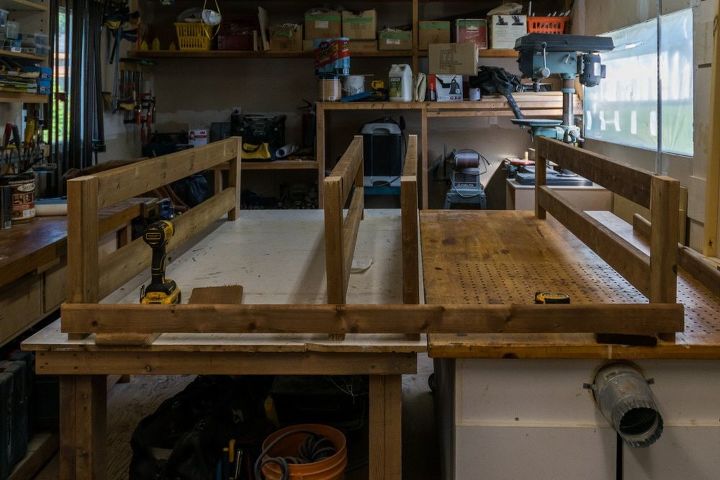
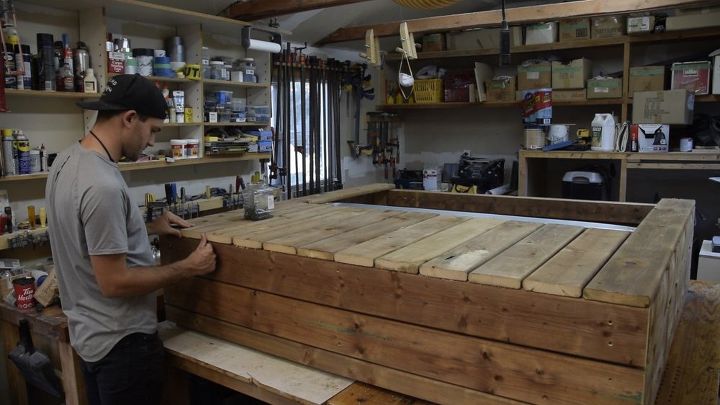
Ok this is going to be a little tricky. You ready? Arrange your 4 frames like this. You're outside frames should be 58" apart. The middle two frames should be 4 1/2" apart. The same dimension as the width of our steel box.
You're going to cut 5 5/4 boards to 58" long. Attach your 5/4 boards to the frames so that they are flush on the outside edges using 2" brown deck screws.
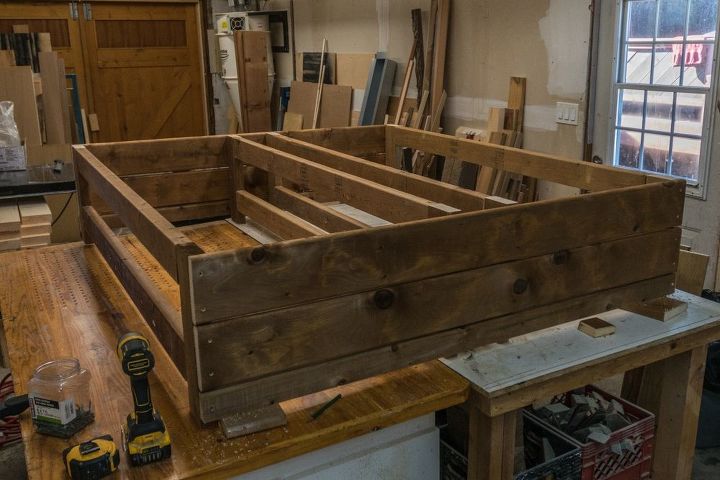
Once you've got all the 58" long 5/4 boards attached you should be looking at something like this. It's finally starting to take shape!
Next cut some 62" long 5/4 boards and attached them to the outside, just as you did before.
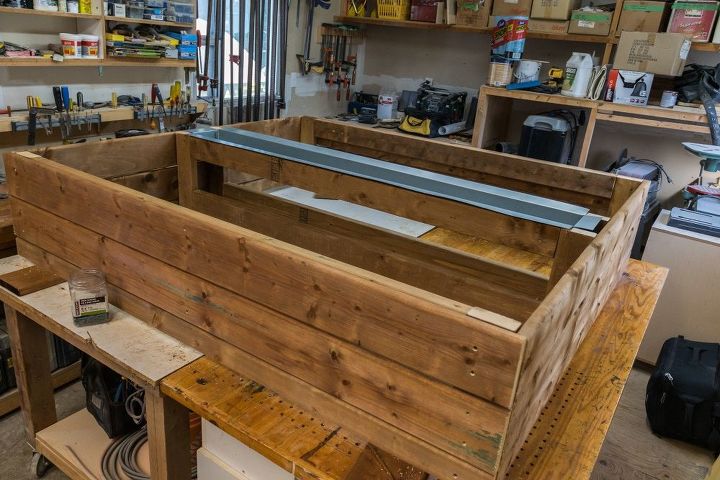
May as well take this as an opportunity to install the steel box in the center of the frames too. It's not quite as long space between the two frames, but that's ok, just center it in the space.
Time to cut and install 2 more boards. These 5/4" boards are 60" long. They should span the entire width of the table. If they don't either you cut them wrong, or I gave you bad instructions.
Screw them into the frames using the 2" brown deck screws. You'll have to screw through he flange of the metal box, but don't worry the screws will go through with a little bit of pressure. It will be easier than you think, I promise.
Now cut 20 5/4 boards to 27 1/4". Space them out evenly between your two end boards and screw them down into the frames. Again you're going to be screwing through the metal flange, but you've already done that and you now know how easy it is.
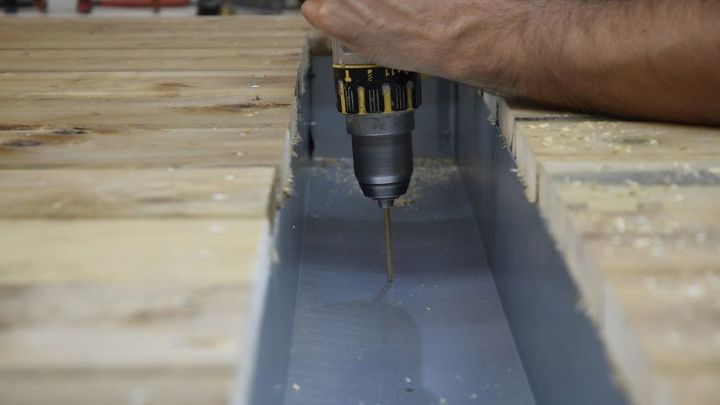
Almost done! I decided to drill some holes in my metal box. I plan on filling the box with ice and putting drinks in it on warm summer days. Ice melts and makes water. These holes should give that water somewhere to go and because my roof deck has drainage underneath it I can simply let the water drip down and it'll drain off my roof just like rain water.
It's very easy to drill through thin metal, dont spin the drill too fast and apply consistent firm pressure. Don't worry about it if your drill bit isn't super sharp. Don't have a drill bit? Forcing a screw through the sheet metal with a drill would probably work just as well.
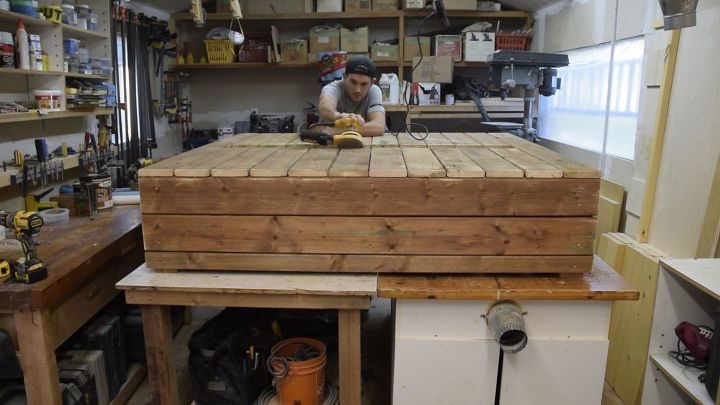
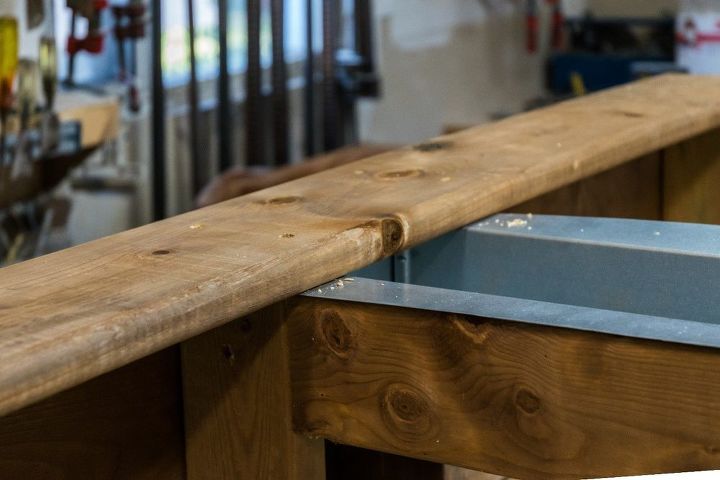
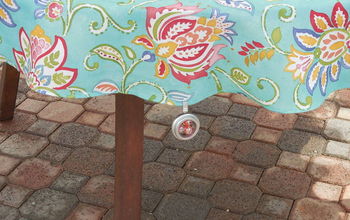
Next I used the poor mans router (random orbital sander) to round all the edges of the table. This also helps to knock off any splinters that may be left over after all the cuts.
Gotta make sure I get every edge, even the hard to reach ones. My friends are the litigious types, I have to manage my liability (just kidding).
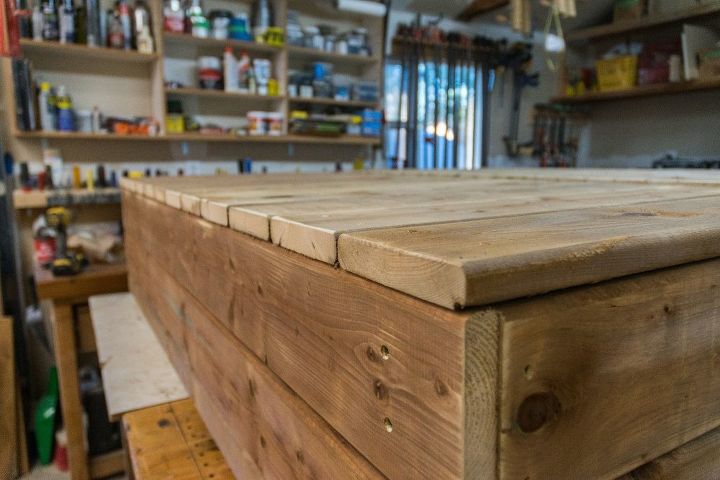
Nothing too crazy, still has the rustic look, but definitely much nicer on the hands and feet.

Here it is up on my roof deck. I actually had to disassemble a lot of it in order to get it up the stairs because it was so big, heavy and awkward.
That's ok it was totally worth it.
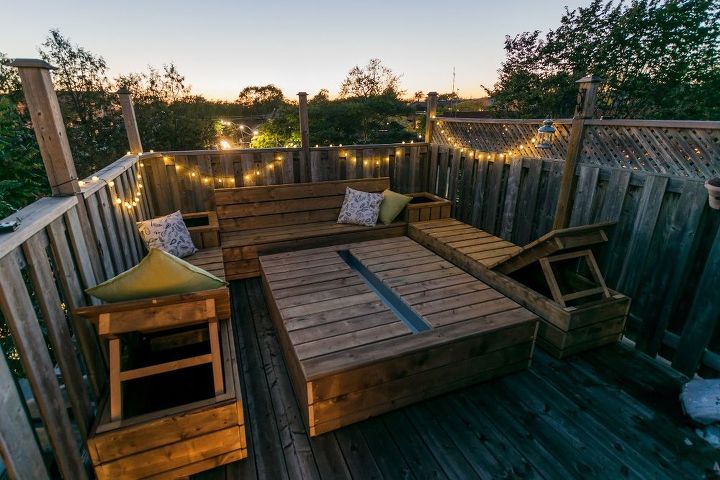
I thought my deck needed some ambiance lighting, so I went on amazon and ordered these solar power string lights. They are great. They charge during the day and once the sun goes down they turn on automatically. They are weather proof too, so you can leave them outside and not worry about rain.
I can't wait until it gets nice out again so I can start using this space.
Thanks for checking out my project. If you like anything else you see in this photo check out my Hometalk profile I have guides on how to build all of it. I also have more in depth guides with my precise instruction on my blog which is linked below.
Feel free to ask me any question or leave your comment below too!
Want more details about this and other DIY projects? Check out my blog post!
Comments
Join the conversation
4 of 6 comments
-
Nice project!

-
oops, I made a comment after your other post of the benches. I suggested a fire pit, but this is very cool too


Frequently asked questions
Have a question about this project?