


Wall Mounting a TV

by
Zac Builds
2 Materials
$40
1 Hour
Easy
Look, I'll be the first person to admit it, there are probably a million sources on the internet talking about how to wall mount a TV. I'm not exactly sailing uncharted waters at this point, but hey you're here reading it so I wasn't wrong to write this guide.
Besides, when a friend asks you to help them wall mount their TV and you run a blog where you write about DIY and home improvement you take it as an opportunity to generate some content and invade their space with all of your camera equipment!
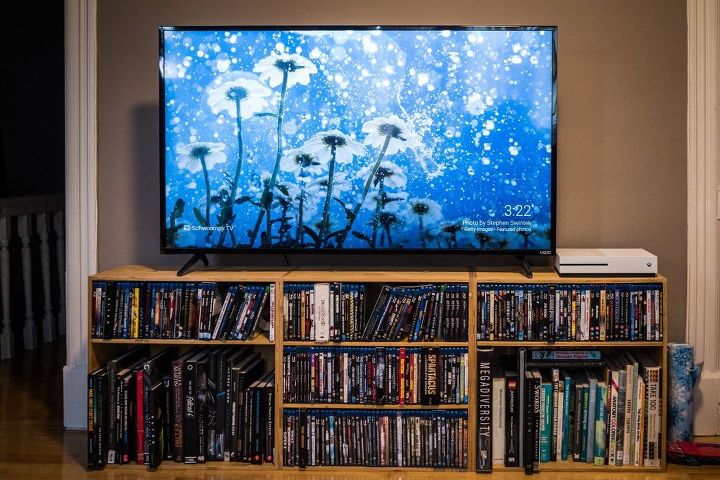
So this is my friends home theater setup. Can you tell he likes movies? In fact he likes movie so much he works in the movie industry and happens to make some pretty cool projects of his own. I suggest you do yourself a favor and check out his Facebook page. He wanted to do a pretty simple project and wall mount his TV on the wall directly behind the TV.
Why wall mount the TV, especially if it's just going to be in basically the same spot? Well for a few reasons. One he wanted to cleanup his setup and remove a bit of clutter from his living room. Two he wanted to raise the height of his TV to the optimal height (center of the screen at eye level). And three it if you use an articulating arm like we did you can adjust the angle, tilt and position of the TV depending on what you're doing and who's watching. It's win-win-win.
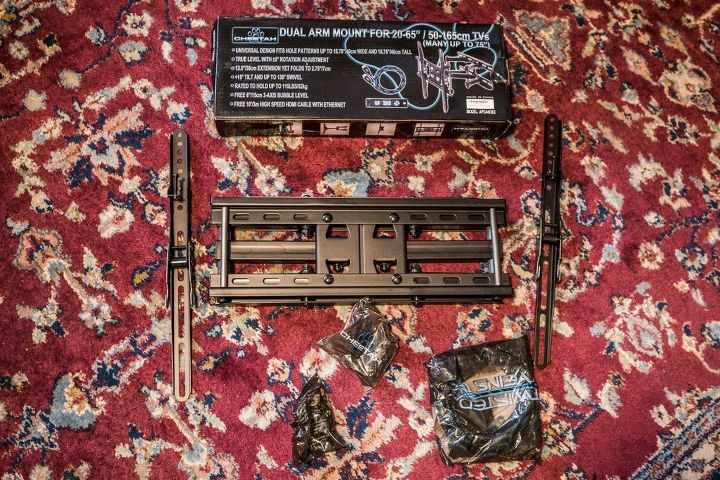
First things first, let's unbox the wall mount and see what we're working with. Inside we found 2 brackets that you mount to the TV, 1 bracket you mount to the wall. Other than that you have some little baggies with mounting hardware and this wall mount happened to also include an extra HDMI cable as a nice little bonus. This a pretty standard format and I've seen near identical wall mounts sold by many different retailers.
As a side note about TV mounts, don't buy them from best buy or other major retailers. They are ridiculously over priced. There's plenty of places on the internet that will sell you them at 1/10 the cost. I've even found a few smaller local retailers that are selling them at deep discounts compared to major big box retailers.
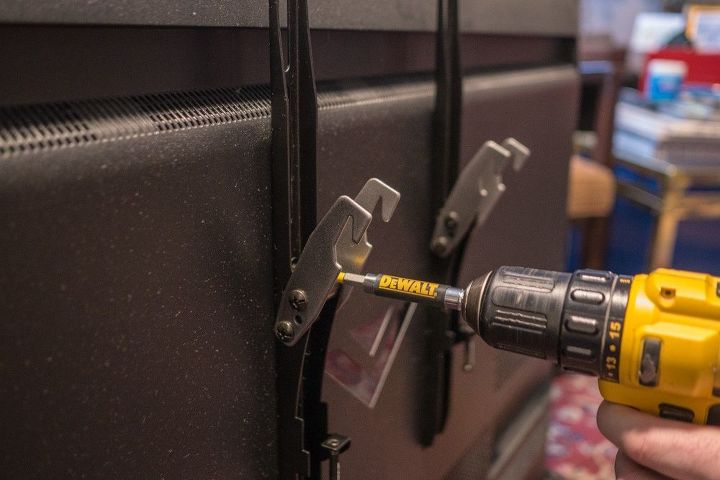
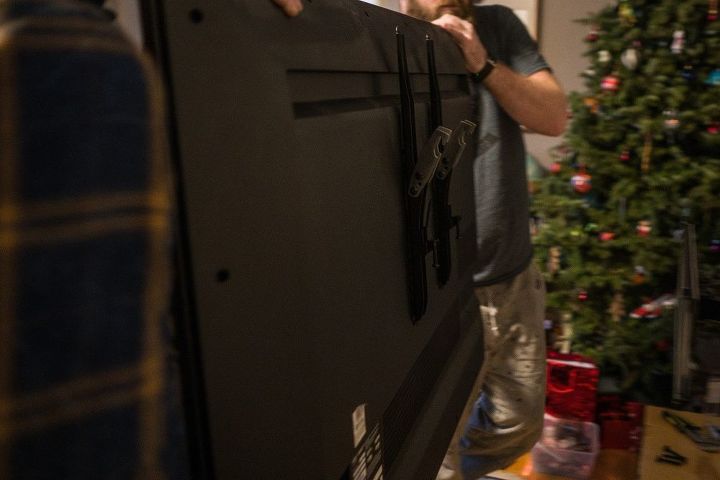
Lets get the easy part out of the way. I attached these two brackets to the back of the TV. Using the supplied screws and washers it was a breeze. Make sure you don't over tighten these screws especially if you're using power tools like I was. In fact I'd probably recommend that you do this by hand with a screw driver, that way there's almost no risk of over tightening the screws.
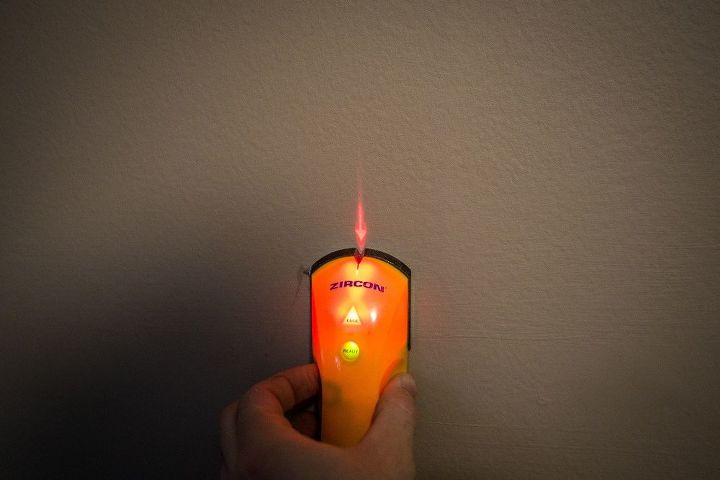
Onto the hunt for studs. Studs are the vertical pieces of structural wood behind most plaster walls. If you're going to be attaching anything of any significant weight to a wall, you want to ensure that you attach it to a stud. The problem is most people don't have X-ray vision, and those of us who do aren't willing to admit it to everyone else.
So you're left with 2 semi-reliable ways to locate studs, I suggest using a combination of the two. First you can use a stud finder like the one I have picture above. Stud finders are great, but I find they are prone to false positives (and I'm not talking about the time your friend waved it across his chest and pretended to make it beep). In order to find studs through thick plaster walls they have to be pretty sensitive and as a result they are prone to going off on almost anything that might be behind the wall. Hell, even slight imperfections in the plaster itself can set them off.
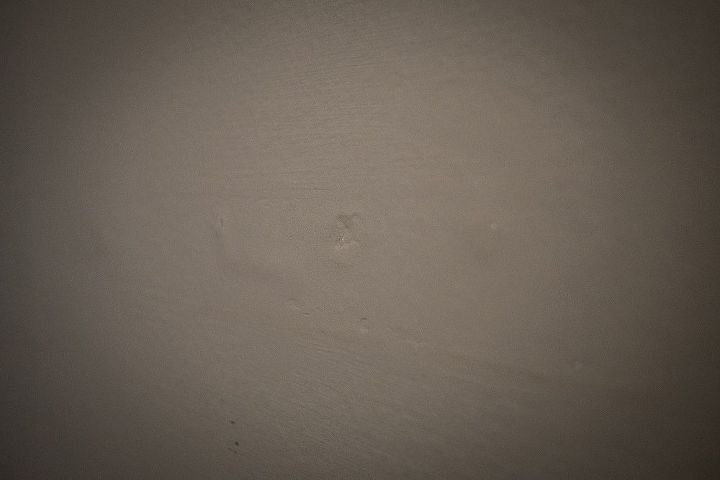
The second way to find a stud is to be a bit of a detective. Look for imperfections in the wall like the one above. That's a poorly patched screw hole from someone else mounting something to the wall in the past. Likely there's a stud there. Studs are installed 16 inches apart, so if you know where one stud is, you can measure over from it in increments of 16 inches to find other studs. You might have to get creative but you'd be surprised how much about the inside of a wall you can find out by just looking at it's outside.
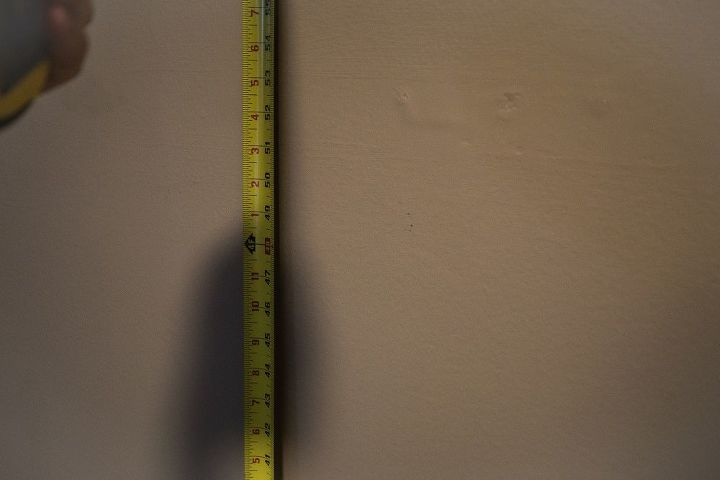
Once I found a couple of studs we calculated our optimal height and worked out how high the wall bracket had to be mounted off of the floor. In our case it was 48 1/2", but depending on the size of your TV, your own height and your wall mount this number could be drastically different.
I located my two studs and made marks at my optimal height. Ignore that center mark, that was a mistake. Occasionally I have to make mistakes so people don't think I'm perfect.
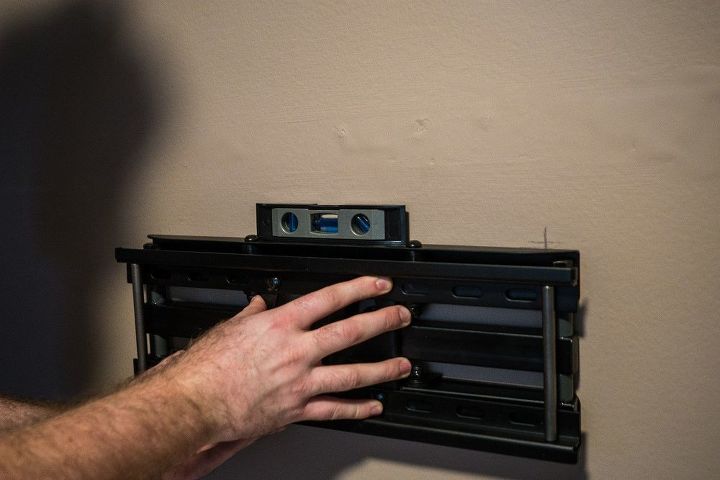
I located my two studs and made marks at my optimal height. Because I measured off of the floor, and you can never trust a floor in an old house to be level I placed the wall mount on the wall with a level on top of it and checked to make sure my two horizontal marks were level. Of course they weren't.
As you can see I had to drop it on the right side of the wall mount bracket by about 1/4". That's why you always double check.
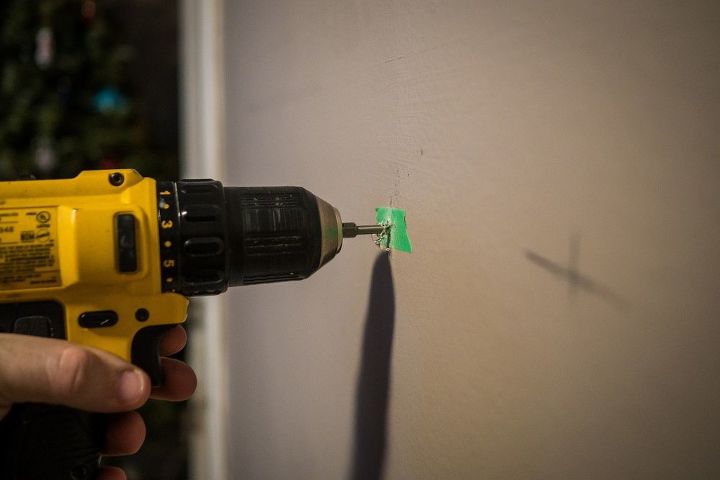
Our next step is pre-drilling the holes for the large screws that are going to be supporting the weight of the TV and the TV wall mount. Because these are big screws pre-drilling is a necessary step. If I didn't pre-drill I'd be risking either snapping the screws as I tightened them down or snapping the driver I was using to install the screws. Both would be bad, and are to be avoided whenever possible.
Perhaps you're wondering why I added green painters tape to the wall? That's because when you drill into plaster it can sometimes chip and break off. The green painters tape helps hold everything together and gives you a nice clean hole. Just remember to remove it after you've drilled your holes.
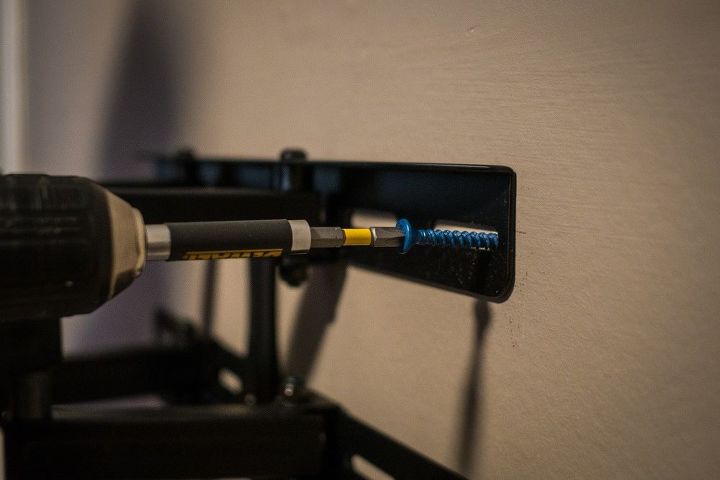
Here's the part of the project where I fudged things a bit. These aren't the included screws that came with the mount, those ones required a tool that we didn't have. In fact these aren't even wood screws.These are concrete screws. However, given the load that they are supporting and what they are being screwed into they are more than up to the task. Ideally though you'd either use a lag bolt or a very large pan head screw with a good washer. Sometimes you just have to make use of the hardware and tools you have on hand.
Classic case of do as I say, not as I do!
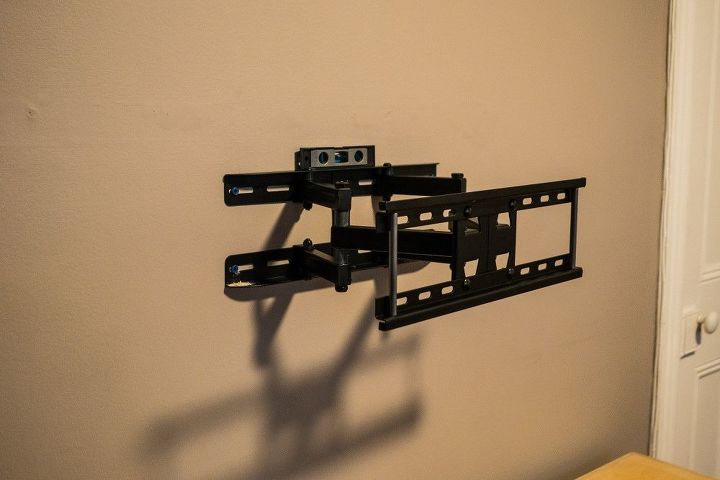
I installed one screw in each of the four corners of the wall mounts bracket. Just to be sure the bracket was firmly attached to the wall we took turns trying to rip it off the wall. Luckily it stayed planted to the wall so I think we did a good job of installing it. Either that or we're just getting old and feeble.
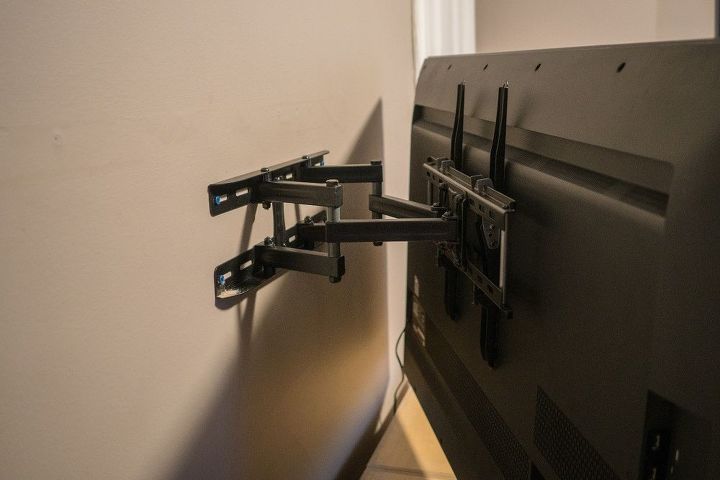
We lifted the TV and with a satisfying click it snapped on to the bracket mounted to the wall. When you're attaching the TV to the wall mount you'll want to lift it up and drop it down onto the wall mount.

Here you can see the hooks on the TV locked in place on the wall bracket. It's a pretty fool proof and intuitive system. Most people probably don't need instructions to figure this part out, but hey you never know.

This next part is slightly less fool proof. On the bottom side of the TV brackets are 2 large set screws. These screws pinch down on the wall bracket and ensure the TV can't be accidentally dislodged or knocked off wall bracket. Which is important when you have an expensive TV mounted to your wall. So make sure you tighten these up.
It's actually impressive how far this TV mount can come off the wall and how much articulation it has. For a fairly inexpensive mount this thing is rock solid. There's very little play or wiggle in it, which again is important when you're mounting your expensive tv to it.
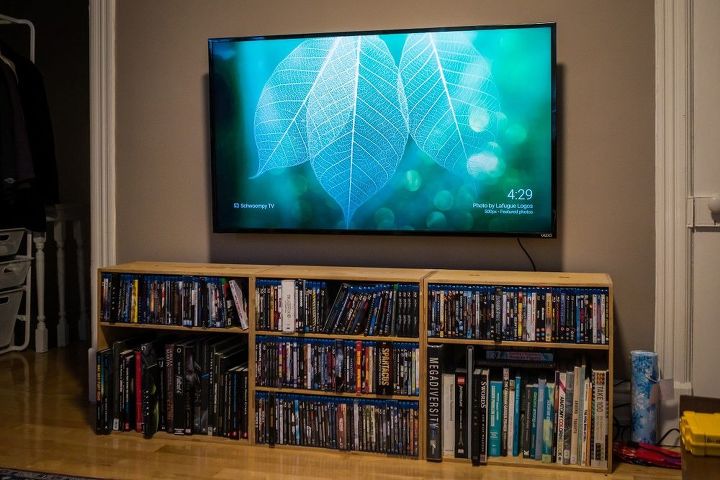
This is how it ended up looking when it was all said. Not a HUGE change, the TV is slightly higher, but it really adds a lot to the room in terms of how clean it looks.
If you have any questions about mounting a TV to the wall, hit me up in the comments. I hope you enjoyed this post from me, even if you could've got it somewhere else!
Check out my website below where I have tons of projects about home improvement, diy projects and home automation.


Any price and availability information displayed on [relevant Amazon Site(s), as applicable] at the time of purchase will apply to the purchase of this product.
Hometalk may collect a small share of sales from the links on this page.More info
Want more details about this and other DIY projects? Check out my blog post!


Frequently asked questions
Have a question about this project?