


New Bathroom Countertop

6 Materials
$550
2 Weeks
Medium
So we had been in the home for a few years and as ex military, I was itching to move or do something to the house LOL! So I decided to start small and based on that do the master bath. We had a tiny 'under the stairs bath' that I thought would be a good place to start.
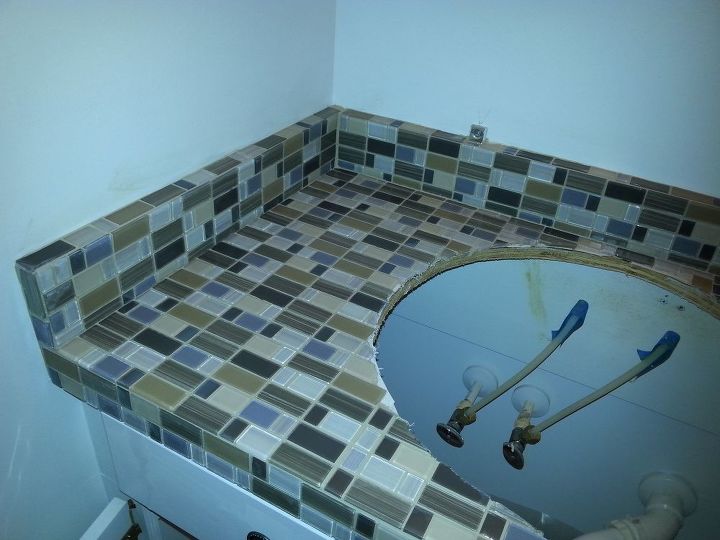
No before photo unfortunately, but very similar to the master bath below. I didn't want to buy a new top, the old was just formica, off white, just plain. So I bought 5 or 6 squares of glass tile and used this double sided sticky stuff that is for attaching tile, turned off the faucets and removed the sink. I have a small tile wet saw that I used to cut the circle around the edges, and scissors to cut the tile matt for the pieces along the edge.
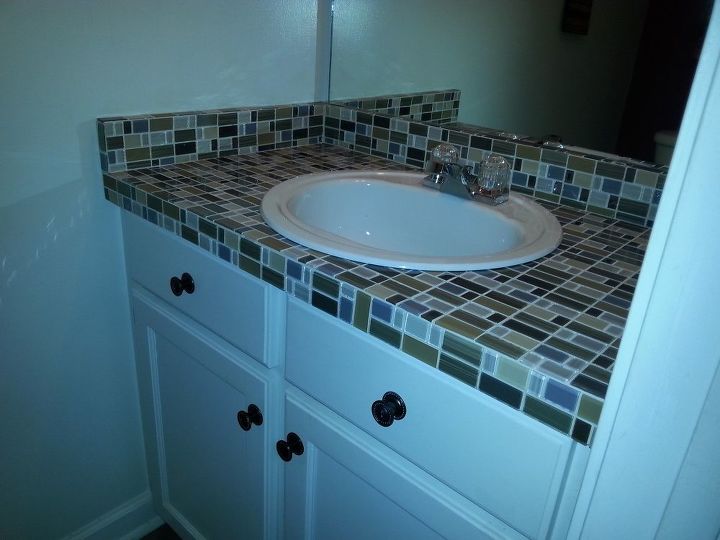
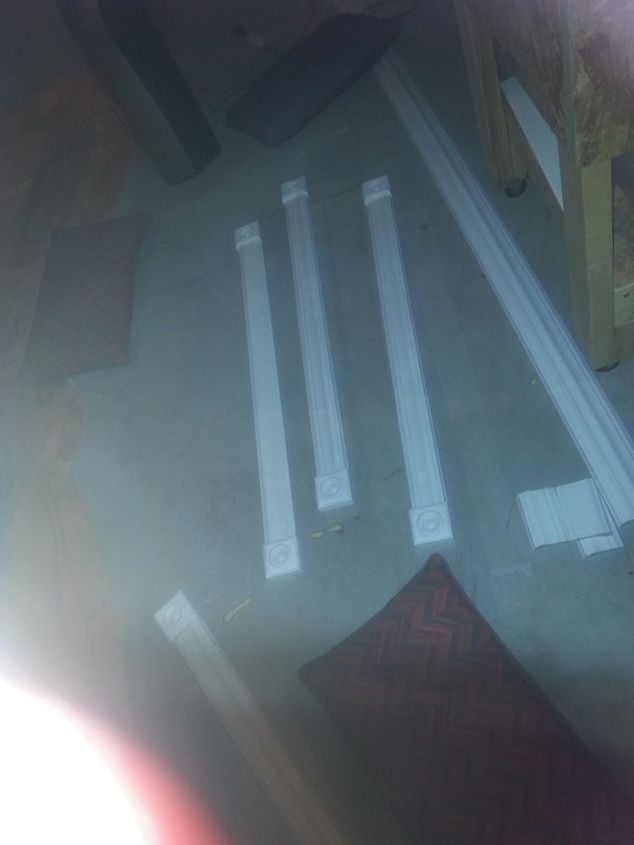
installed the sink, grouted the tile with an off white, put on new hardware (4 handles) and started on the mirror. It was just a large flat mirror, and ordering a frame was expensive, so I looked up videos on make a frame. I went to Lowes and bought 3 pieces of wood with a design on it, painted it with spray paint in the garage and glued it to the mirror (after measuring and mitering the edges).
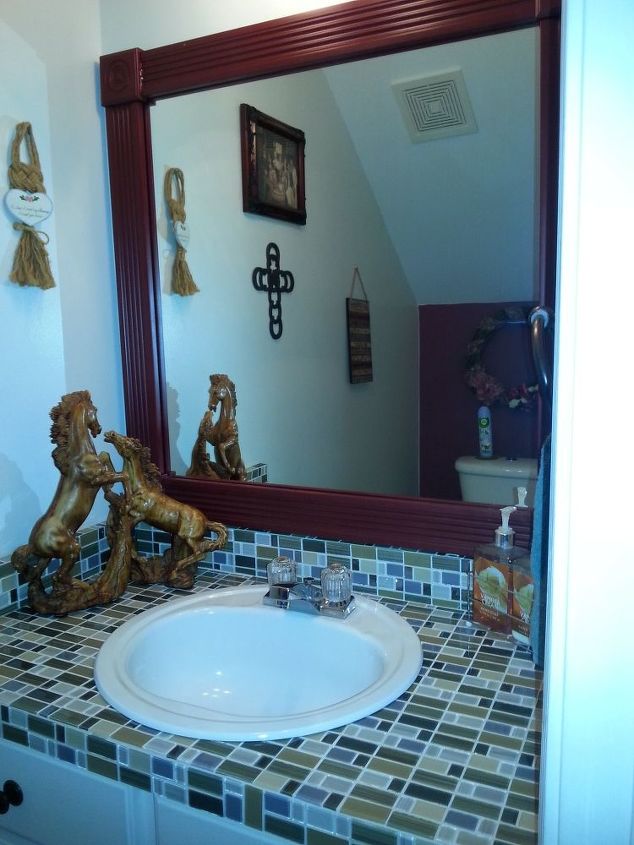
Painted the back wall to match the frame color and pulled the light fixture down over the sink and spray painted the gold frame to match the oiled bronze hardware I purchased. Turned out well enough to give me courage to start the master bath!
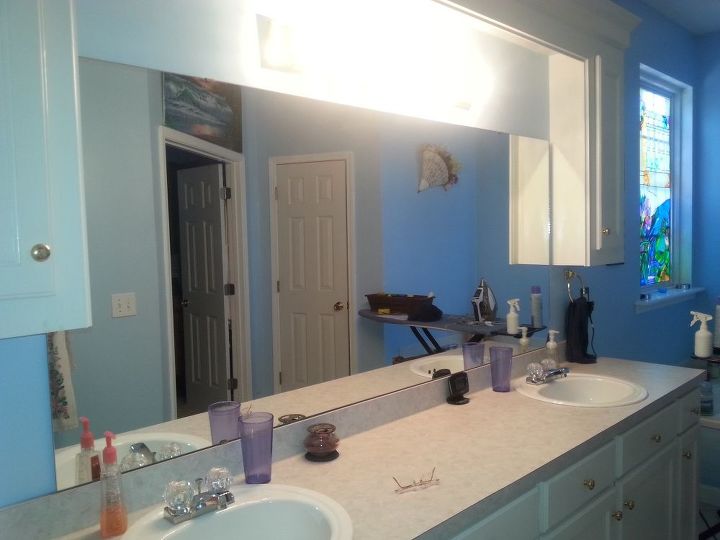
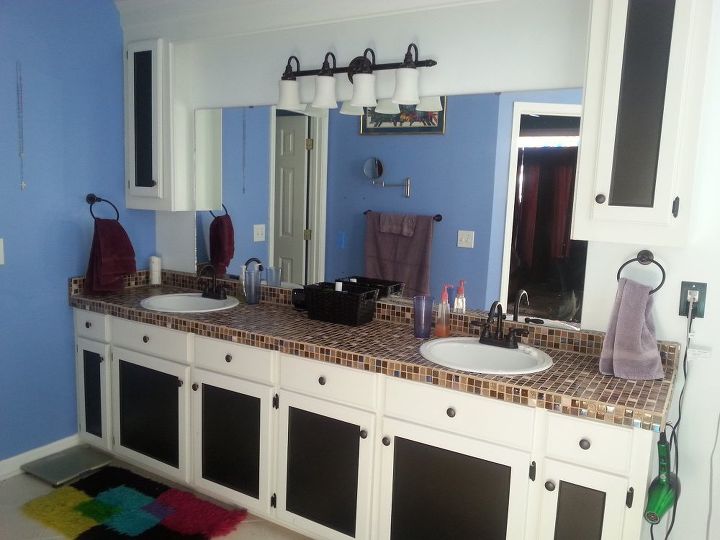
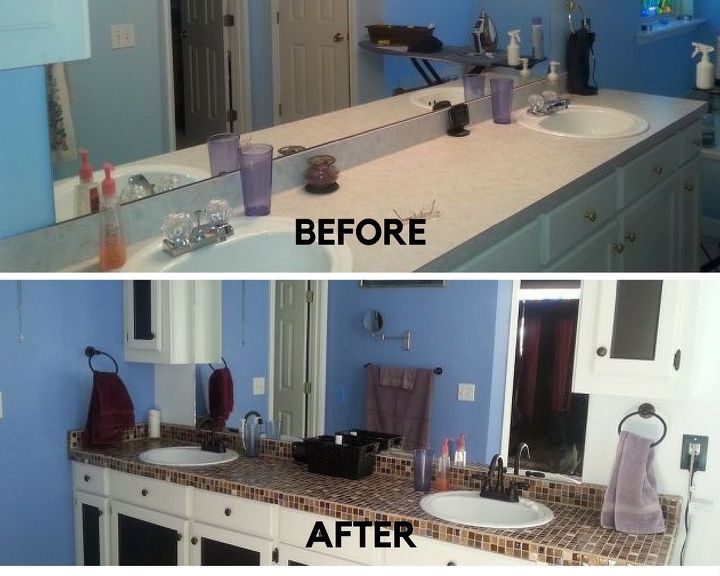
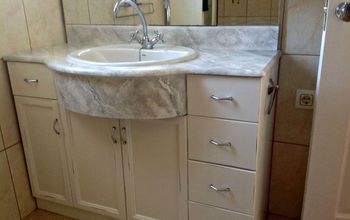
This time I took a before photo, plain white cabinets, gold pulls, formica counter top, normal huge plain mirror. (I already had finished the faux stained glass for the window treatment.
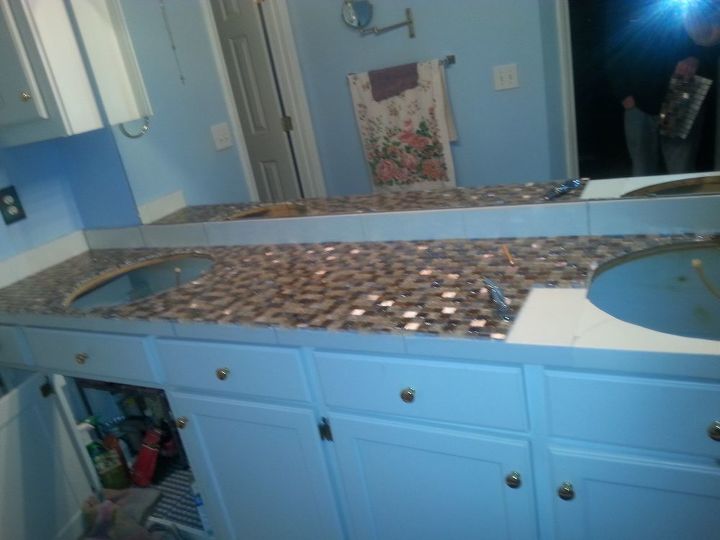
Again, shut off the water, removed the sinks, and began laying glass tile with the double sided sticky stuff for tile. Hind sight is 20 20, I started at the back, and should have begun laying it from the front (shows more uneven lines at the front if you don't have it perfect all the way down the length of the cabinet.
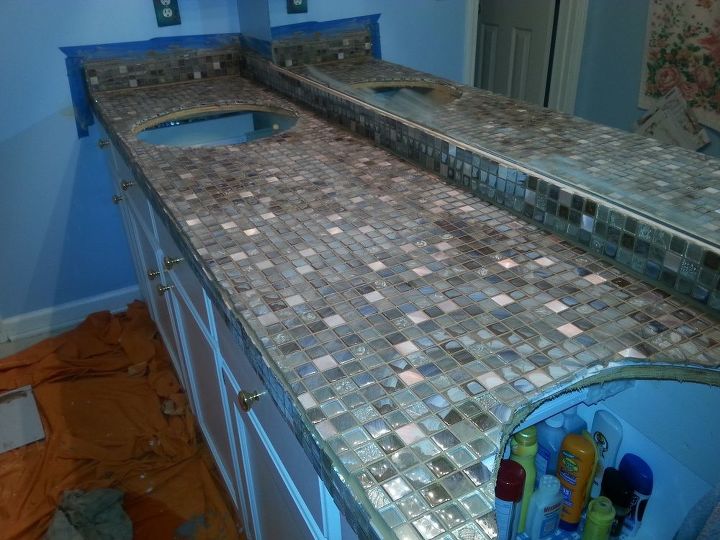
time to grout the tile
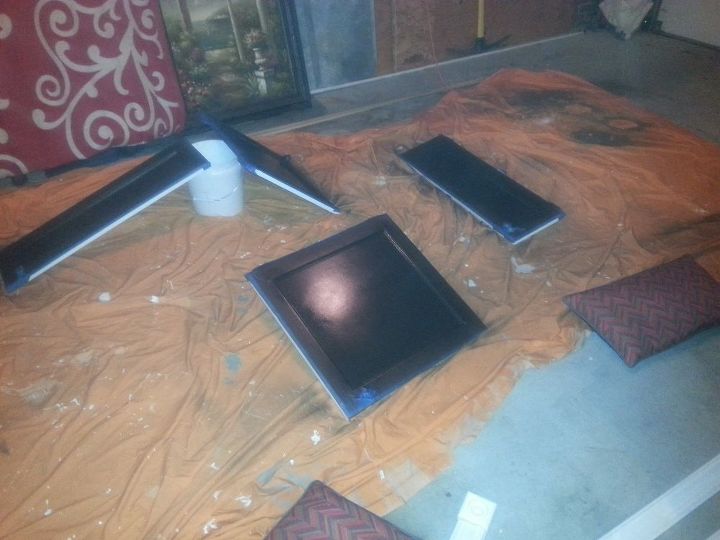
Wanted to provide some paint on the doors to make them pop, so I put tape on the edges and spray painted the door center inset piece.
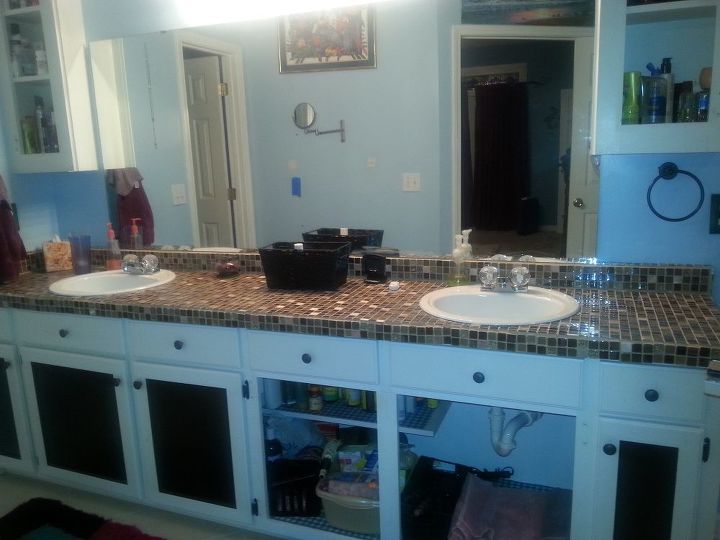
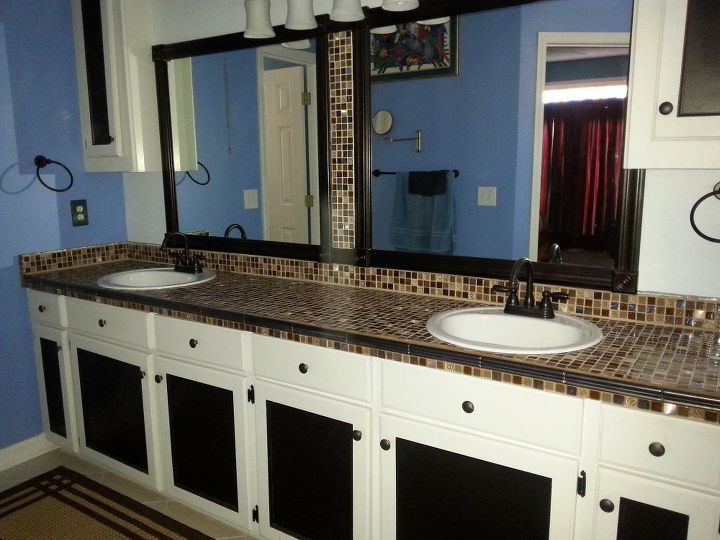
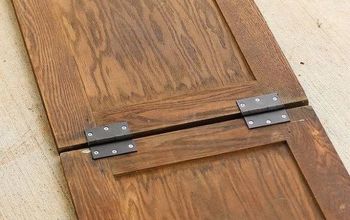
grouted the tile, installed the sinks. Hung some new oiled bronze rings, same for the new door pulls, and began hanging the dry doors back on the cabinet frame.
Installed new faucets, and installed a new light bar vice the 6 round bulbs on a gold bar. Time to start on the mirror!
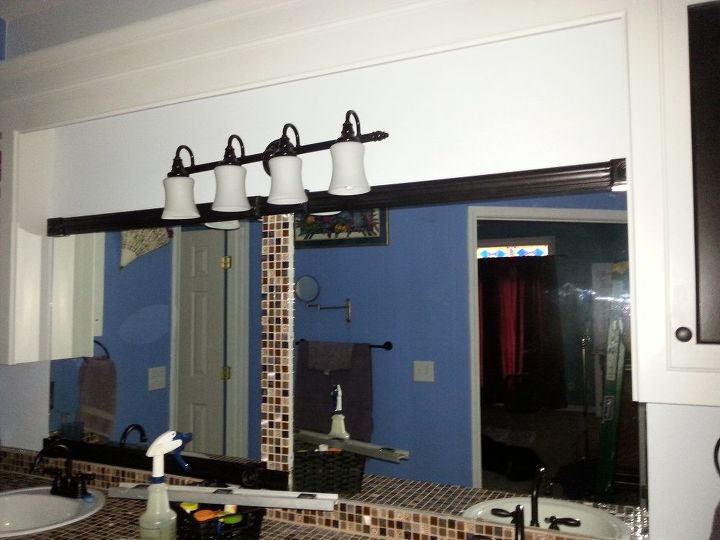
This time I wanted to divide the mirror into 2 sections, so I took left over tile and cut a board that was 4 tiles wide as tall as the mirror. After grouting the tile, I glued the board on the mirror and began gluing the frame to the mirror. I bought rosette corners and hand painted some copper highlights on the center circle for accent.
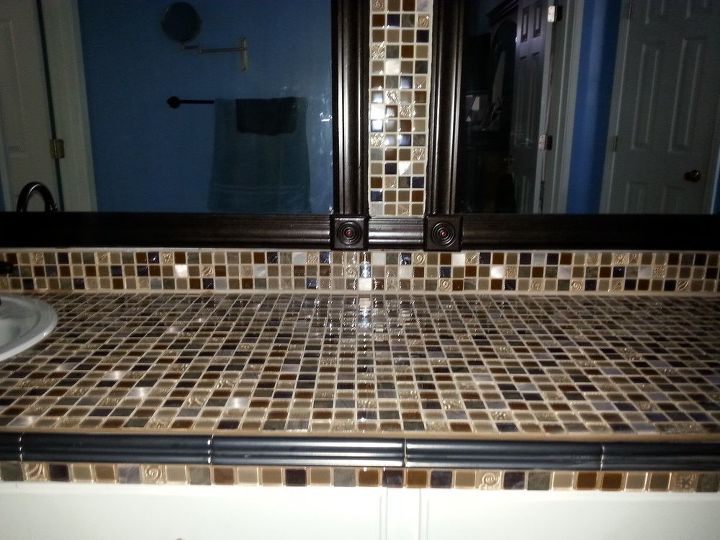
I hate rework, but I didn't like the outside edge of the counter, so I pulled down one row of tile and installed an edging piece that really gave it some finese.
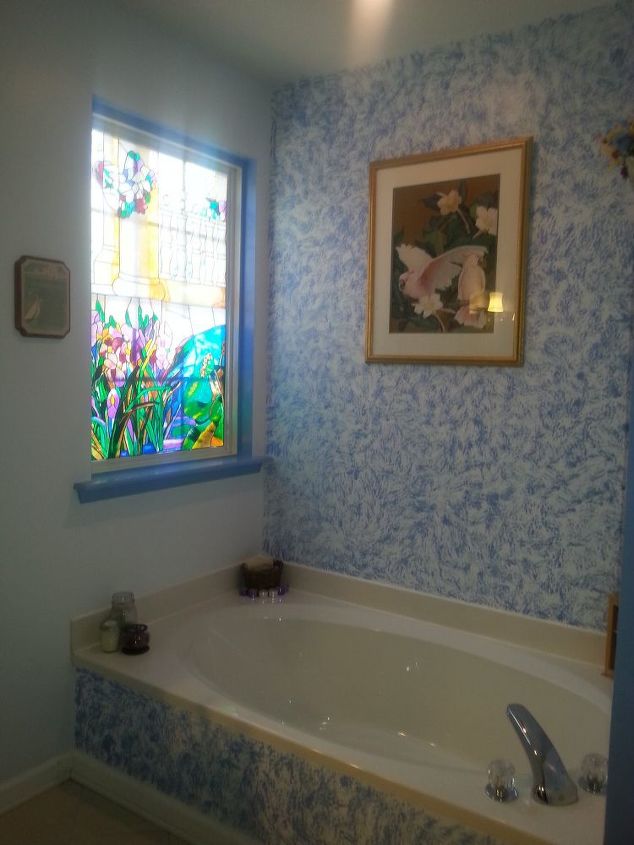
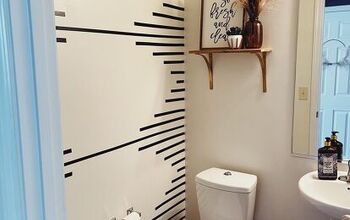
I added some sponge effect to make the white tub highlighted in the corner of the room. You can see the faux stained glass window better, it casts beautiful light in the room and provides privacy.
Purchased a new runner at Lowes to go with the paint and cabinet colors. Finished bath!


Any price and availability information displayed on [relevant Amazon Site(s), as applicable] at the time of purchase will apply to the purchase of this product.
Hometalk may collect a small share of sales from the links on this page.More info
Comments
Join the conversation
2 of 14 comments
-
So beautiful! You've inspired me. Thank you!
-
oh my I must get too the hardware store right away....Love it all


Frequently asked questions
Have a question about this project?
So you tiled right on top of the formica??? What did you use to adhere the tile to the surface?
Did you use a window film for your window faux stained glass? Great job.
Does the plexiglass window give you all the privacy you need for the bathroom?