


Beauty Bar/Vanity Repurposed From Old Desk
3 Materials
$60
1 Day
Medium
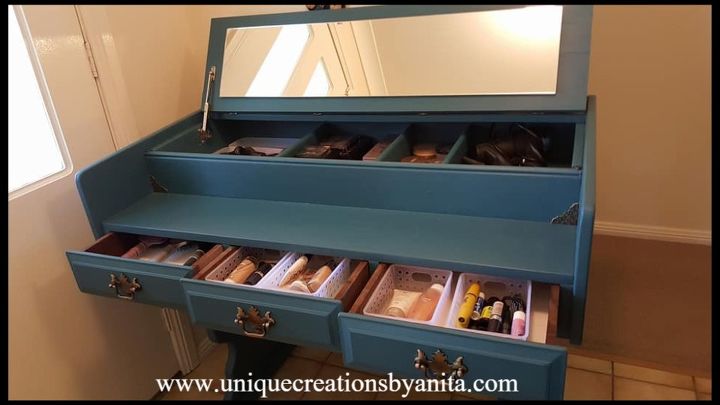
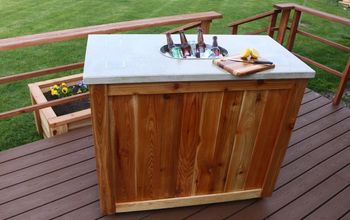
I got this old writing desk off of my local market place website. It was a bit too old-fashioned to do up and sell, so I flipped it into a modern beauty bar/vanity. Beauty bars are very popular at the moment in Australia, having a desk that stores all your beauty supplies in one place is a great idea.
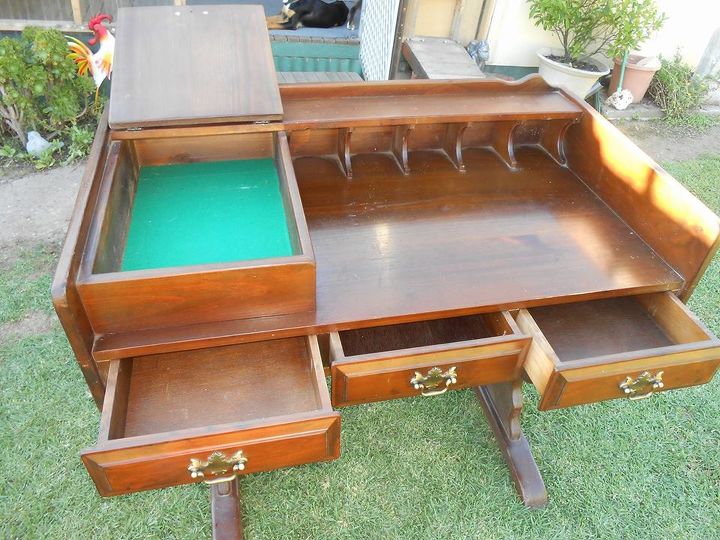
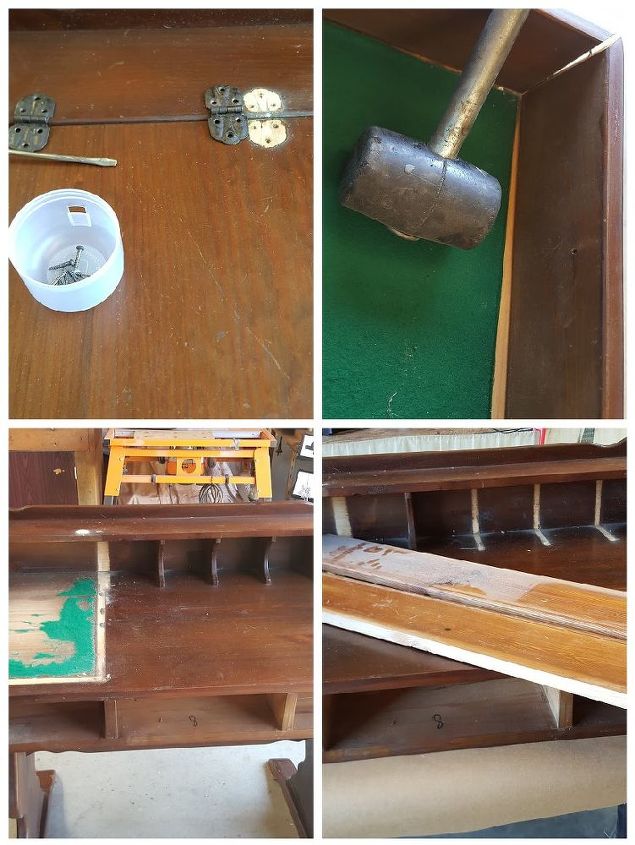
I removed all the hardware and removed the lid for the paper storage. I used a rubber mallet to gently knock out the box on the top and I also removed the little arch partitions along the back. I thought they gave the desk an old-fashioned look. I used some scraps of wood off my scrap heap to make some partitions in the desk. I put them through my thicknesser to clean them up and gave them a final sand using 240 grit sandpaper.
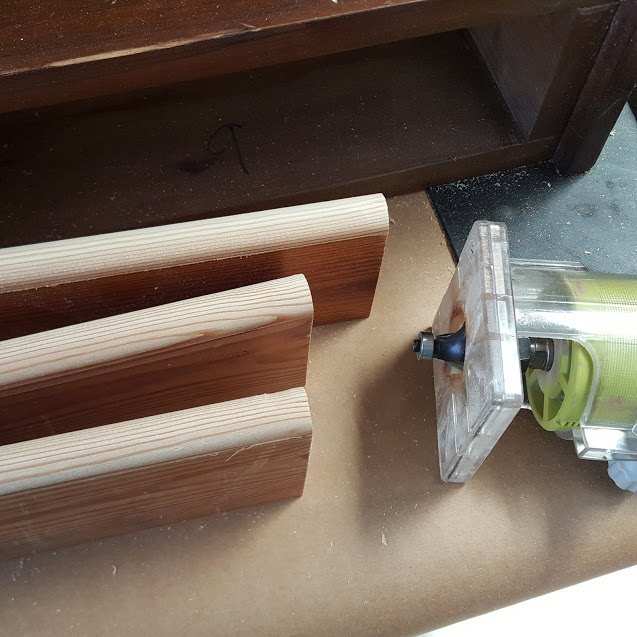
I used a router to take the corners off the tops of the partitions to give them a softer look.
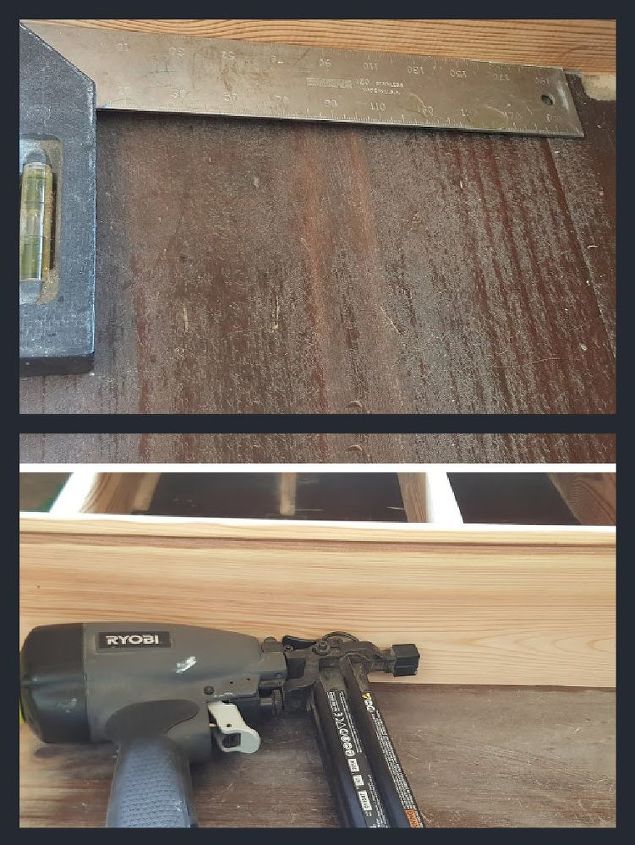
I used a square ruler to line all the shelves up, before they were permanently fixed to the desk. Note to self: sand the desk top before attaching shelves! It's so much easier and less time consuming.
To attach the partitions to the desk, I glued them first and used a nail gun to keep them in place.
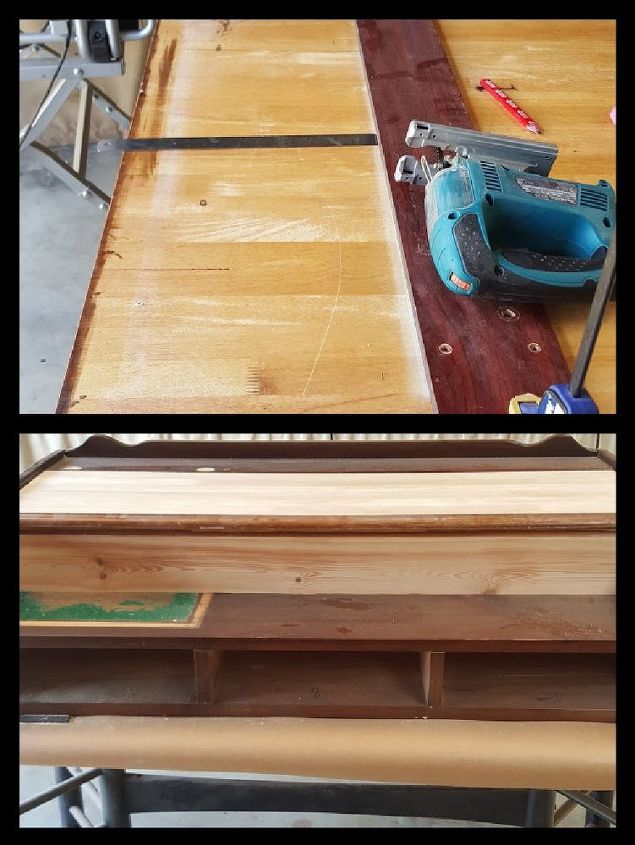
The lid was cut out from an old desk top from my scrap heap. I measured out the size I wanted, set up a plank as a guide fence, and used a jig saw to cut it. Then it took me twice as long to sand each partition.
I found in the end that I could not remove all the old felt and I decided to line the bottom with non slip mat.
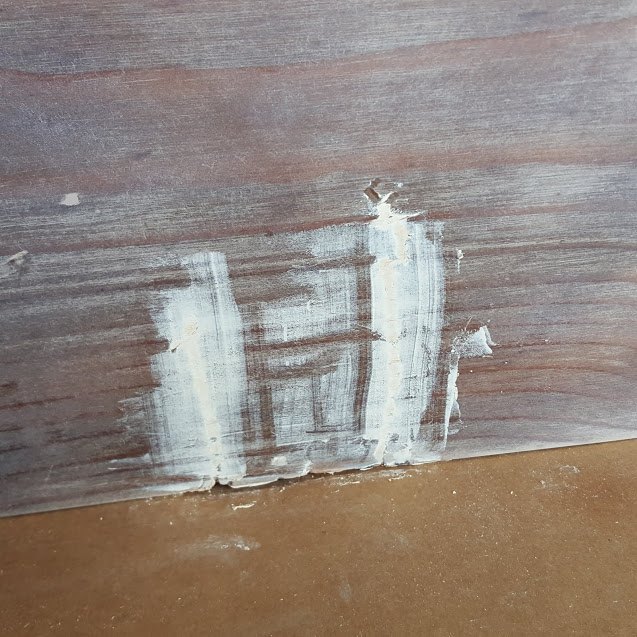
I Sanded down the rest of the desk and filled in some of the damage with filler.
Annie Sloan chalk Paint
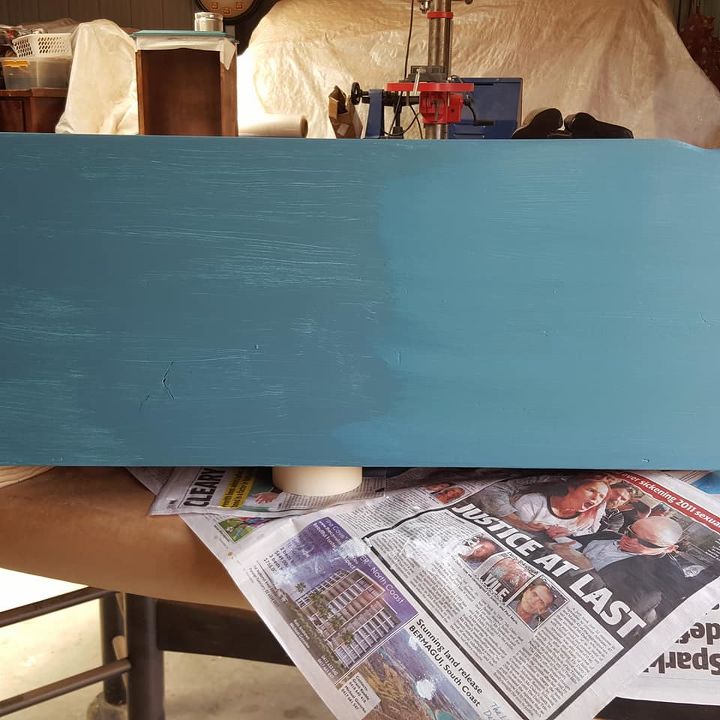
I had never used Annie Sloan chalk paint before and it was hard to get in Australia, but I really loved the colour Peacock which I had seen on Pinterest . It said "no need to sand or prime" but I could not take the chance. I needed to finish this desk because my work shed had too many jobs on the go at the same time.
I put a coat of primer and 2 coats of Peacock paint, which was made up from 2 Napoleonic Blue + 1 part Antibes Green + 1 part Aubusson Blue. And I added 2 coats of clear wax. The left is with one coat and the right with 2 coats. I have to admit I was not 100% convinced on using the wax, I felt it left every fingerprint or mark in the paint. It is now 1 week dry and feeling a little happier, But I don't have room in my shed to hold on to projects for weeks after completion to wait for them to cure. So I think I will be looking for a new sealer for the chalk paint.
Beauty Bar/vanity
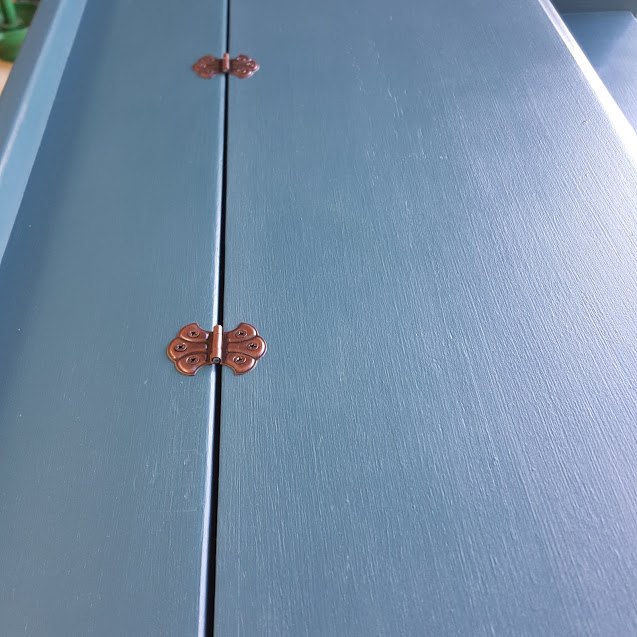
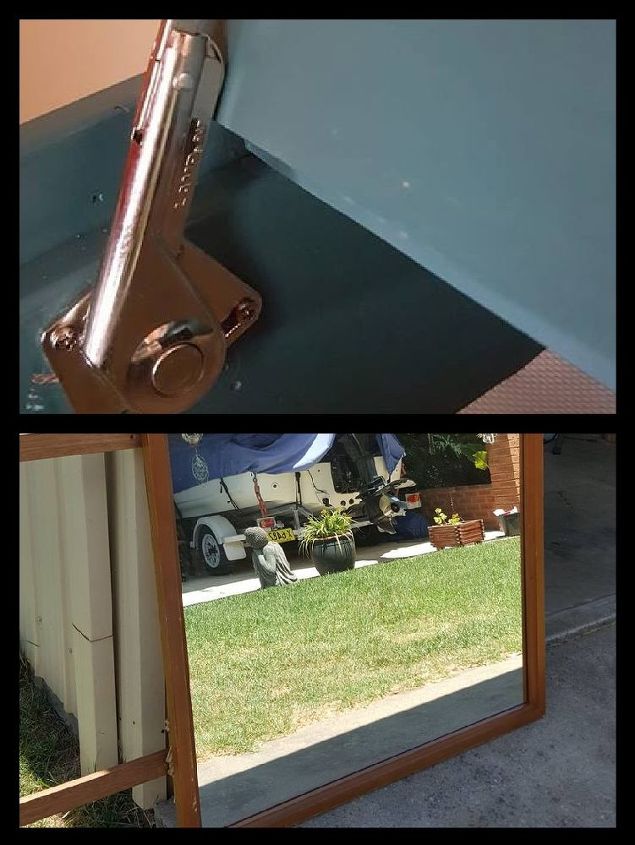
I found some brass colour hinges to match up with the handles that were already on the desk.

Adding the hinge to the lid
To add my top hinge to the lid, I found the centre point of my lid and the centre point of my hinge and lined the two up together. I put my hinge the right way up and gently hit it with a rubber mallet to mark where the holes needed to be drilled. I ordered these decorative corners in bulk off Wish, 12 for $3.00, which I added to the corners as decoration.
I recycled a lid Lifter from an old toy box, but it is a good idea to fit it before you paint. I had to move mine so I had to touch up the paint.
Lastly I had this old mirror I was given, and wanted to put a mirror under the lid on the desk. I read up on "how to cut a Mirror". I followed the steps to the letter and it did not work, my mirror snapped down the middle. So I took it into town and I was quoted $2.00 to cut the mirror to the size I wanted. So please with my bargain, I said great go ahead. They then asked me if I wanted the edges polished. Me: sure no problem!! The bill was $22.00 which was more than the whole desk had cost me. Oh well I will know for next time. I attached the mirror using self adhesive velcro.
Beauty Bar/Vanity
It only took me 2 hours to alter the desk to the way I wanted it to be and the rest of the day to paint it. To see more of my unique creations


Any price and availability information displayed on [relevant Amazon Site(s), as applicable] at the time of purchase will apply to the purchase of this product.
Hometalk may collect a small share of sales from the links on this page.More info

Want more details about this and other DIY projects? Check out my blog post!
Comments
Join the conversation
3 of 40 comments
-
Thank you 😁
-
That is beautiful! I have a vanity table. Lol I do my hair and make-up there! It's a whole lot easier and quicker to get ready. You did an awesome job with this!!


Frequently asked questions
Have a question about this project?