


Large Shiplap Welcome Sign
7 Materials
$10
4 Hours
Easy
If you are like me and just can’t get enough of shiplap here is a way to add that farmhouse feel that is different than the traditional way of nailing it to your walls.
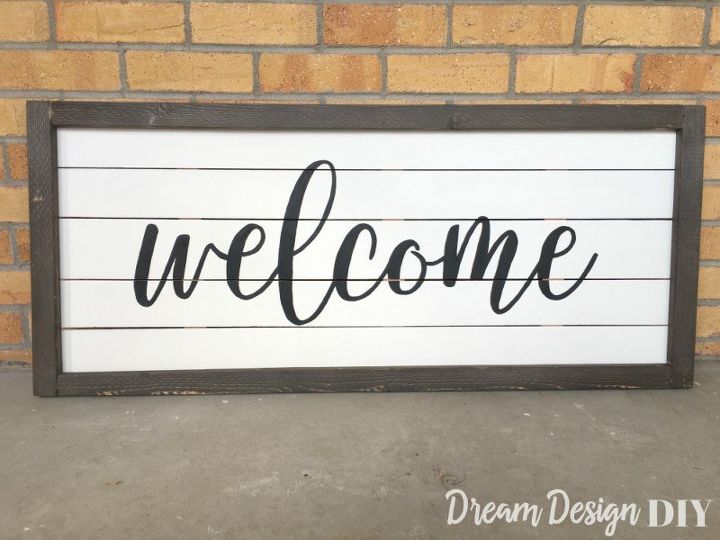
In this post I will show you how to create a Large shiplap Welcome Sign. I was able to complete this project from left over plywood from my Kitchen Nook Shiplap Bay Window.
My completed sign measured 41 1/4 x 17 3/4 inches.
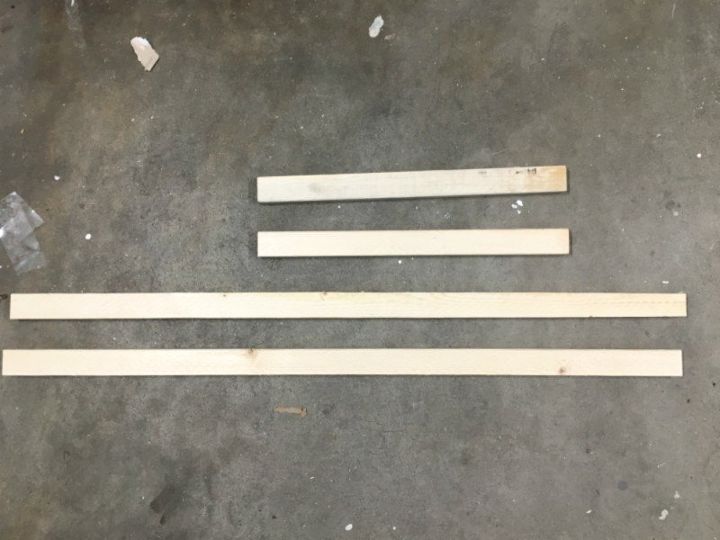
Cuts:
- 5 - 1/4 inch plywood ripped cut at 40 inches x varying widths of 3 - 3 3/4 inches (shiplap)
- 2 - 1 x 2 cut at 17 3/4 inches (sides of frame)
- 2 - 1 x 2 cut at 38 1/4 inches (top and bottom of frame)
- 3 - Wood slats - 17 inches (back supports)

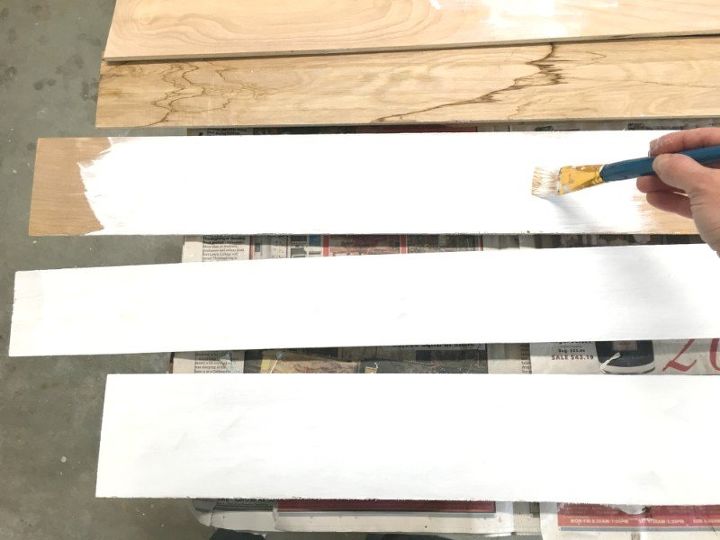
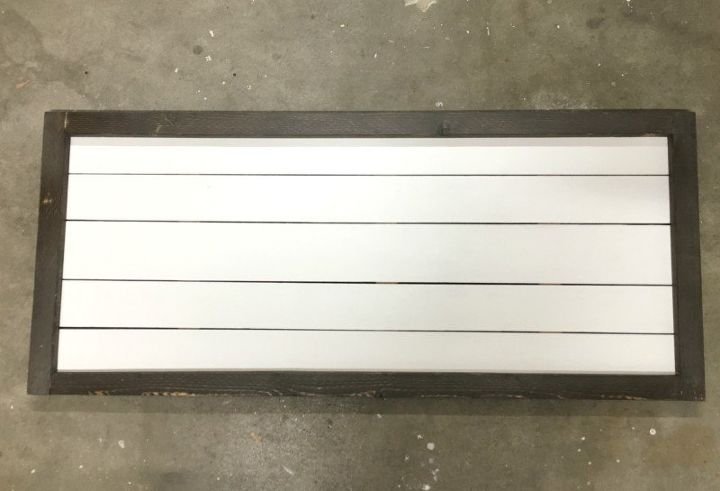
After my cuts were made for the plywood I laid out the pieces and applied two coats of a flat white latex paint.
To construct the frame I applied wood glue to the end of the long pieces (top and bottom) and then nailed the sides to the ends of the top and bottom pieces.
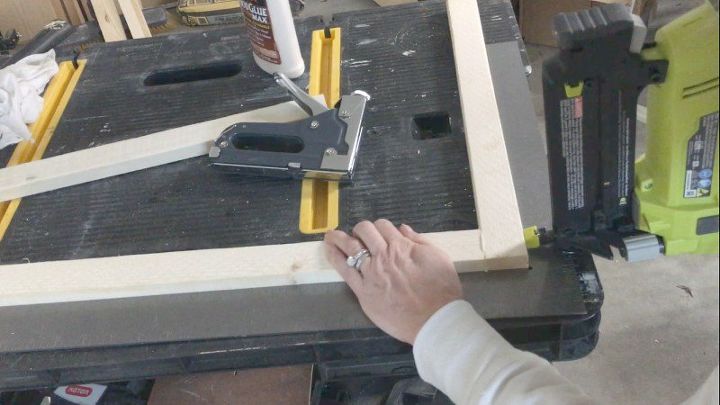
Make sure to use a square to help with making and keeping a 90 degree angle. Then I filled the holes with wood filler, sanded and stained the frame.
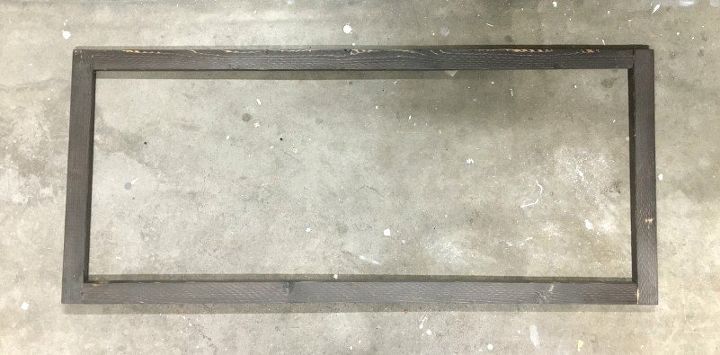
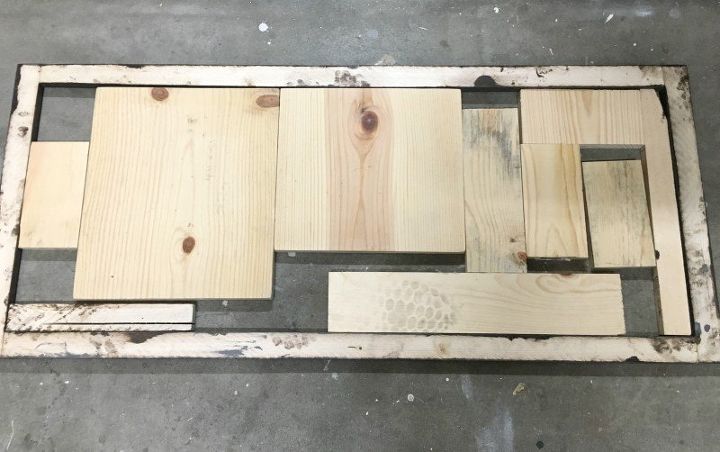
Once the stain dries it is time to attach the wood planks. To do this I laid the frame on the ground and laid several pieces of scrap wood inside the frame.
I know kind of an odd looking thing to do but these scrap wood pieces were a way to support the wood planks from bending in while I nailed them to the back of the frame and also to keep the popsicle sticks in place.
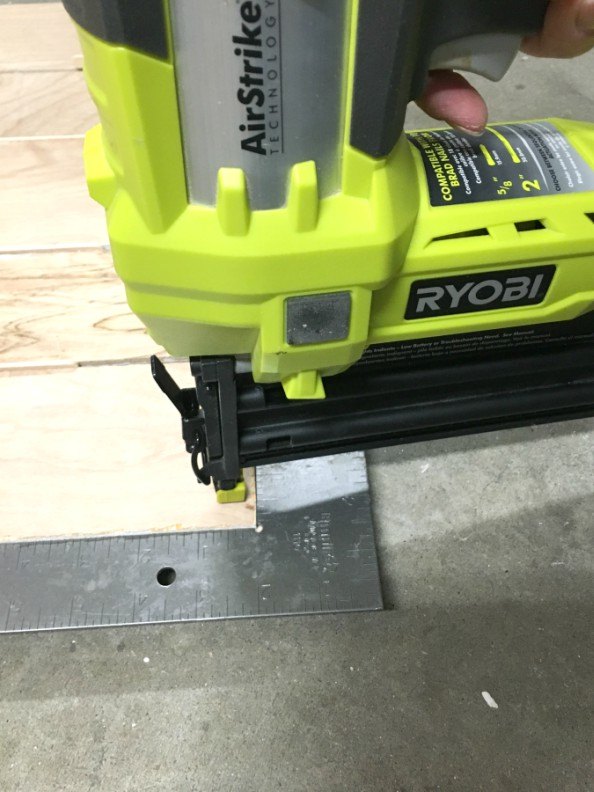
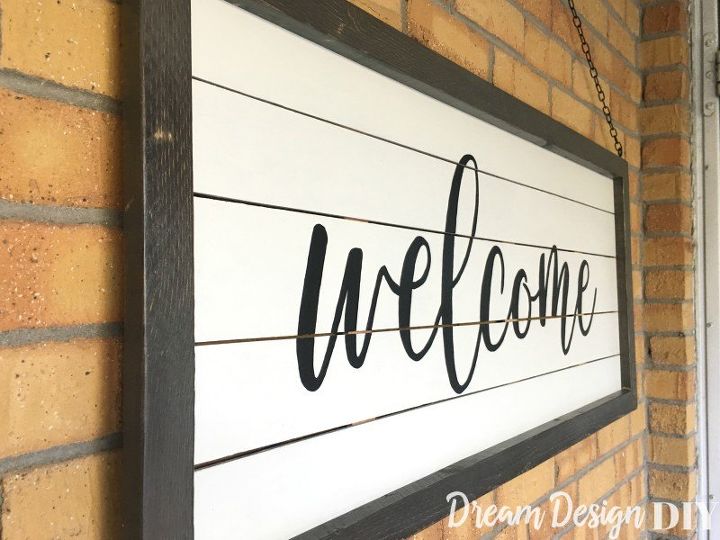
Using a carpenter square I laid the wood planks paint side down on the back of the frame using popsicle sticks to create a gap between the planks. Once I had the wood planks how I wanted them I nailed them in place with 5/8 inch 18G brad nails.
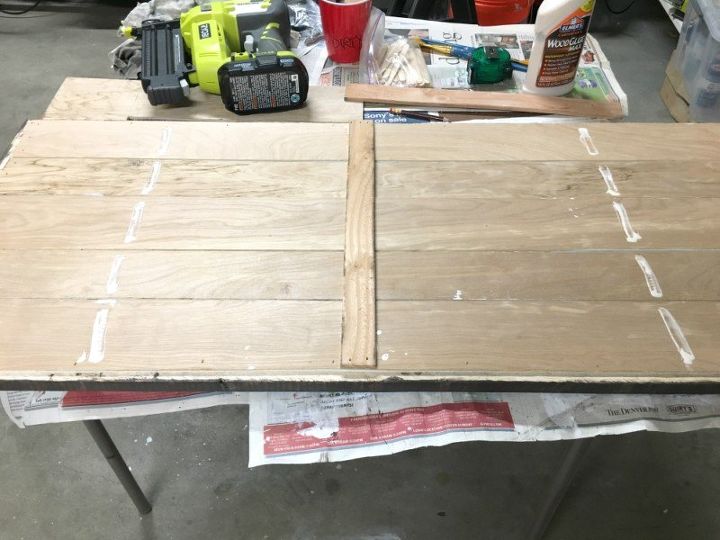
As extra support I glued and nailed three wood shims to the back of the sign. Then I flipped the whole piece over and placed some heavy items on the front for the glue to adhere.
While the glue dried I created the "welcome" image. I used Sarinah Scrip, font size 668 and created it in Block Posters.
To transfer the image I placed carbon paper under the welcome image paper and outlined the text with a pencil. The carbon paper does an awesome job at transferring the image to the wood.
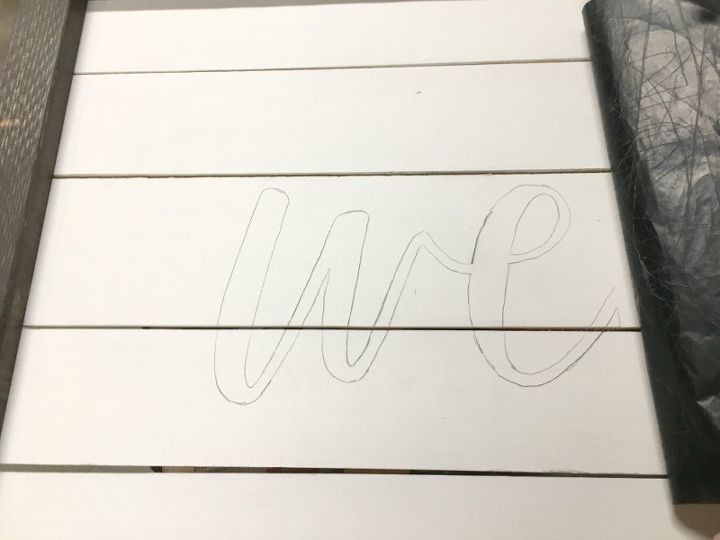
After transferring the image I painted the letters with flat black latex paint. I also added several coats of an exterior Spar urethane spray to protect it from the outside elements.
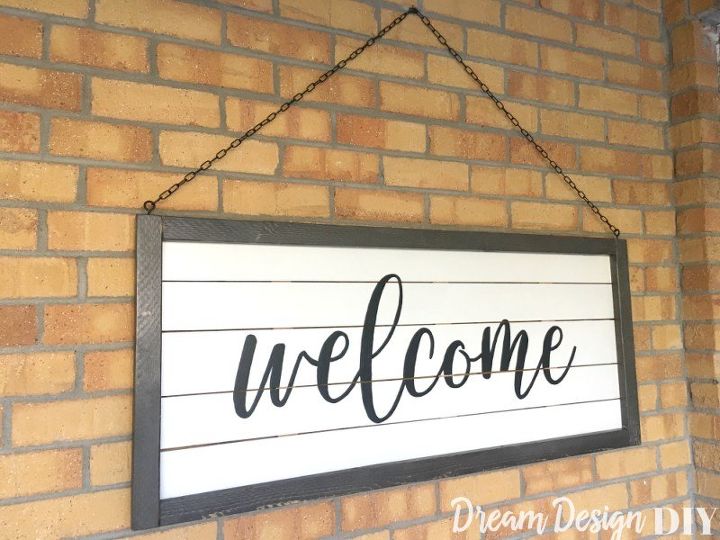
For my hanging hardware I used black spray paint to paint two screw eyes and attached them to each end at the top of the frame and threaded a black decorative chain through the screw eyes.

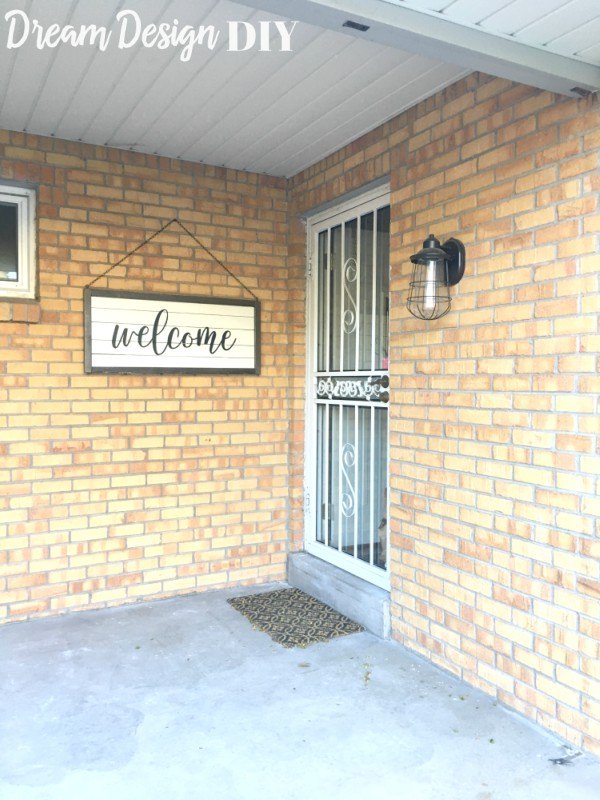
I hope you love this welcome sign as much as I do and enjoy dressing up your front porch. If you love large signs here is a Large Pallet Sign you will love as well.
Visit the link below to get your own PDF of the welcome image to be able to make your own sign and thank you so much for checking out this post.
Dream BIG and DO IT!
Tiffany
Resources for this project:
See all materials


Any price and availability information displayed on [relevant Amazon Site(s), as applicable] at the time of purchase will apply to the purchase of this product.
Hometalk may collect a small share of sales from the links on this page.More info

Want more details about this and other DIY projects? Check out my blog post!
Comments
Join the conversation
2 comments
-
What a great idea! I love it! Thanks for sharing it with us! :)


Frequently asked questions
Have a question about this project?