


Biscuit Quilt

by
DesertRose
3 Materials
$8
3 Days
Easy
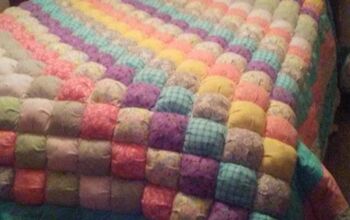
An elderly retired farm friend introduced me to biscuit quilts. Some people call them puffy quilts. I asked her why they are called biscuit quilts and she said because when finished they look like biscuits in a pan.
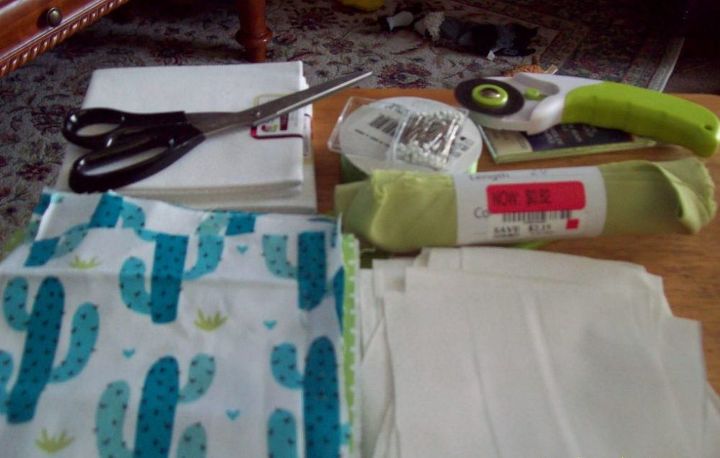
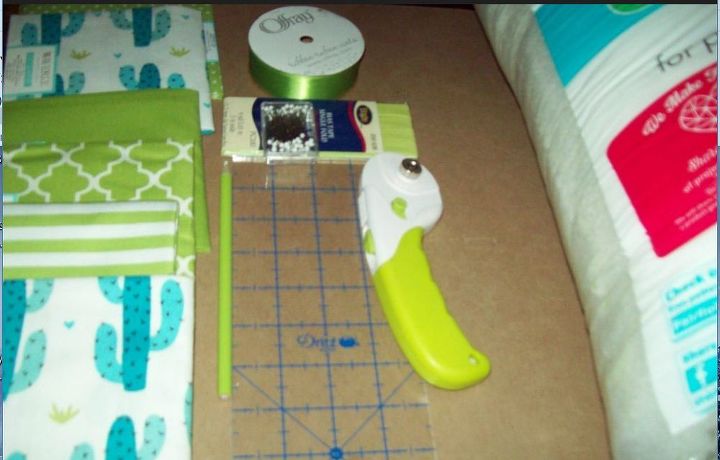
I gathered some scraps I bought on sale, end pieces and material I had already at home and cut an equal amount of 6 inch squares and 4 inch squares. I also purchased an end piece scrap for less than 6 bits to make a back to the quilt. Scissors, cutting board, measuring tape and a little knowledge of sewing are all useful for this project.
I had a whole package of quilt batting on hand, but I only used a small portion of a bag for this baby biscuit quilt, maybe 10%.
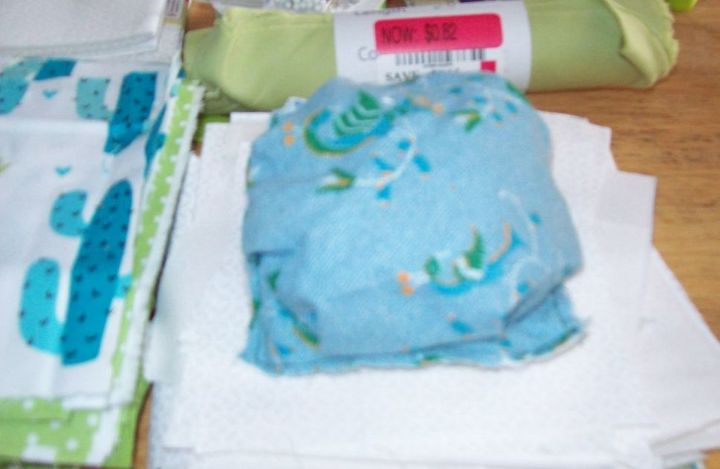
To sew a biscuit, I placed the small 4 inch square on the machine and laid the 6 inch square on top, lining up the first corner. Now sew about a 1/4 inch seam and tuck little darts in the top as you go to make the top and bottom corners match as you go around all the sides. On the third side I stopped with the needle down and put a small ball of quilt batting in between the top and bottom squares. Then I finished sewing to the last corner. This picture shows one final biscuit setting on the 6 inch original sized square. They will all be 4 inches when completed.
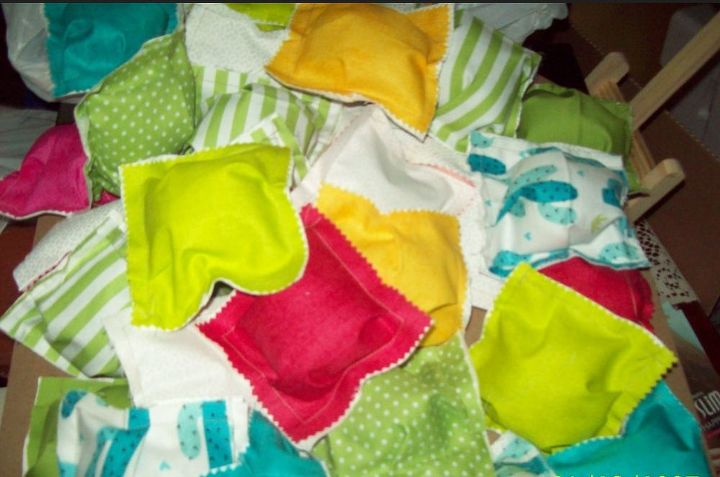
I decided to make a wall hanging baby quilt so I planned on 6 squares by 8 squares is all. That is 48 biscuits in all. Then I began sewing them together by rows.
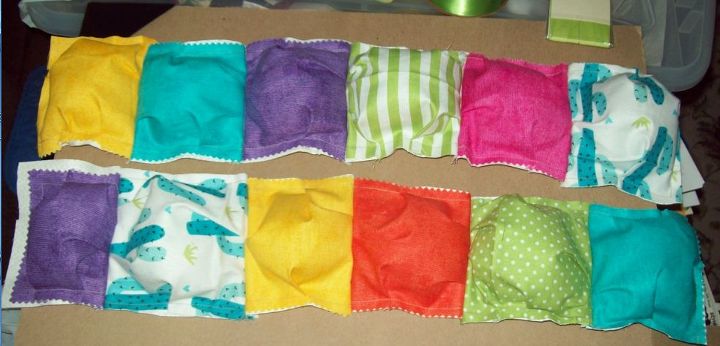
It is best to alternate light and dark as much as you can with no pattern planned. Two rows were finished here.
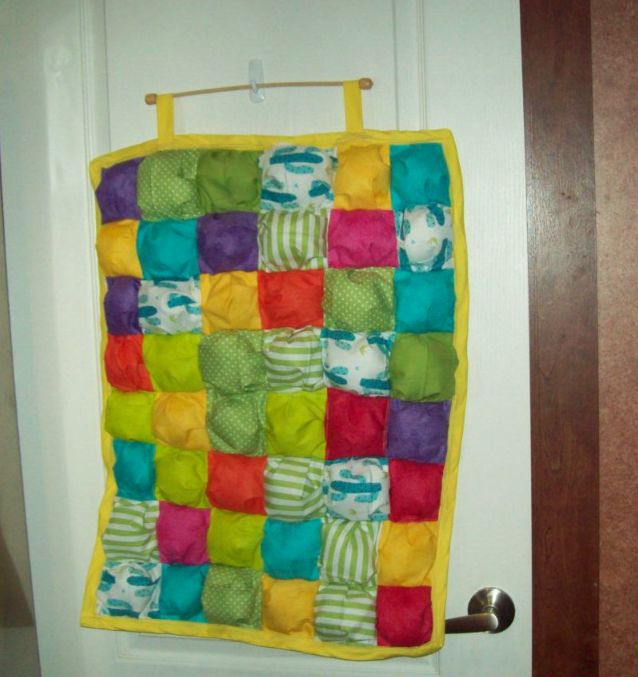
Sew all the rows together, add the backing, and finish it with wide bias tape. I had some bias tape left over and used it for the loops to hang the biscuit quilt on the wall. If you want to quilt it, you can "stitch in the ditch" as my aunt used to call it. Stitch between the biscuits to quilt the backing.
I planned this for a friend who used to baby sit our children when they were small. She has a preschooler and a baby herself now. They make beautiful gifts. She can hang it on the wall until the baby is older, then remove the dowel rod, and put him on it on the floor if she likes. Or she can save it as a wall decoration above the baby crib.
Comments
Join the conversation
5 of 7 comments
-
I love the colors you used, it is such a ray of sunshine!
- See 1 previous
-
Fun and easy


Frequently asked questions
Have a question about this project?