


Bed Room Make Over Continued Rustic Headboard

by
Heatherelzey
7 Materials
$25
3 Weeks
Easy
I am still working on my bedroom. I had 2 night stands that I refinished. I wanted a headboard to match.
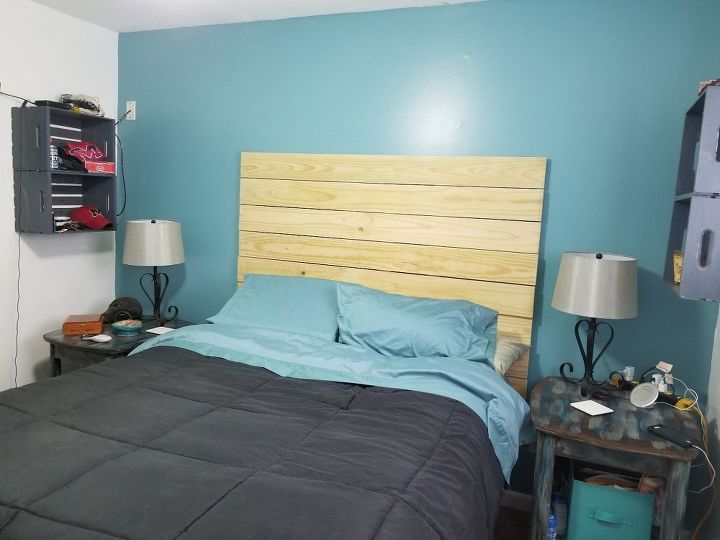
Here is my queen size bed. We measured the matters and added an inch on each side of the bed to get our board length.
-Support boards
I did not get a photo of the 1 x 1 boards that my husband attached to the wall. We located the studs and screwed (4) 1 x 1 boards to the wall. This is what we will use to attach the boards to the wall. You can make the support board how ever long you desire. It just depends on how tall you want your head board.
-Headboard boards
I cut the 1 x 6 x 8 boards 64 inches and sanded all sides and the surface I wanted showing. I did this so it would be easy to know what side to place against the wall.
-Attaching boards to the wall
Then we started at the top of the 1x 1 board that are screwed on the wall placing each 1 x 6 board one at a time using a nail gun. When we ended we had used 8 boards with 1 1/2 boards below the top mattress.
I did not paint or stain the wood for 3 weeks. I wanted to make sure the wood was good and dry.
Remember this headboard project is good if you do not re-arrange your room all the time.
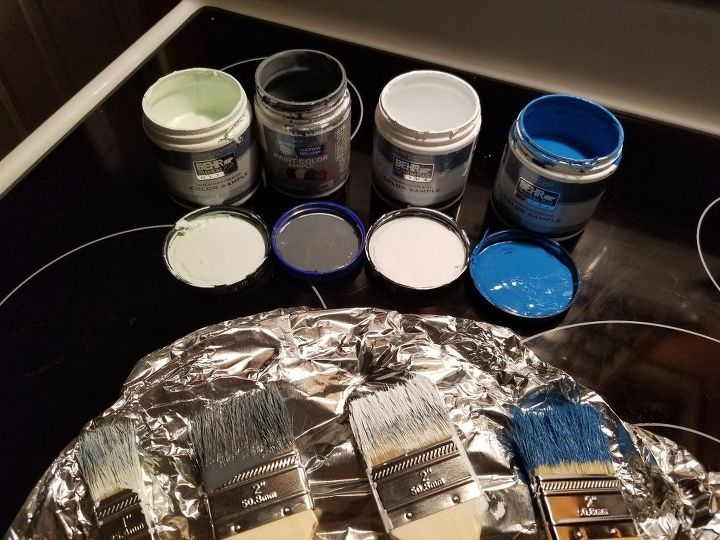
I picked the same paint I used on my night stands. Mint, white, charcoal gray and turquoise and 4 cheep paint brushes.
I buy the small sample bottles of paint from Lowe's or Home Depot. They can be mixed in Any color you want, easy to store and can be used for many projects.
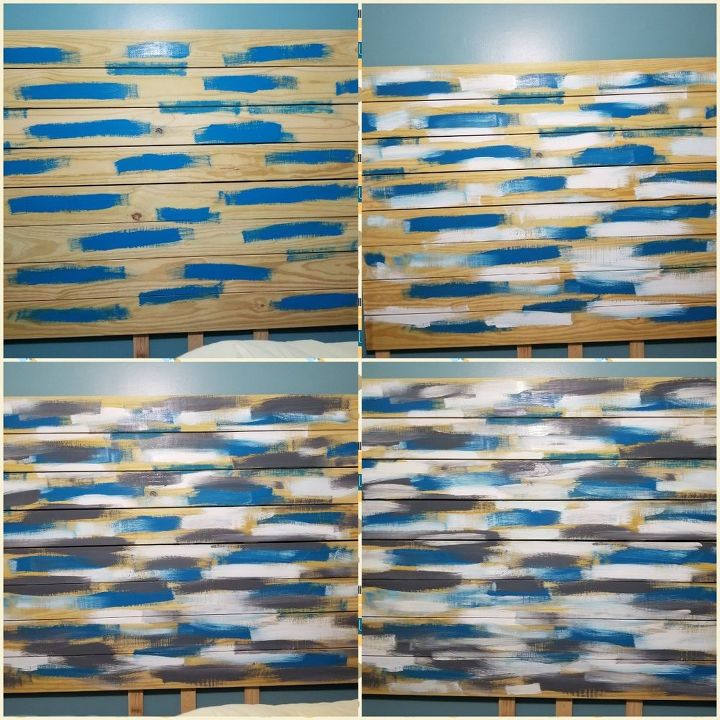
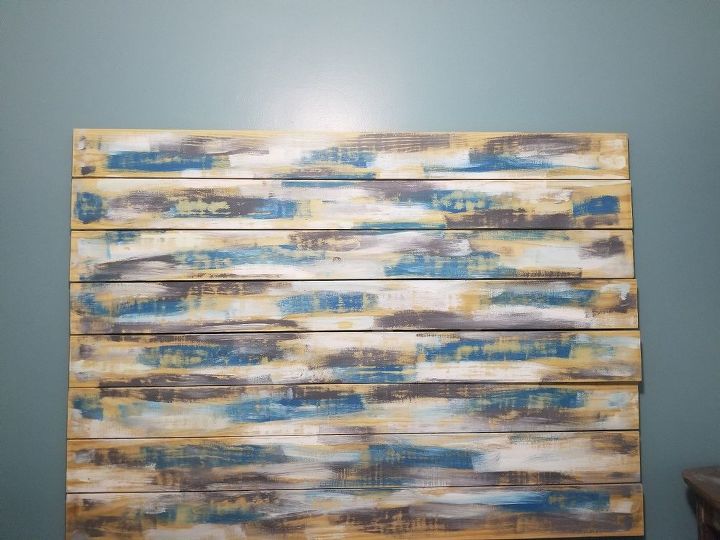
Using individual brushes. I started with the turquoise paint, then white, next was the charcoal gray and last the mint color. You do not have to wait for the paint to dry just place on the wood how ever you want. Let it dry 24 hours.
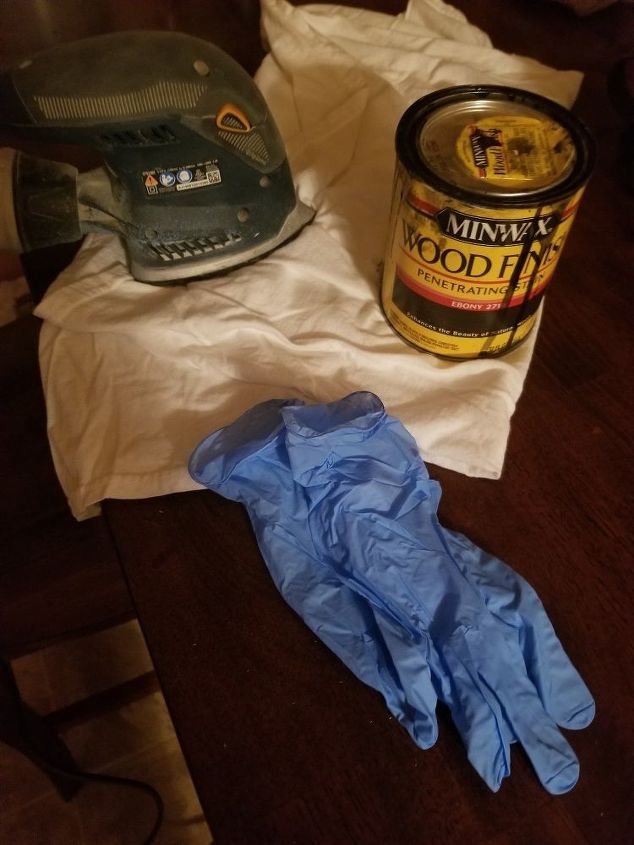
Next you will need a sander, old cotton rag, disposal gloves and stain.
After 24 hours of applying paint you can sand the head board. You can sand as much or as little as you want. Cover up anything you might want to keep the dust off. Ater you finish sanding wipe the boards off.
Now you can stain the boards
I used a black stain with my cotton rag. I let it dry for 24 hours. You can stain again or just add polyurethane. Remember to let all paint, stain an polyurethane dry 24 hours between coats before pushing bed against the head board.
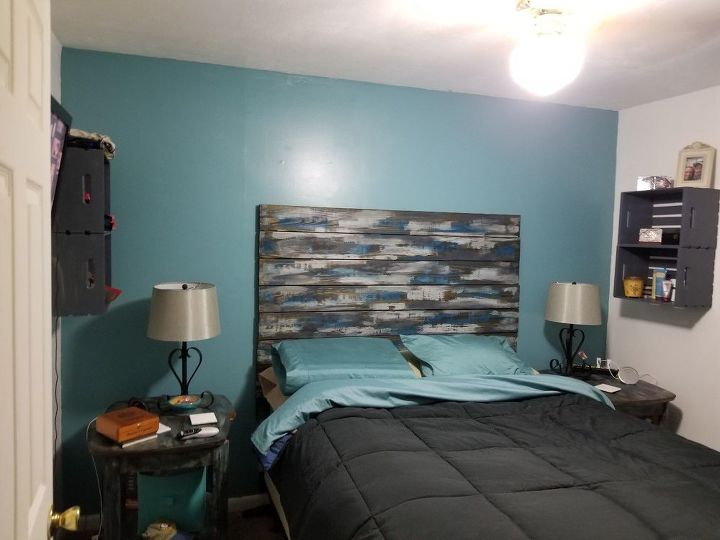
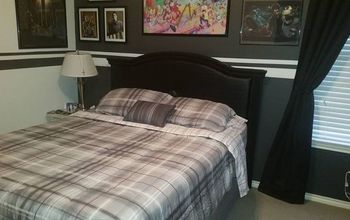
Here is the finished headboard. This project took me 3 week. I wanted to make sure the boards were good and dry. The painting and staining took me 3 days making sure wach layer was good and dry. This rustic look gives m this room nee life.
Here is the link to the bed room make over that goes with the headboard.
https://www.hometalk.com/diy/paint/walls/bed-room-make-over-34261720
Resources for this project:
See all materials


Any price and availability information displayed on [relevant Amazon Site(s), as applicable] at the time of purchase will apply to the purchase of this product.
Hometalk may collect a small share of sales from the links on this page.More info
Comments
Join the conversation
2 of 14 comments
-
I love your completed room!
-
great


Frequently asked questions
Have a question about this project?