


Easy Custom T-shirt Using Iron On HTV

by
Naomi
5 Materials
$5
20 Minutes
Easy
There are two main ways of applying heat transfer vinyl to t-shirts:
- with a heat press machine
- with a household iron
Heat press machines are great, but most people already have an iron so that's the best way to begin!
Iron on transfers projects are very easy to complete, and depending on the brand of vinyl you choose, they look and feel fantastic.
What do you need to get started?
- a cutting machine - we use and love the Cricut Explore Air 2
- Cricut tool kit (includes tools for weeding vinyl)
- heat transfer vinyl - Siser EasyWeed is the best
- blank tees
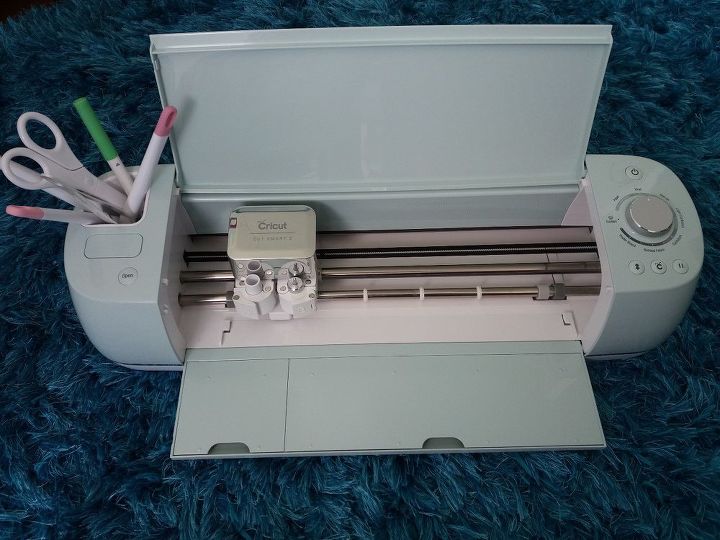
The Cricut Explore Air 2
I have already cut a heat transfer out with my Air 2. We use free SVG cut files (there are tons available!).
The whole process took under 15 minutes and goes like this:
- choose a SVG file
- import into Cricut Design Space
- load vinyl into cutting machine
- send image to the Cricut for cutting
- weed out the unwanted vinyl
And you're ready to press!
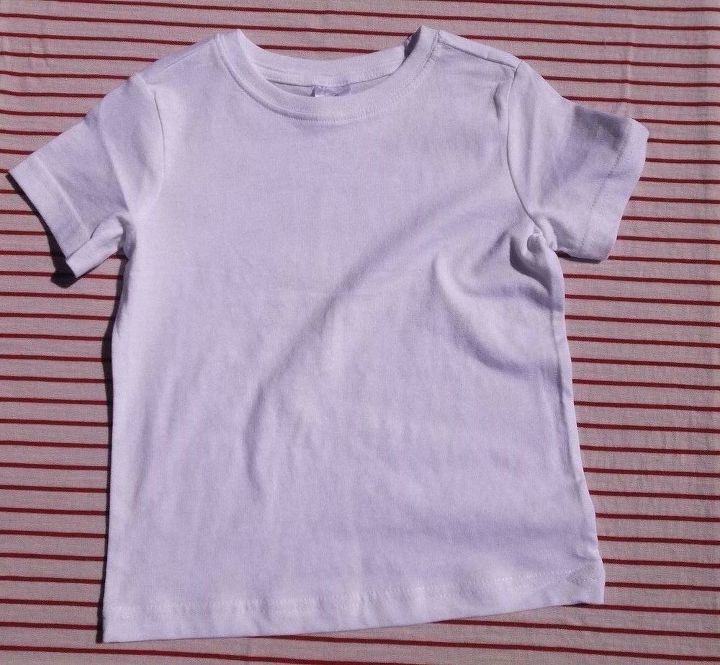
One blank t-shirt!
Start with a blank t-shirt. You will need to iron out any wrinkles in the fabric to prepare for pressing.
Here is the heat transfer before being pressed. You can see the vinyl is still attached to the carrier sheet.
When you're ready to press, you will need the following:
- an iron set to between between cotton and linen
- a wooden chopping board to press on (don't use your ironing board - it needs a firm base)
- Teflon sheets or parchment paper to protect your tee and transfer
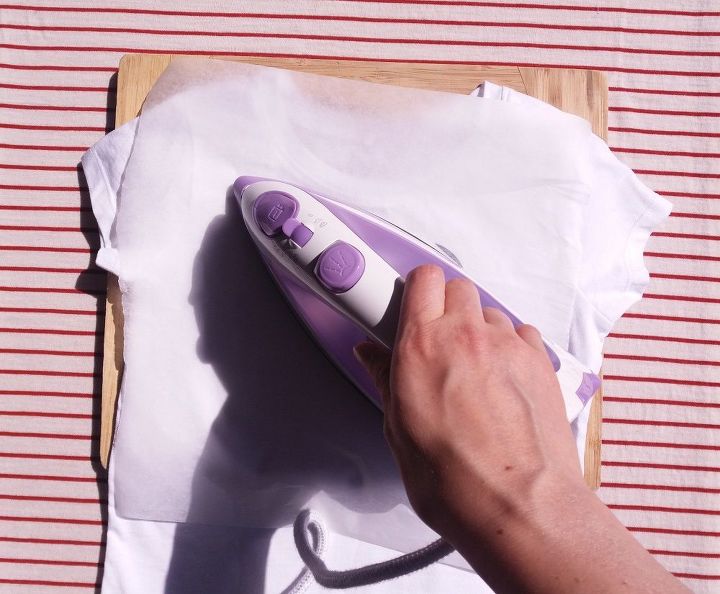
Press down hard!
Once the iron has reached temperature you can press!
I am using Siser EasyWeed for this project. This vinyl needs pressing for 10 - 15 seconds. I had to press it in two stages as my iron did not cover the entire transfer.
- Press down firmly on the transfer and count out loud to 10
- Press further sections that did not get done the first time (it's ok if you overlap parts that have already been done)
- Lift off the parchment paper and start lifting the carrier sheet away - if it comes away easily then it's all done! If it looks like the vinyl has not totally adhered, give it another 10 seconds.
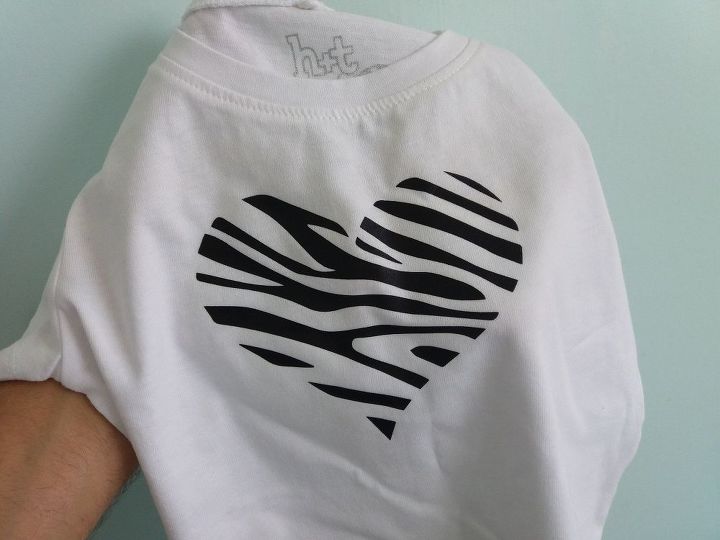
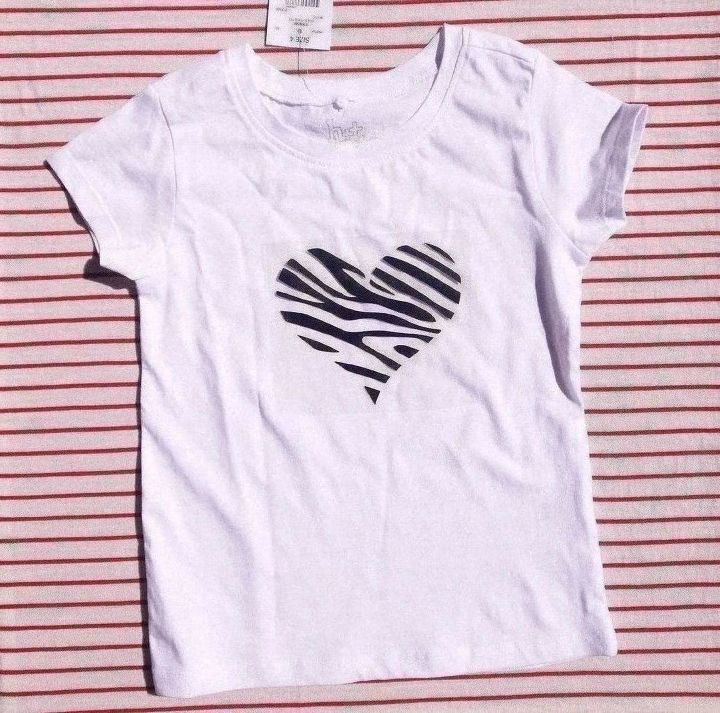
The finished product!
And there you have it - an awesome custom t-shirt in under 20 minutes.
We have a huge article with everything you need to know about iron on heat transfers on our blog. Read that for more information!
I look forward to presenting another Heat Transfer Vinyl project on Hometalk again soon!
Want more details about this and other DIY projects? Check out my blog post!


Frequently asked questions
Have a question about this project?