


How to Transfer Printed Image To Wood!
3 Materials
$3
30 Minutes
Easy
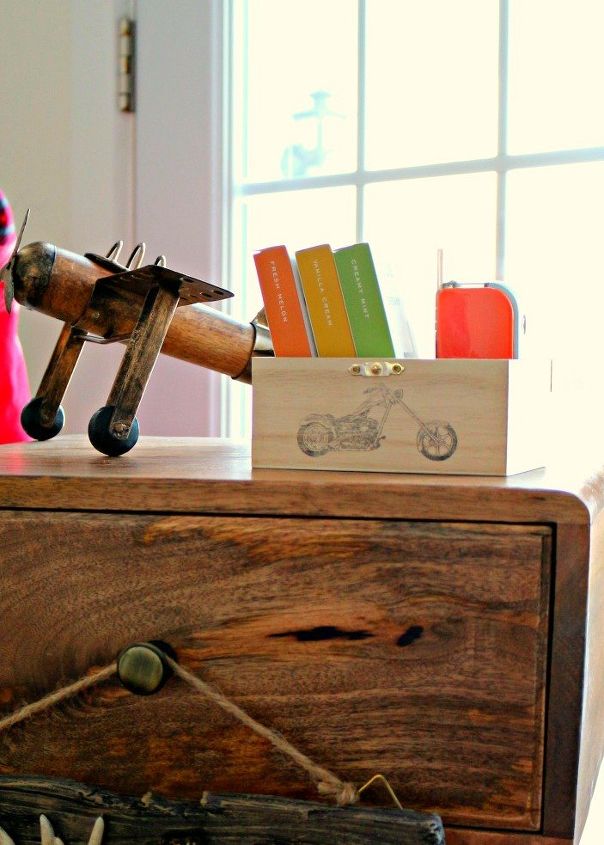
Today I'm going to share the easiest way to transfer an image printed on your home inkjet printer onto a piece of wood. In this case, I'm using a small wooden box I picked up at the craft store.
It's really easy to do. I used a piece of label paper. You know, the paper you get that has label stickers all over it? Peel off all the labels and print on the shiny side. Usually this means putting the shiny side down in your printer.
Get your design and all your materials ready before you print.
You'll need:
- An unfinished piece of wood (I used an unfinished box).
- Label paper with all the labels peeled off.
- Printer
- Smooth edge like a credit card or other smooth edge
- Clear poly-spray
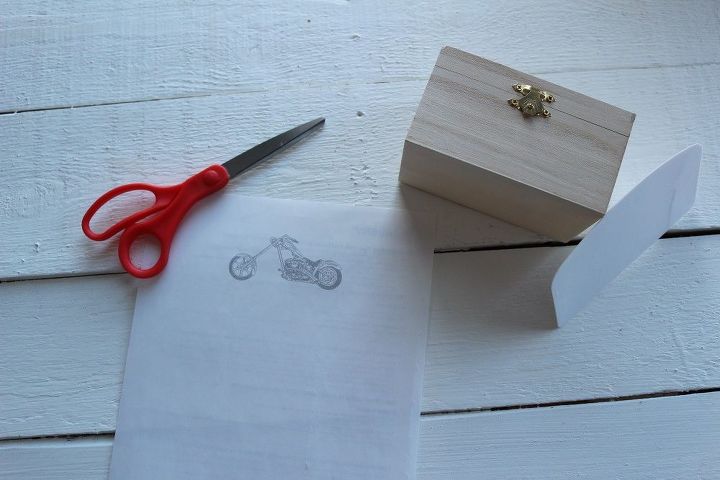
Print your design on the shiny side of the label paper.
Note: The design will look faded - that's OK!

To make it easier to position it onto the wood, cut the design out.
Don't touch the ink, it's wet!
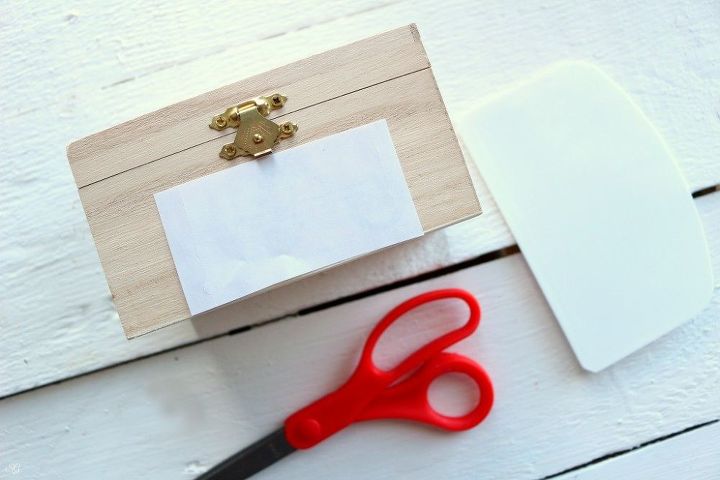
Place the design on the wood where you want it to be and smooth it out with your straight edge. I used a kitchen spatula (yes that's a kitchen bowl scraper/spatula) :)
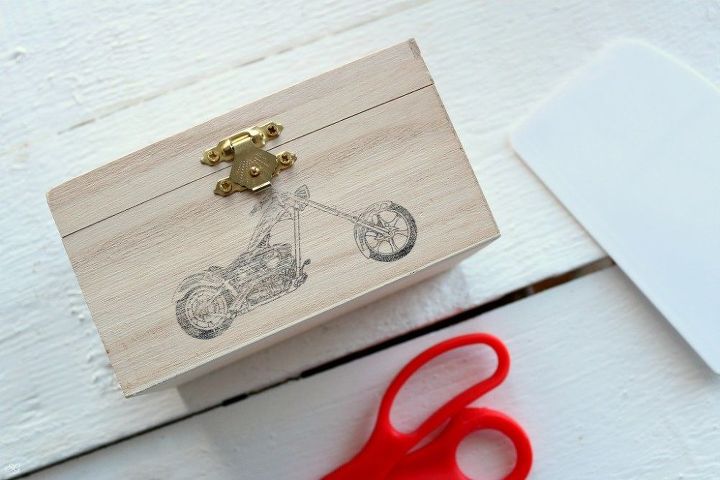
Remove the paper after you've smoothed it out nice and good and give it a couple coats of spray poly or clear coat.
Note: Don't smudge the paper around or your image will get messed up and don't use a brush on poly, that will smear the ink too!

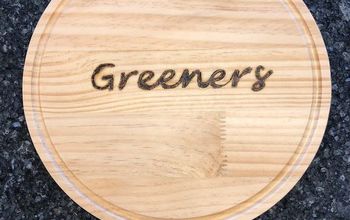
There you have it - printed ink on a piece of wood! It's really simple to do and you can use whatever image you want.
The more detail the image has the more time you'll want to spend smoothing it onto the wood with the flat edge.

Want more details about this and other DIY projects? Check out my blog post!


Frequently asked questions
Have a question about this project?