


How to Make a Rustic Farmhouse Sign Using Stencils
4 Materials
$10
90 Minutes
Easy
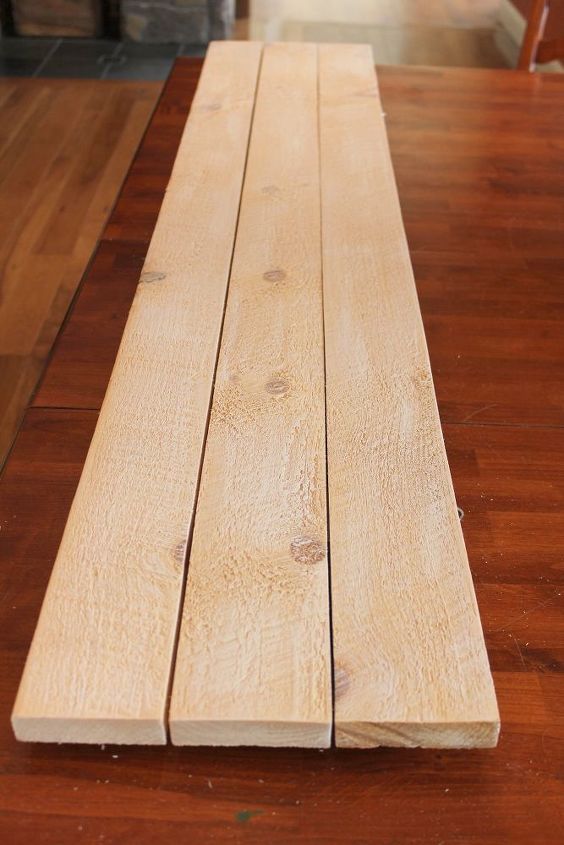
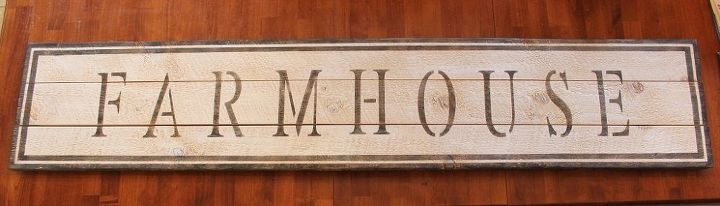
I’m a huge fan of farmhouse décor and I’ve wanted one of these large "FARMHOUSE" signs for a while now. I’ve seen them on line but they can be so expensive so I decided to DIY it and it’s much easier than you think. You'll need to start by finding the wood back. You can buy small ones at Michaels, Walmart or on Amazon. I uses some rough saw pine we had left over from another project.
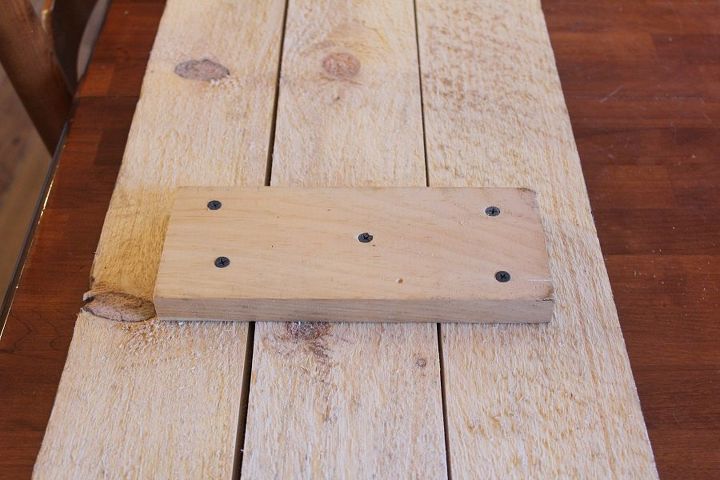
We attached the pieces on the back with a piece of 1" x 6" we had left over with screws and added "D"ring hangers to hang it on the wall.

I wanted the sign to have a boarder around the outside so I used the painters tape to make straight lines and I started by making one line along the edge. I wanted the lines to be faded so I mixed some inexpensive craft paint in black with a bit of brown in so that it wasn’t so dark.
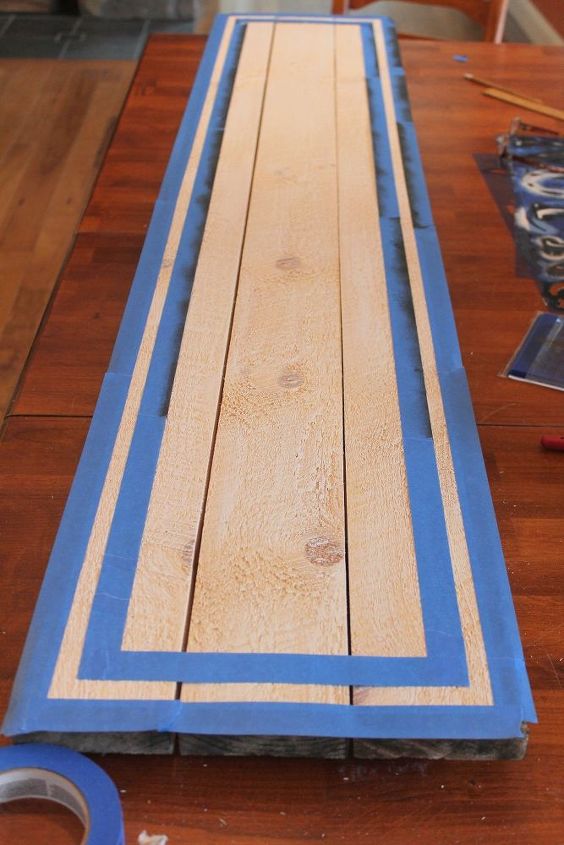
I used my stencil brush for the lines as well as the letters because I didn’t want the paint to soak into the wood but just add color to the top. Once the first line was done on the outside I added the second line.
I used my stencil brush for the lines as well as the letters because I didn’t want the paint to soak into the wood but just add color to the top. Once the first line was done on the outside I added the second line.
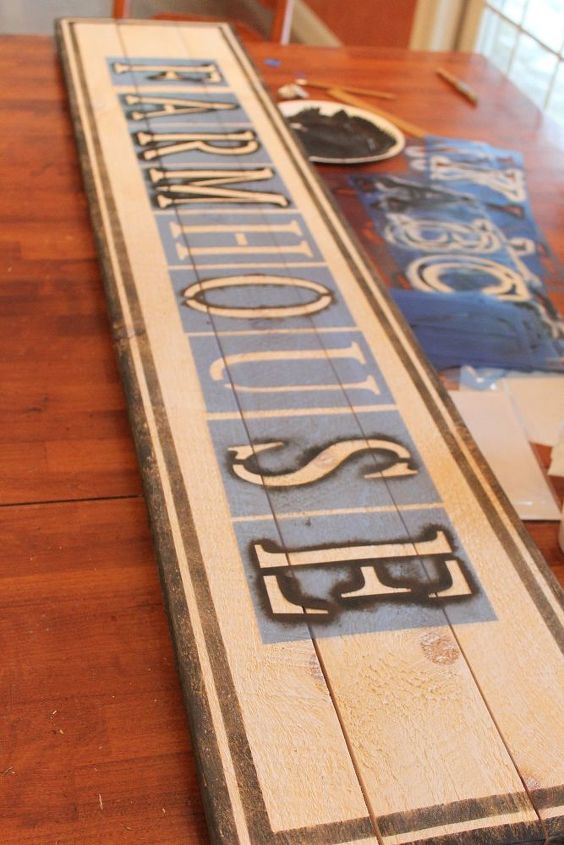
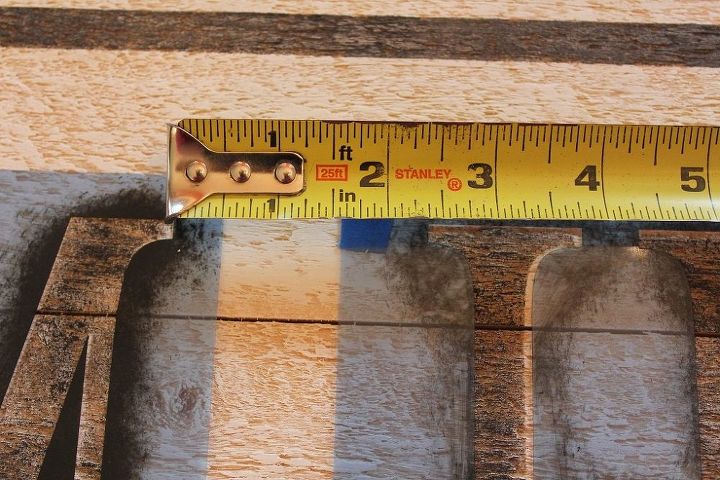
The key to spacing the letters evenly (or as evenly as possible) is to measure from the widest point on the letter to the widest point on the next letter. Each letter should be approximately the same distance apart. This takes a bit of adjusting. Once you have them where you want them, use the painters tape to stick them to the wood while you are stenciling so they don’t move.
I used the same color paint for the letters as I did for the border.
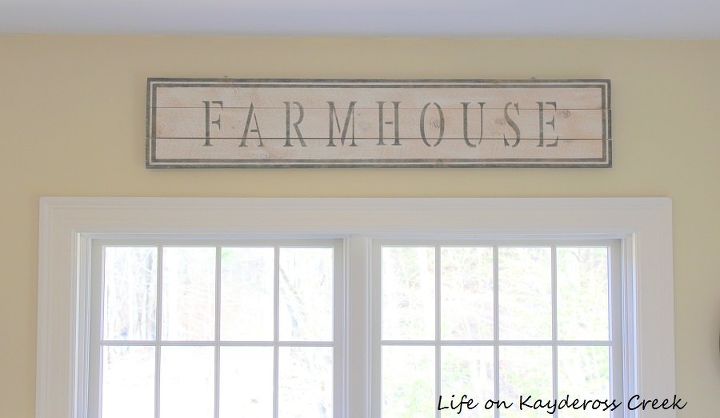
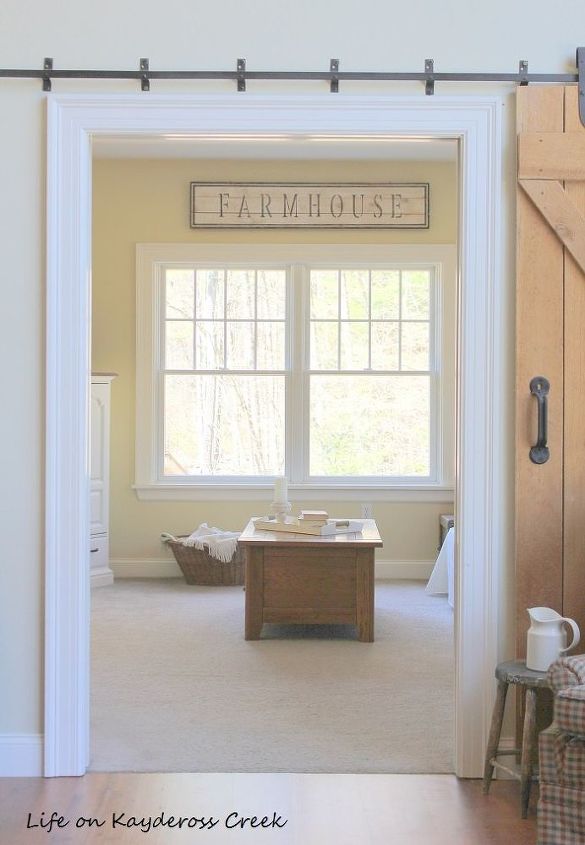
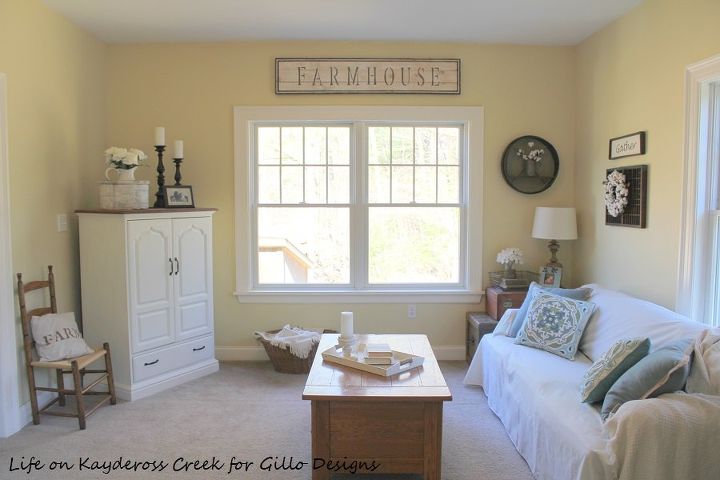
Here it is in its new home.
This was inexpensive and easy to do using simple stencils and craft paint. You could use any wood you have lying around really. If you want to see more projects like this one, please visit my blog at http://mylifeonkayderosscreek.com or on Facebook at https://www.facebook.com/lifeonkayderosscreek/
Resources for this project:
See all materials


Any price and availability information displayed on [relevant Amazon Site(s), as applicable] at the time of purchase will apply to the purchase of this product.
Hometalk may collect a small share of sales from the links on this page.More info

Want more details about this and other DIY projects? Check out my blog post!


Frequently asked questions
Have a question about this project?