


Shabby to Chic Dresser
4 Materials
1 Day
Easy
This project, although it seemed simple, got much more difficult as a result of the complications that popped up along the way!
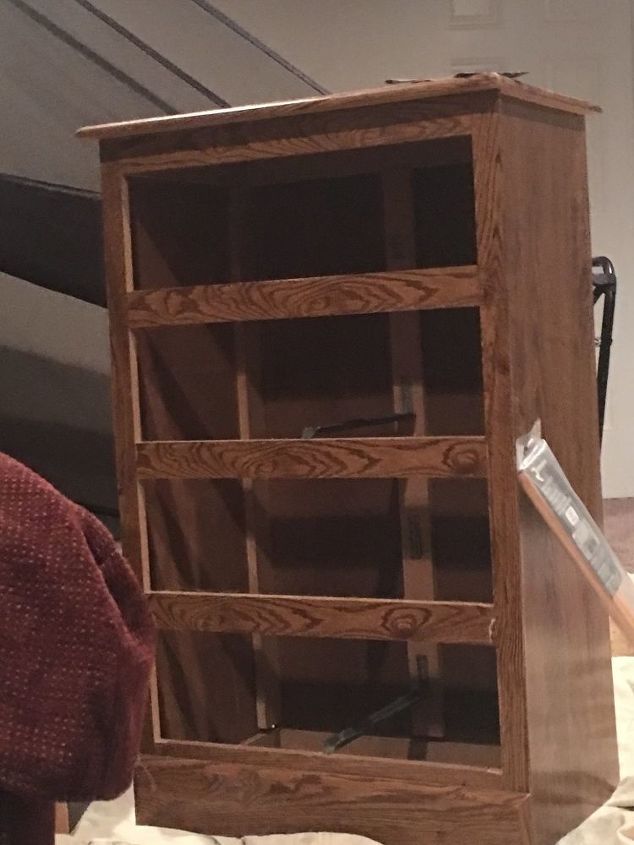
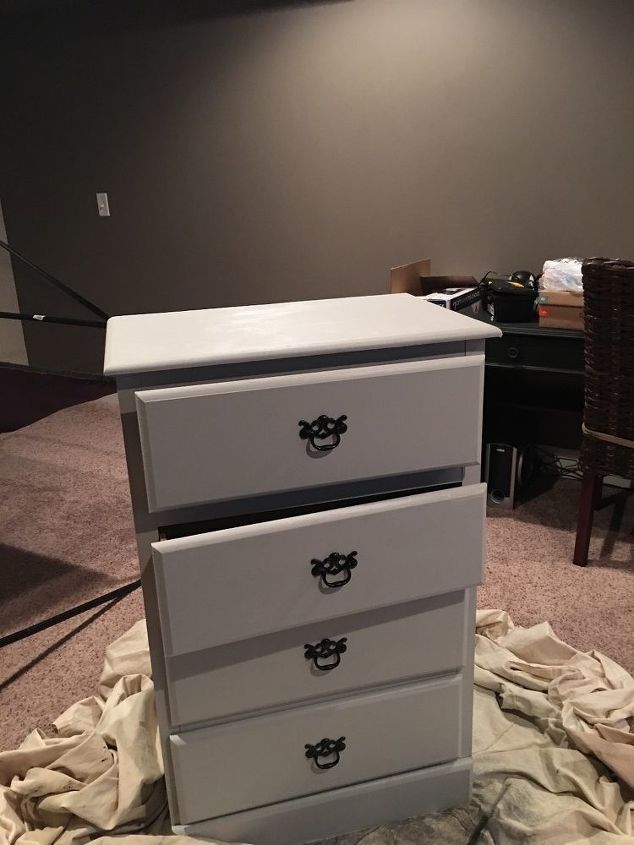
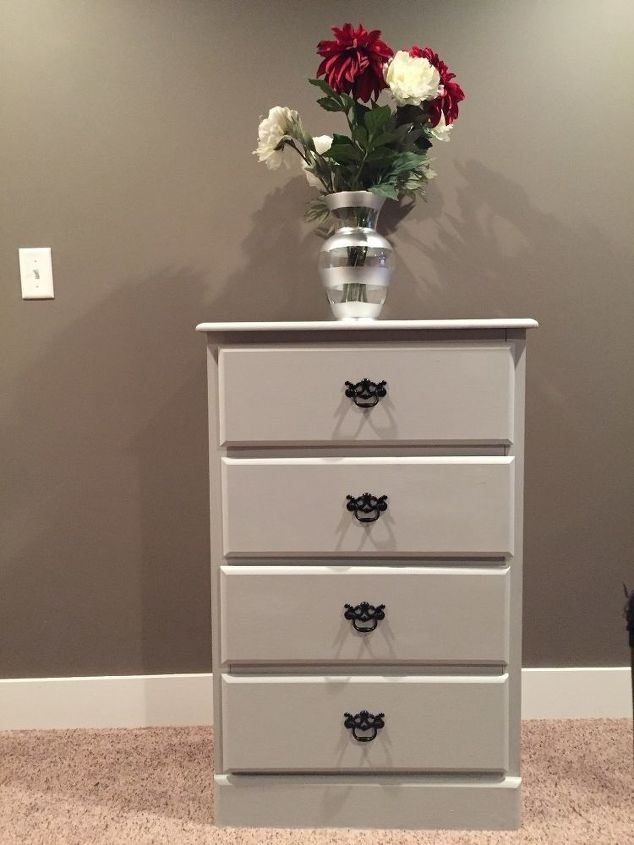
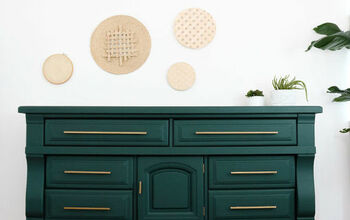
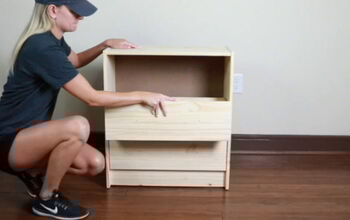
Here's the before photo... yikes. To be fair the drawers came with it we just took them out for sanding! The thing you see leaning on the dresser there, however, was one of the two tracks we had to put in as two of them were missing. First thing's first, we sanded down the dresser by hand as we didn't have the electrical one on hand at the time. Fun stuff, right? That was the easy part. Next, my boyfriend started sawing off the tracks to fit in the dresser. Thankfully, the guy we bought the dresser from was nice of them to include them when he sold it to us so it was essentially free(music to our ears). My boyfriend was able to screw in the tracks and figure all of that out while I painted the sides of the dresser in Sherwin Williams French Gray! We hit a roadblock though when we moved onto the top... Unfortunately it was covered in a few air bubbles. We got the electric sander and sanded them down, which really helped and evened out the top. We finished painting the dresser and spray painted the drawer pulls black. Since we already had most of the materials it was a win win, making it a cheap, fun project. Take a look at the finished product and let us know what you think!

Resources for this project:
See all materials


Any price and availability information displayed on [relevant Amazon Site(s), as applicable] at the time of purchase will apply to the purchase of this product.
Hometalk may collect a small share of sales from the links on this page.More info


Frequently asked questions
Have a question about this project?