


Trinket Box From Brie Cheese Container

5 Materials
2 Hours
Easy
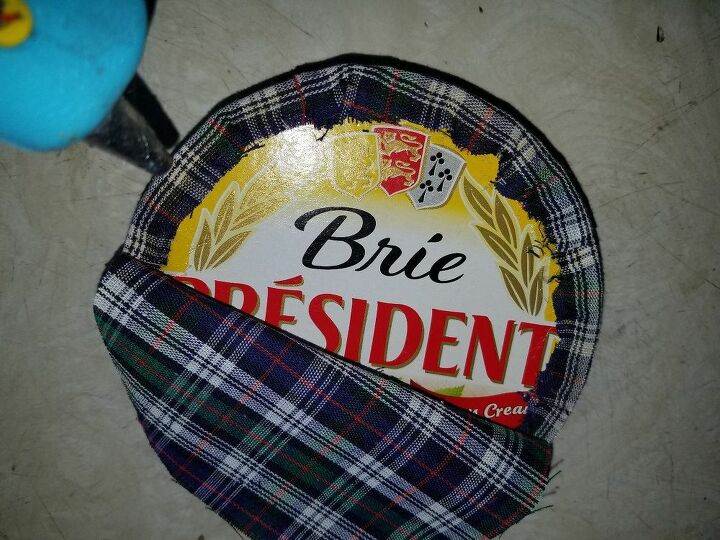
The type of Brie cheese we eat in my family comes in a round balsa wood box. I used the box to make different types of presentation gift boxes that someone could use after opening it to get the gift that's inside. So, here is how I do it.
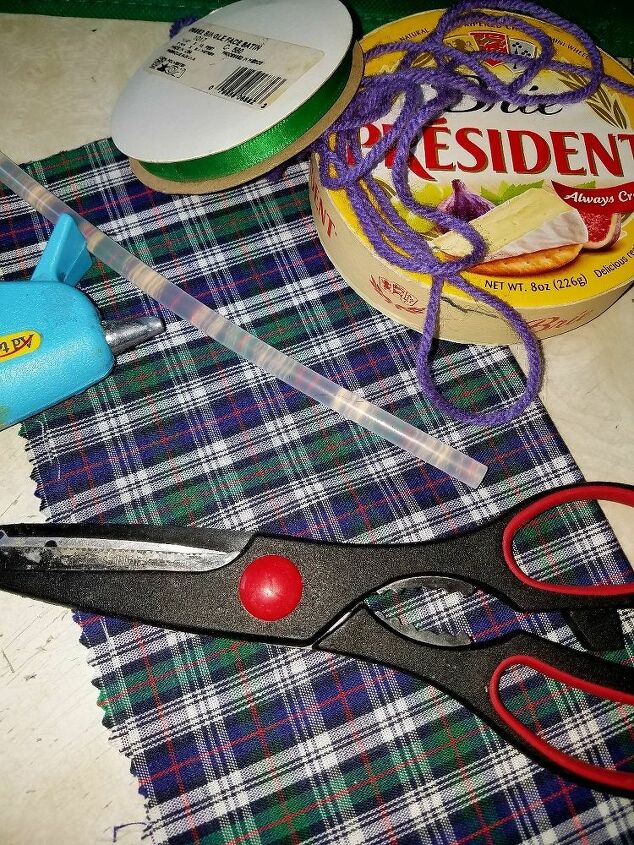
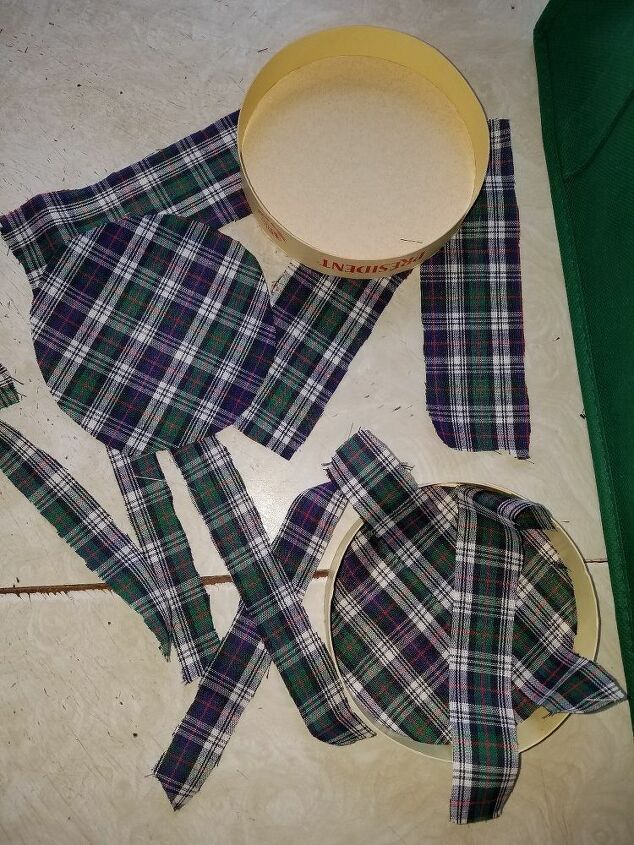
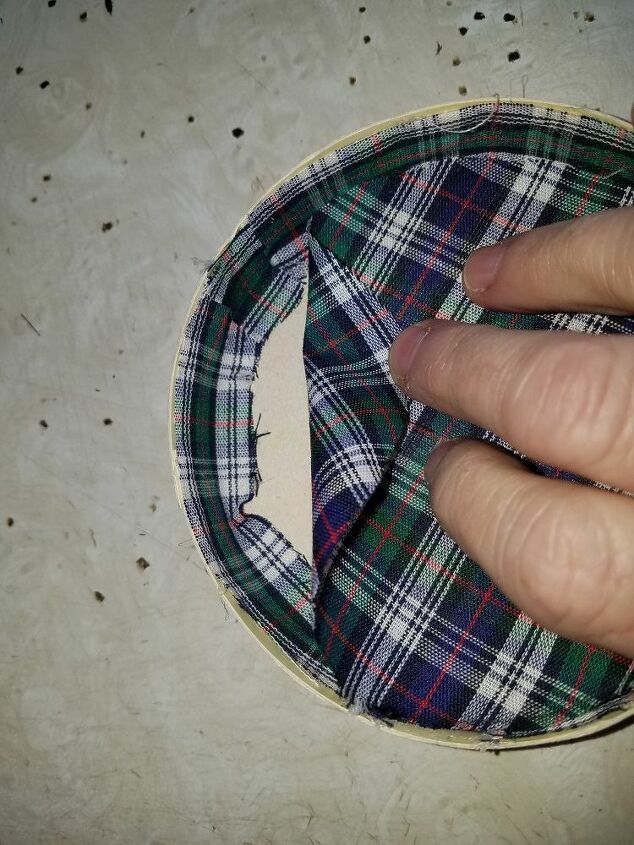
I gathered together any supplies I thought I might need. Besides the box I used fabric, pencil, scissors, cool glue gun, and some yarn (couldn't decide between yarn and ribbon at first). I also used an empty box and some white primer spray. I then used my pencil to mark around the box and onto the fabirc to obtain circles which I cut from the fabric. I used the remaining fabric to cut strips to glue around the edges of the box.
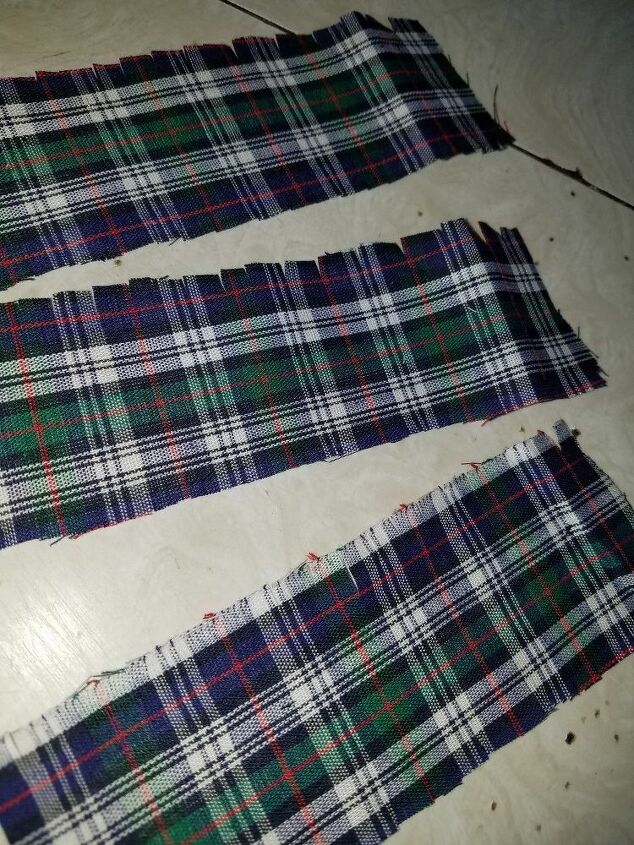
I made sure to clip little cuts on the edges of the strips of fabric to ensure they would lay flat around the curviness of the bottom and top of the box
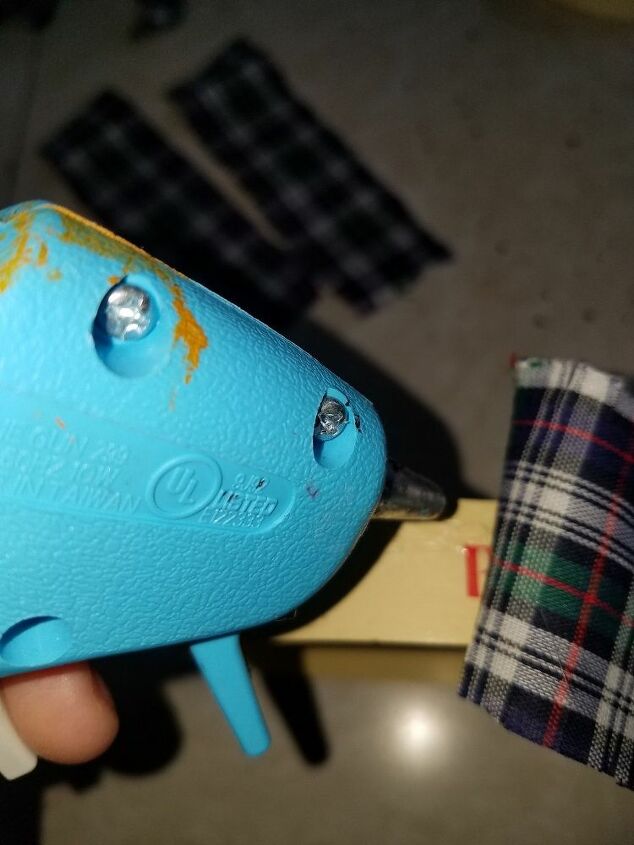
Next I used a large-ish empty box and as a container in which to spray the sides and bottom of the cheese box without getting spray all over the place (I was working in my kitchen because the weather outside was so bad.) I made sure I opened the doors to ventilate during and after spraying. MAN OH MAN IT STINKS and makes breathing very difficult! Next time I will remember to wear a respirator or at least a paper mask! But you don't have to paint the bottom outside of your cheese box if you don't want to. WHILE THAT WAS DRYING, I turned my attention back to the lid agian. Along the outside of the lid, on the bottom edge of the sides, I ran a bead of glue and glued on the edging material. I should have lined up the edge of my material with the bottom edge of the lid, but I didn't, and ended up having to cut excess off instead.
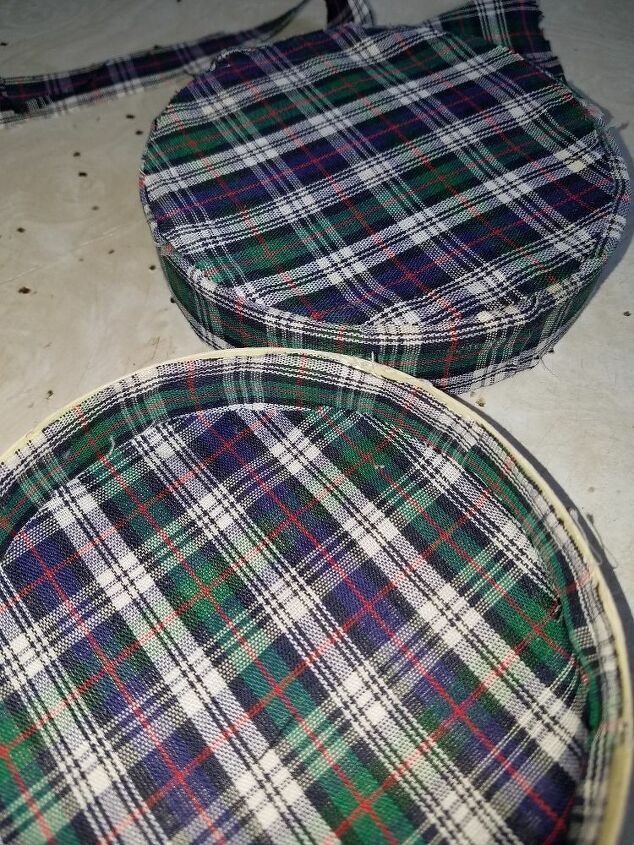
After gluing down the material along the outside edge of the lid, I folded over any excess material on the top and glued it down. Then I glued the fabric circle over the top of it all.
Now comes the bottom part of the project. You can do this if you want or you can leave it plain. I just find it nicer to have something lining it. Once the paint on the outside of the box was dry, I took some strips of fabric and carefully glued them to the sides of the inside of the box lining up the edge of the material with the edge of the sides. Then I spot glued the bottom circle in place, making sure to smooth it down as I pressed the material into place.
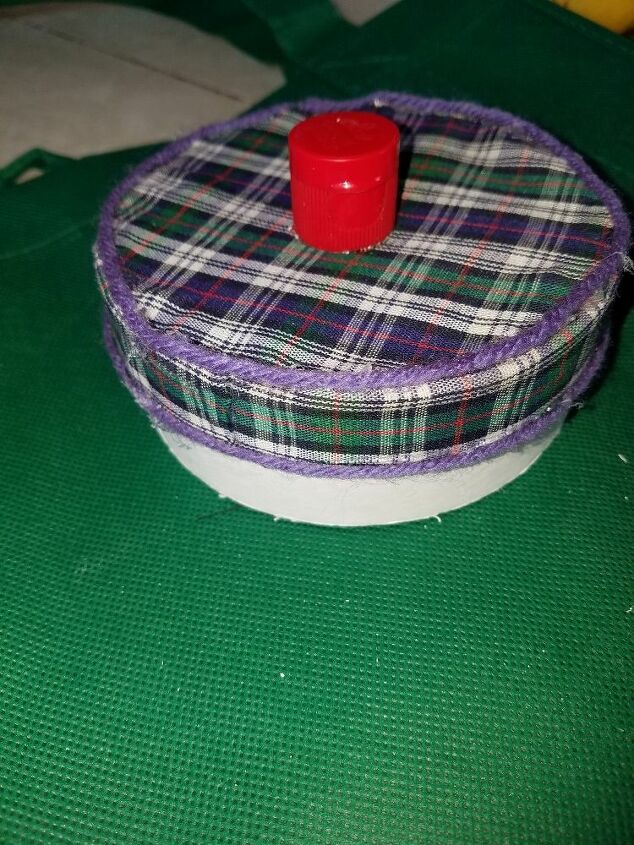
The next step was to decide what, if anything, I would need to make the box look finished.
Besides adding the yarn around the upper and lower edges of the box lid I decided it needed a top knob on it, too, to help in opening it. Not having anything cute to use as a knob, I began looking through my stash of this and that and found an empty vanilla extract lid, which I used the glue for to attach to the top. Et Voila! The finished product.
Resources for this project:
See all materials


Any price and availability information displayed on [relevant Amazon Site(s), as applicable] at the time of purchase will apply to the purchase of this product.
Hometalk may collect a small share of sales from the links on this page.More info


Frequently asked questions
Have a question about this project?