


How We Refinished a Vintage Glider

by
Beth
8 Materials
$186
2 Days
Easy
We have always wanted a vintage glider, but the ones we found that were already refinished were super expensive- pushing $1000! That's way out of our budget. We decided to try our hand at refinishing one ourselves, and we're really happy with the results! Here's how we did it.
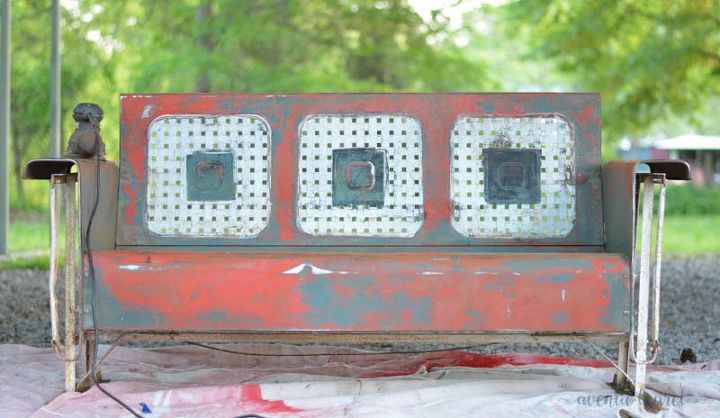
I forgot to get a true "before" photo (this one is after we had already started to knock the rust off) but this was a great glider for beginners like us. Although it was covered in rust, it didn't have any areas that were rusted through. There were some dents, but not any that bothered me (those that follow my blog, though, know that I have a healthy relationship with imperfection). We bought it for $140.
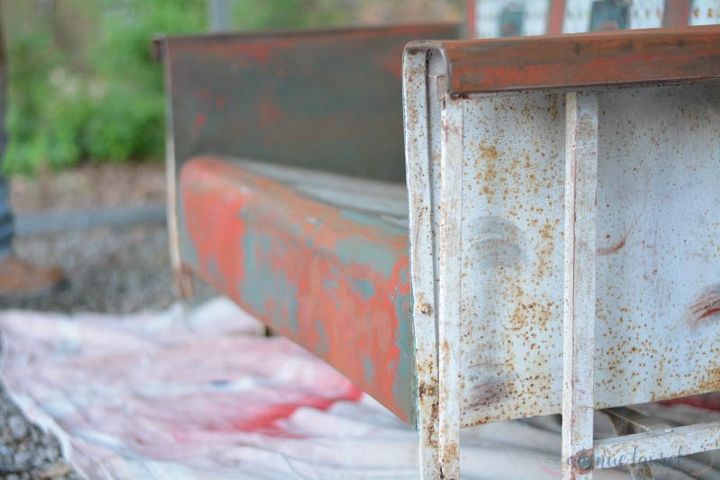
The first step is to give the entire glider a good, thorough cleaning. Then, go over any rusted or rough areas with a wire brush. Use a light touch with the wire brush- the point is to knock the rust off, but you don't want to further damage the finish by scratching it. You will be surprised how much of the rust will be removed by this step! Definitely wear a mask for this part.
Next, sand. We used an orbital sander for this. Go over the entire piece with a medium grit sandpaper, wipe down with tack cloth, then go over the entire piece again with a fine grit sandpaper. Wipe down again with a tack cloth.
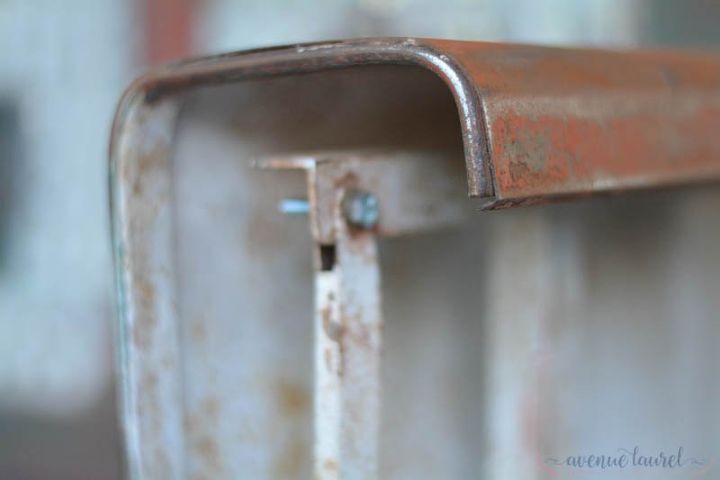
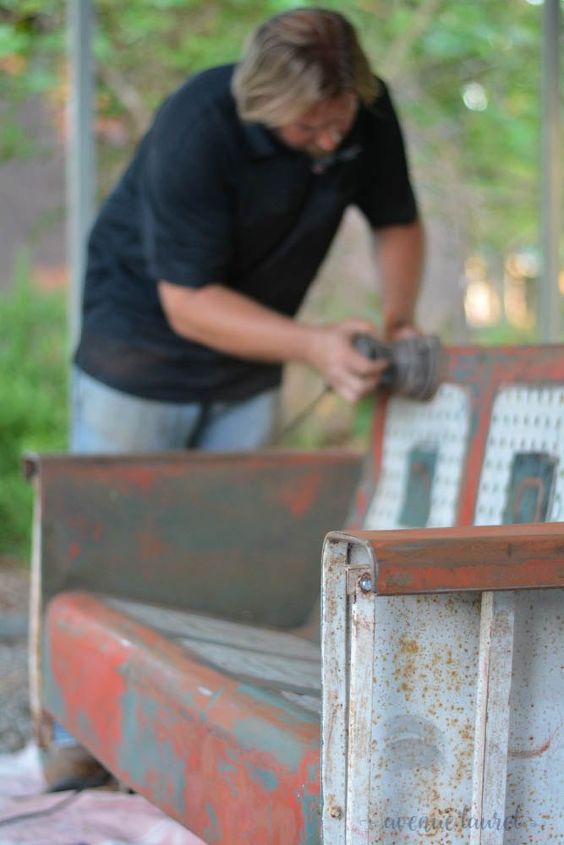
Be sure to take an inventory of the hardware and replace any bolts or screws that need to be replaced. We had some that were missing as well as some that were rusted through or just loose, and replaced them with new ones. Do this before you paint so you can cover the new hardware with paint, if you wish.
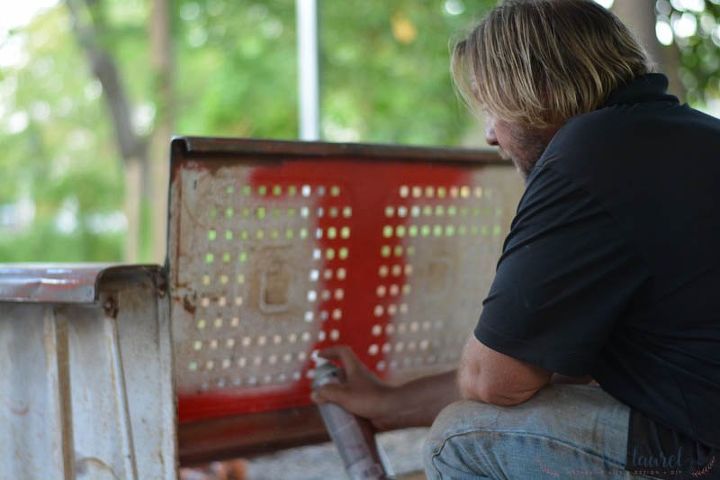
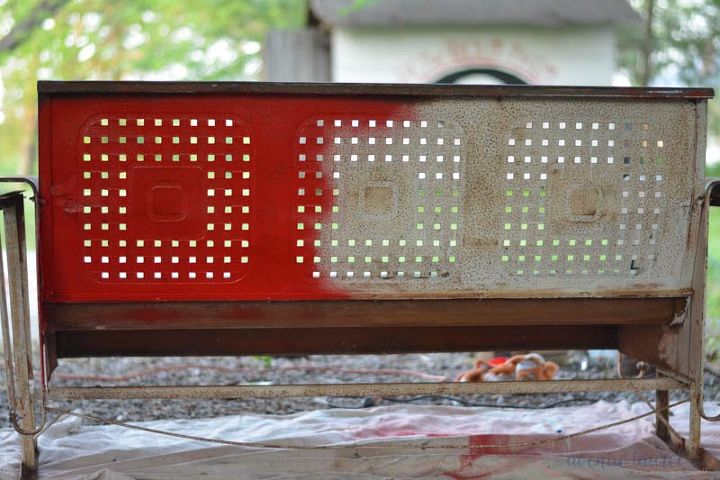
Next is the fun part- paint! We started in the back and used Rustoleum Gloss Protective Enamel spray paint. Spray down the entire back section. (My husband loves to spray paint and is really good at it, but if this is your first project using spray paint, definitely practice first! You don't want spray paint lines on your glider.
You can see how we moved from one side to the other...
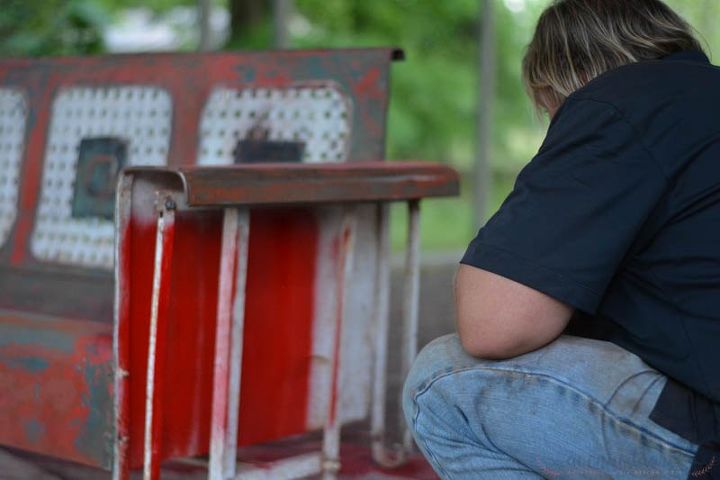
Then spray the sides, then the front.
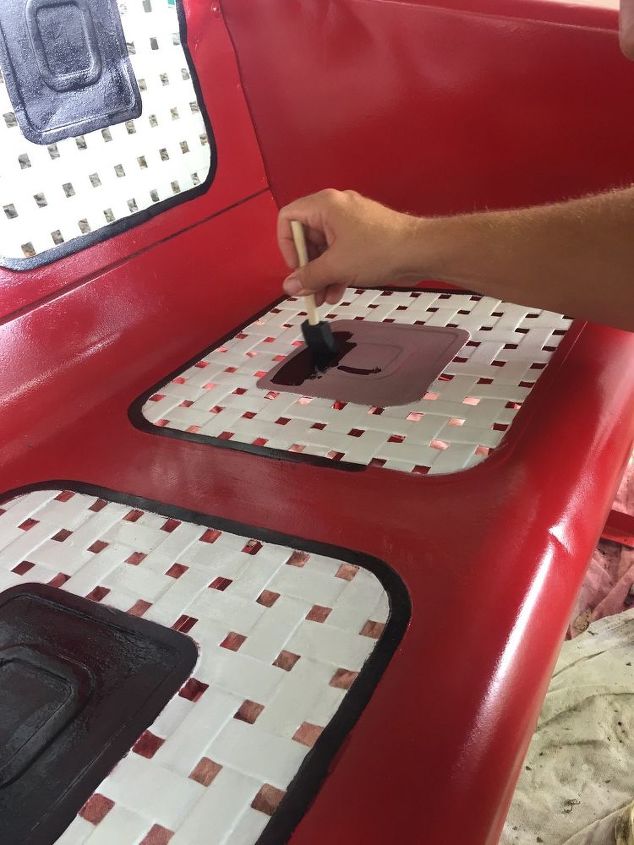
We decided to hand paint the basketweave and inset detail. We used Rust-Oleum Protective Enamel Paint Stops Rust in Gloss White and Glass Black because we've used this paint before and it works great as a finishing paint and a protective surface. First we used a foam brush and did the white basketweave, then the inset detail.
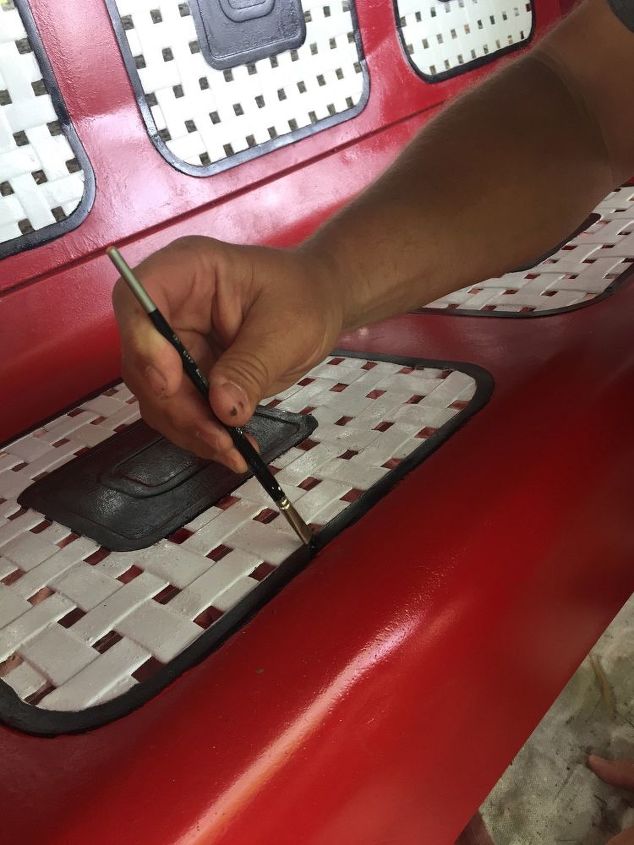
A small craft paintbrush was used to touch up any small details. My husband is not as okay with imperfection as I am :-)
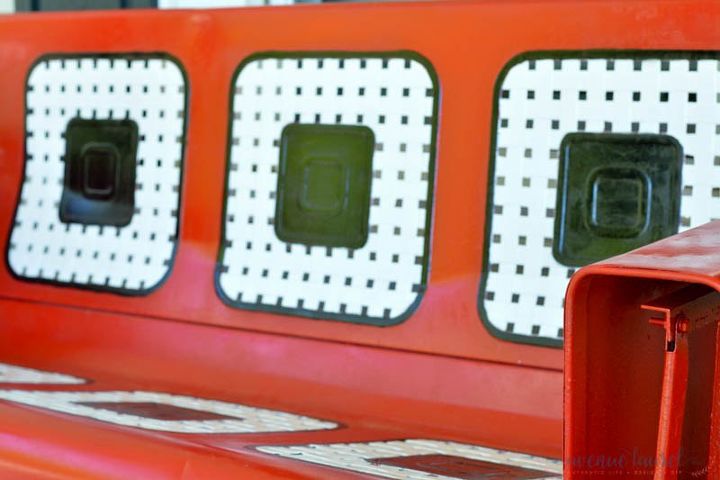
A close up of the basketweave detail- my favorite part!
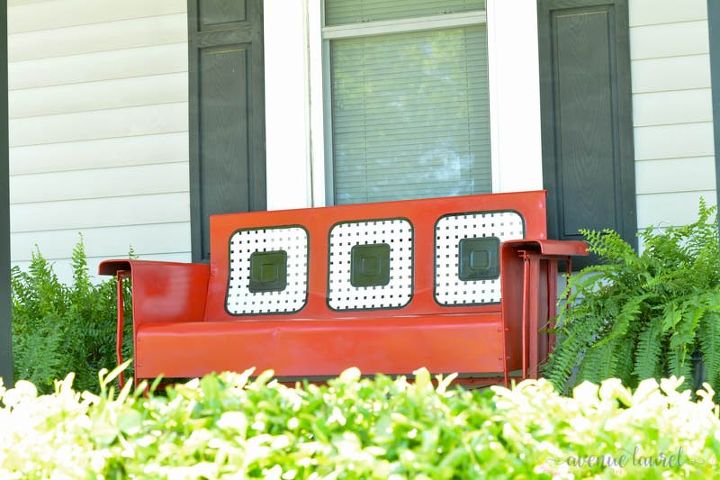
Here's the finished glider! This was a surprisingly simple DIY project that saved us hundreds of dollars. If you are thinking about trying this project, give it a shot!
Resources for this project:
See all materials


Any price and availability information displayed on [relevant Amazon Site(s), as applicable] at the time of purchase will apply to the purchase of this product.
Hometalk may collect a small share of sales from the links on this page.More info
Want more details about this and other DIY projects? Check out my blog post!


Frequently asked questions
Have a question about this project?