


COFFEE TABLE UPDATE

2 Materials
$13
5 Hours
Easy
I bought this glass top coffee table and two end tables over a year ago at a thrift shop. I was so excited when I spied them in the shop. I had to wait until my husband got home from work with the truck. They wouldn't fit in my SUV. Also I had to talk him into getting them. Unfortunately when I got home and cleaned them up I discovered one of the legs was broken. It needed to be sodered. I really liked them and plus they have a no return policy.
I could still use it but it wasn't as stable as it should be. After getting moved around alot it got very unstable. It had to be fixed now not later. Can you say procrastinator? My brother in law has a milling machine in his workshop and he offered to fix it. He can make and fix anything. He is my hero. I took off the broken leg and took it to him.
So while waiting for him to fix it I decided to do an update. I was going to paint them when I first brought them home.
But my sister recommend I live with them for awhile. Dont rush into changing. I did for over a year. And they do look nice the way they are but I'm ready for a change. Now is the perfect time while it is taken apart and the weather is so nice. Almost 60° at the end of January here in Missouri.

My three legged table.
First I took off the four little suction cups that hold the glass in place.
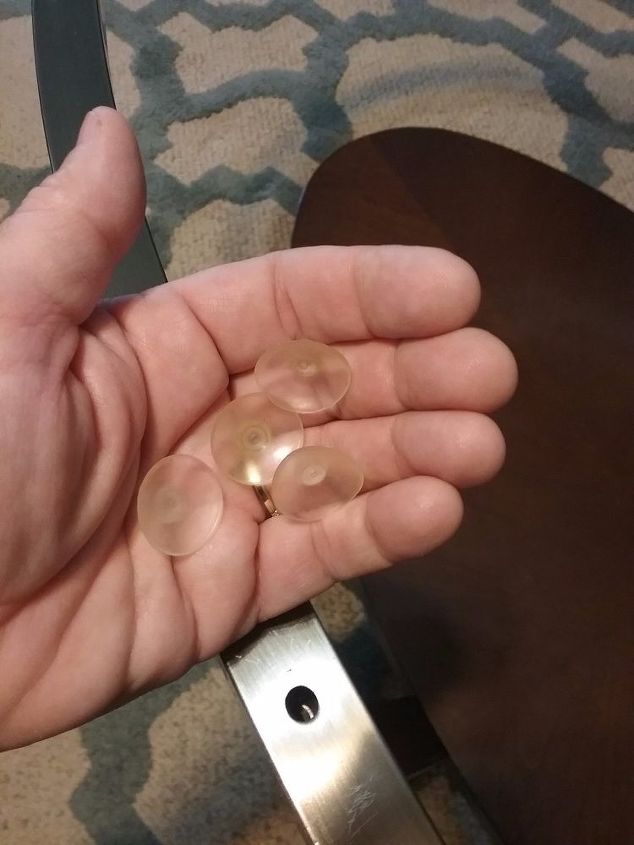
Suction cups.
I then got out my tool box. My husband got tired of me using his tools and not returning them. I decided I needed my own tools. I put together my own tool box.
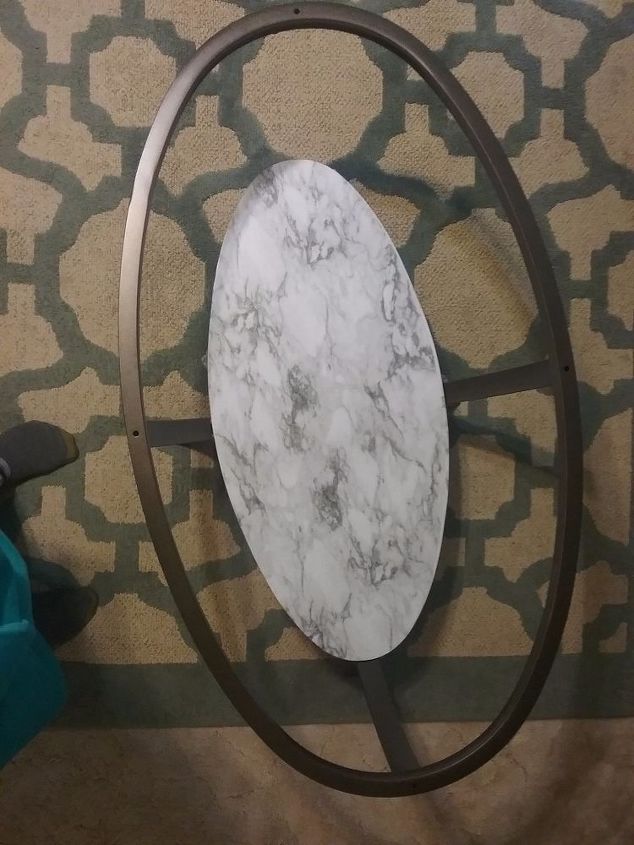
I removed the wood shelf from the frame.

Removing the wood shelf
I cleaned the frame and legs with mild soap and water. I removed the legs from the frame. I'm taking advantage of a warmer winter day to spray paint the frame and legs. Once it was dry enough to handle. I brought it into the basement to finish drying. The Rust-Oleum Flat Chestnut Metalic paint/primer was a perfect choice. In the picture it looks like there isn't any difference after it was painted. It has little flecks of gold in it.
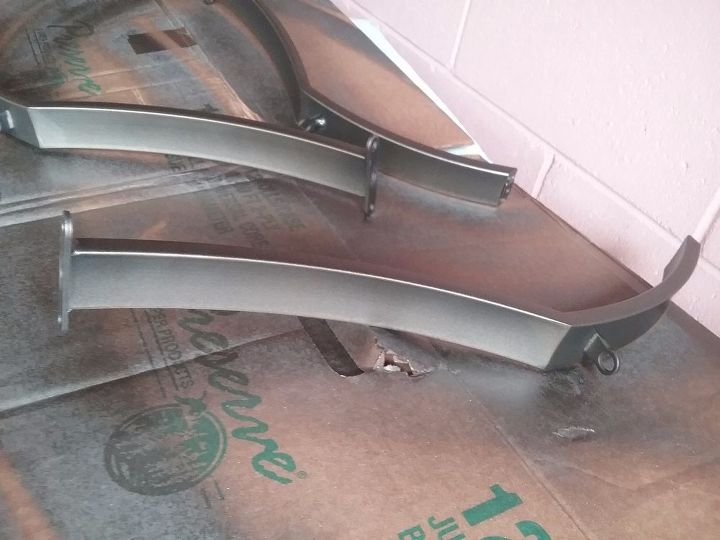
Painted legs.
When completely dry I reassembled the frame and legs.
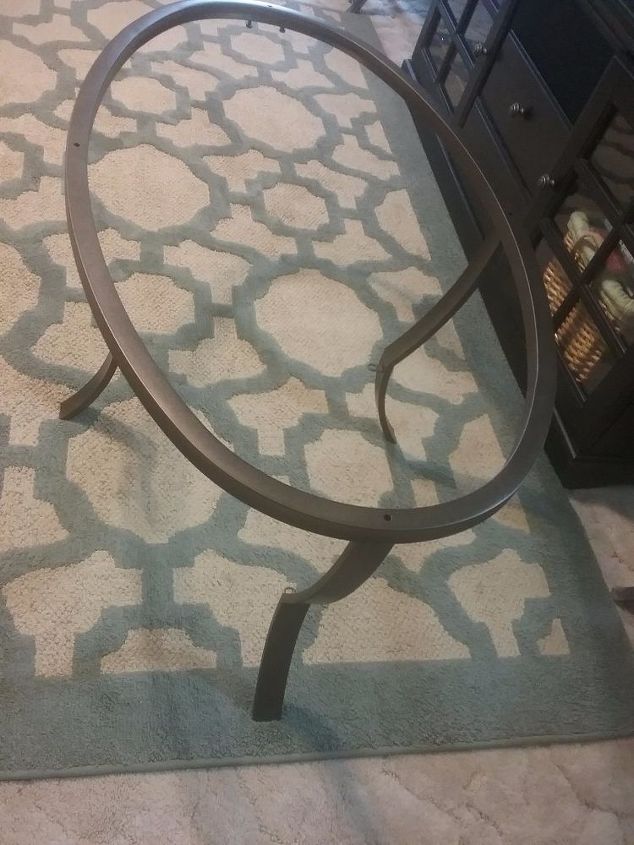
Frame and legs painted.
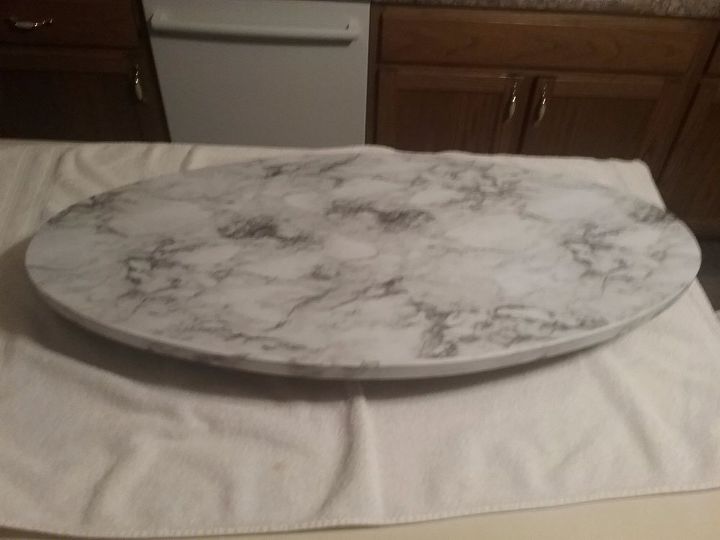
I bought a roll of faux marble contact paper from Menards. I rolled out the paper face down on my kitchen island. I layed the shelf face down on the contact paper. I drew around it with a pen. I then cut it out. I cut the strips out to go around the edge also.
Now for the hard part positioning the contact paper onto the shelf.
Contact paper attached.
I reattached the shelf back onto the frame. I also reattached the suction cups.
The attached faux marble shelf.
While waiting for the leg to be fixed I started on the two end tables. I finished them in two hours while making supper. I'm posting this project with a picture of the finished end table. I'm hoping to get the leg back soon. When you look at the time it took for this project remember that is for the coffee table and two end tables.
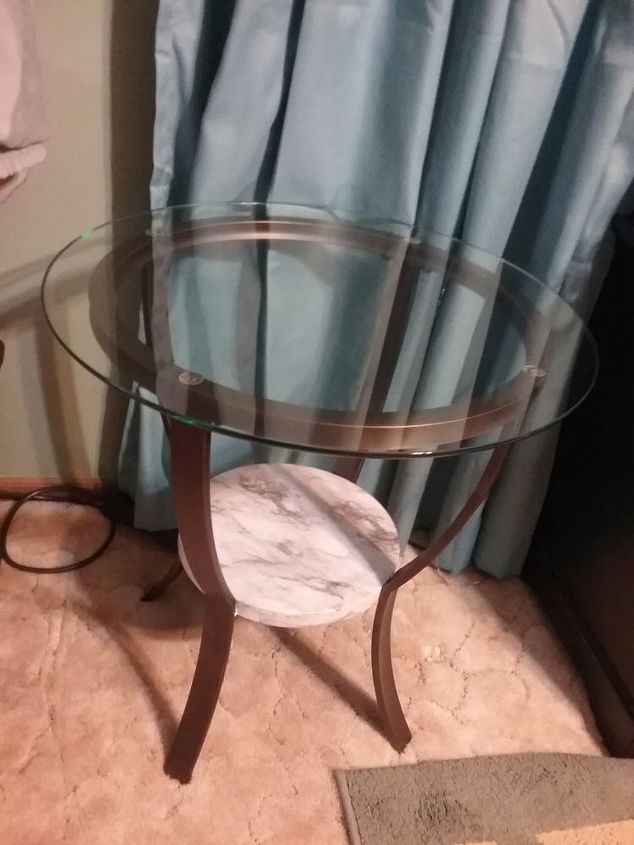
Before adding all my home decor.
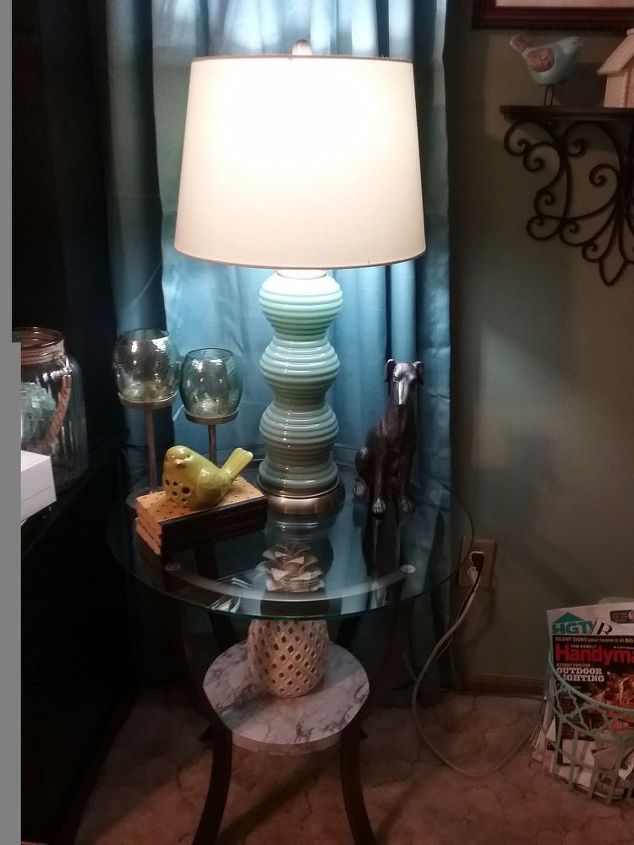
All done with my things back on it.
My husband doesn't comment on my projects very often but he said he likes the update.


Frequently asked questions
Have a question about this project?