


The Ultimate Valentine's Box
5 Materials
$4
3 Hours
Easy
As a mother of two girls, we have enjoyed doing some truly great Valentine's boxes over the years. I like finding ways to do projects like this without an expensive trip to the craft store. Getting the kids involved in this household search is key...
This is made out of all household items, except the heart at the top, which could be made or substituted for ribbon/bows/hearts...whatever!
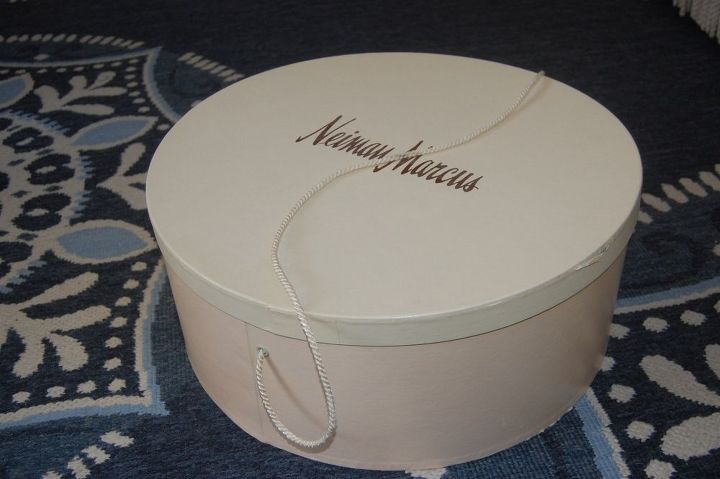
The base layer is a hat box, the second tier is a plastic bucket that our chlorine tablets come in, a round Tupperware container for the third tier, and the final tier was a box for ear muffs.
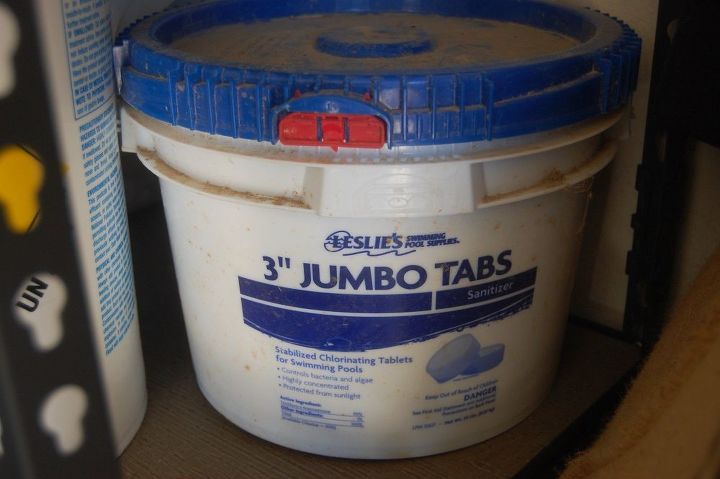
To attach each layer, I used a hammer and nail to poke a hole in the hat box lid, and the second tier bucket(bottom) then used light weight wire through the holes to attach. Add as many layers as you want. For my second layer, I used this chlorine tab bucket, but without the lid. The only layer that needs a lid is the base...the rest of the layers are added with the bottom up.
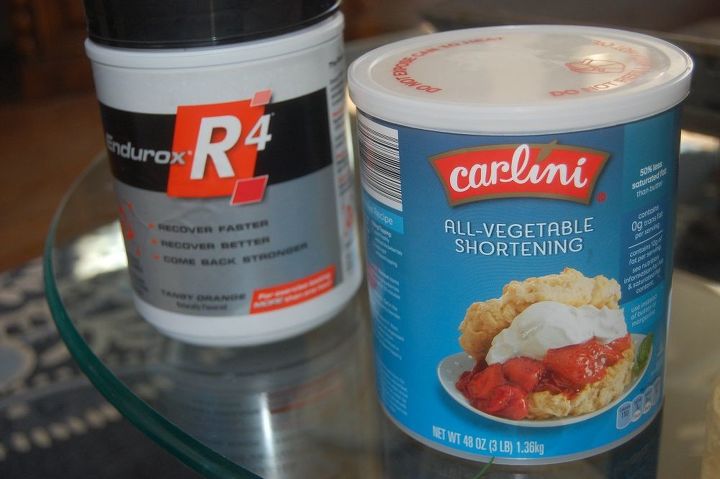
It really doesn't matter what you use, just make sure each level is not too heavy and is smaller in diameter than the one below it. Here are a few ideas for the top layer, but you could use a coffee can, too. Tupperware is also a good option, I always seem to end up with tupperware containers that have lost the matching top.
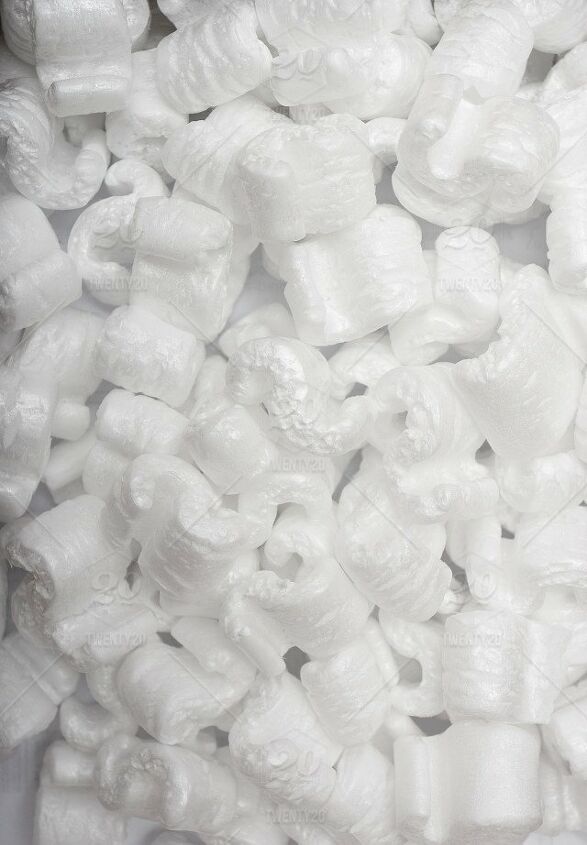
For the sides of each tier, we used packing peanuts but arranged them differently. So for the base layer, we used a hot glue gun to attach the packing peanuts lengthwise, then arranged the next layer with the peanuts a different direction to add texture to the layers. You can also add different size/shape peanuts for this.
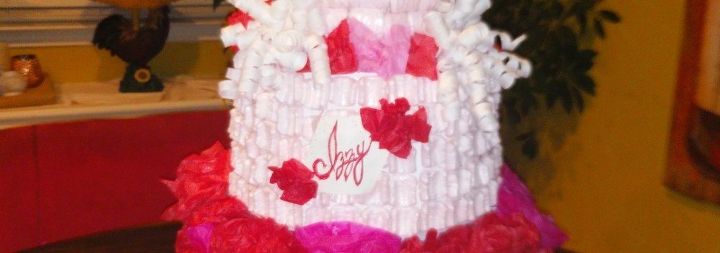
After you've covered the layers with peanuts, it's time to decorate. We used red and fushia tissue paper and some white curly ribbon. I added a hole for the valentines on the base, because the top of the hat box was removeable...to retrieve the notes/candy. To give the tissue paper a floral look, use square pieces and twist them until the paper looks similiar to petals. Then attach with elmers glue (tissue paper doesn't work well with hot glue). Then we added my daughter's name with a simple red felt pen/paper and more tissue paper.

The finished product!

Want more details about this and other DIY projects? Check out my blog post!


Frequently asked questions
Have a question about this project?