


How I Made A Pizza Serving Board

2 Materials
$30
3 Hours
Medium
I don’t just love making things from wood, another passion of mine is cooking. One of my absolute favourite things to make is homemade pizza, but I’ve never had anything to serve them up on. So, I thought I should combine my interests, and make a pizza serving board.
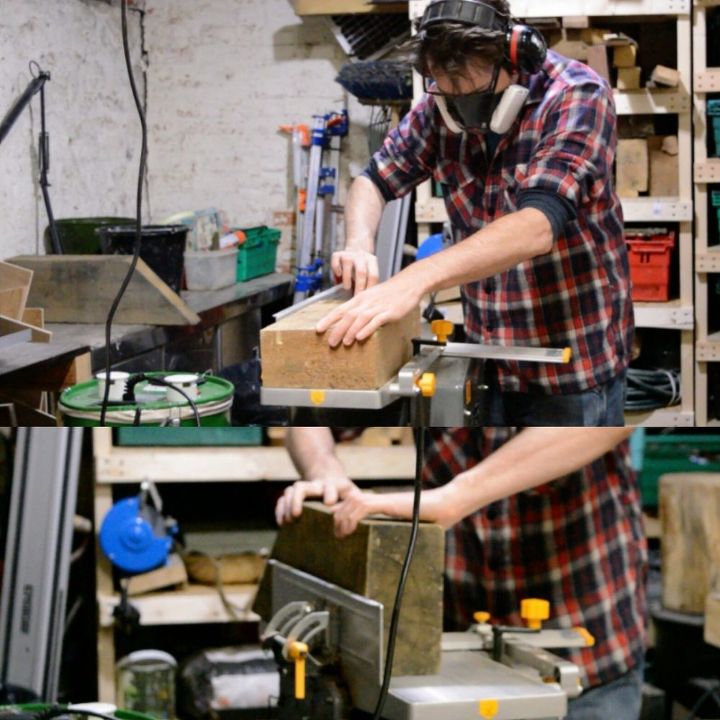
I was lucky enough to have been given some lovely chunks of walnut and oak, and my first task was to square up the sides using the jointer. The two different types of wood will give a lovely contrasting pattern, and hardwoods really are a better choice for serving food on.

With the sides nicely squared up, I then used the bandsaw to cut them into slices. I cut them a little thicker than I actually wanted, as I would then run them through the planer to clean them up and get them to the same thickness.
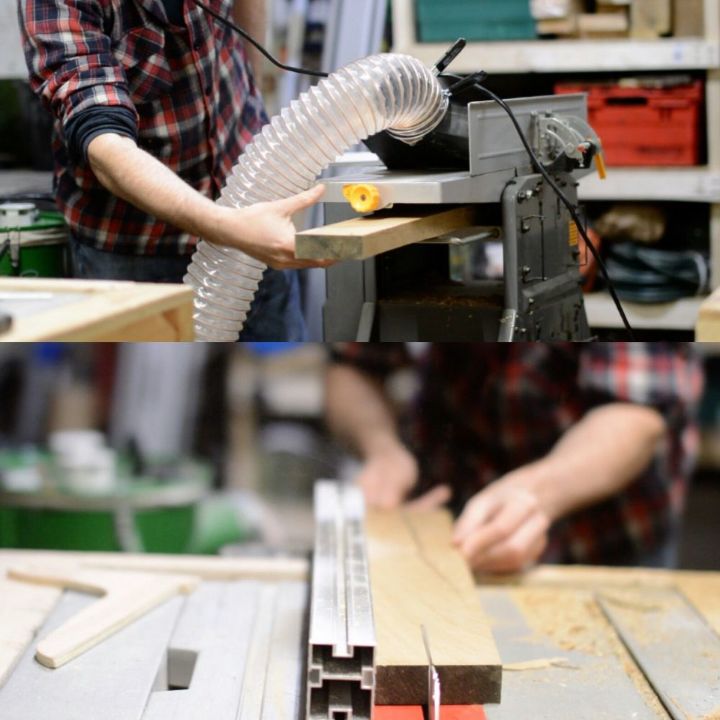
Where the edges had been cut on the bandsaw I ran them through the planer to clean them up and to get them all the same thickens.
You can actually buy wood already planed, and the correct thickness which will save you a bit of time, but for this project I wanted to use what I had on hand.
I used the table saw to cut the wood into the strips that would make up the board. I made the strips different widths for the different woods, as this would create a more interesting pattern on the finished board
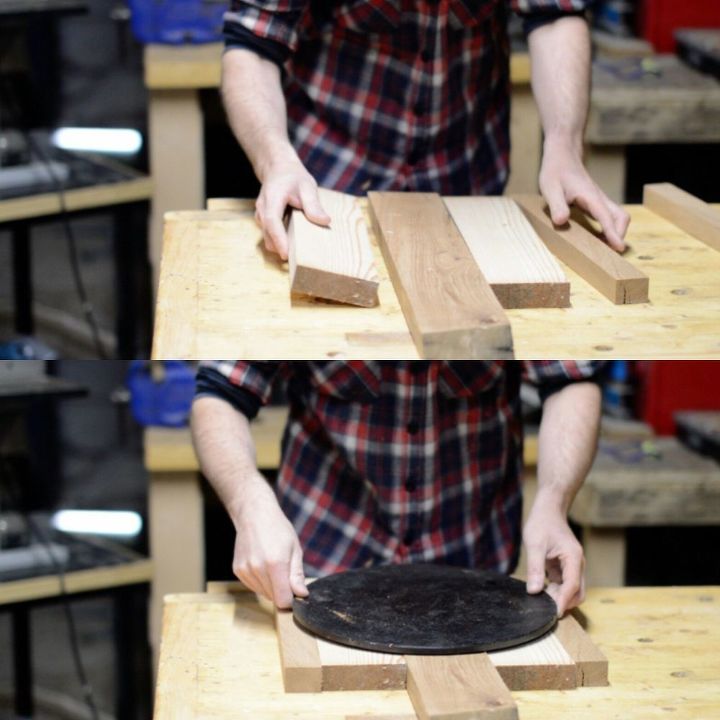
I laid the strips out on the table in a pattern that I liked, with a thick strip in the middle that was 12-13cm longer for the handle. Now is the time to check the size is right! I used my pizza stone as a guide. If at this point your board is too small, you can go back and cut more strips.
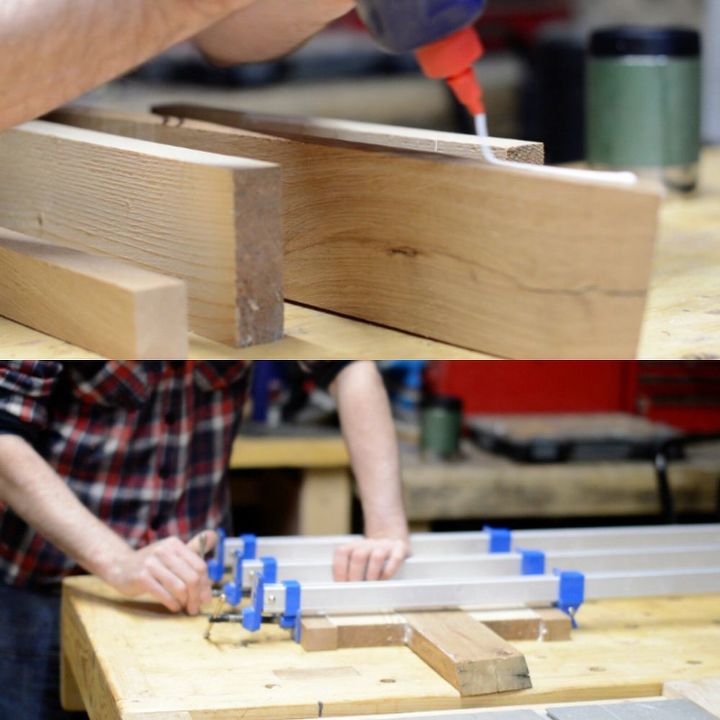
When I was happy with the size and the layout, I glued the whole thing together using wood glue, and clamped it together and left it overnight.
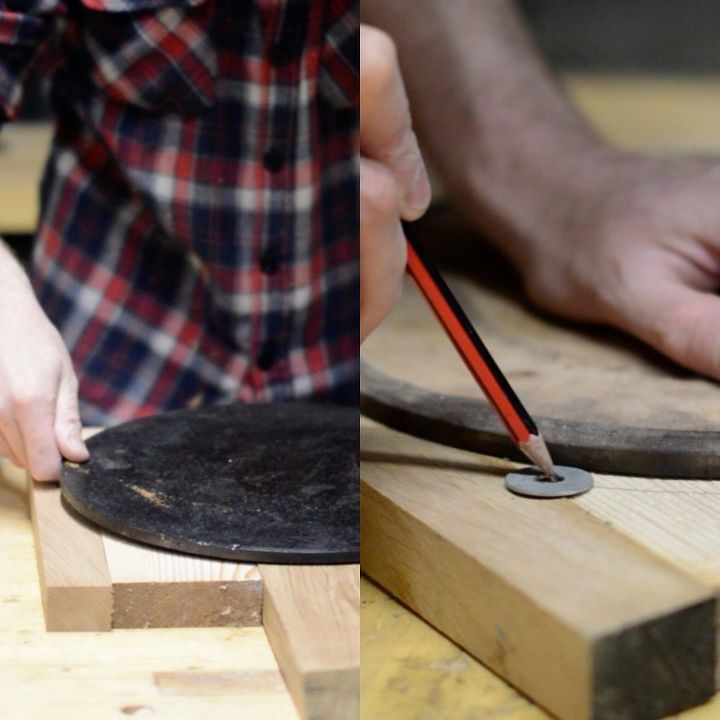
Once the glue had dried, I removed the clamps and laid the pizza stone back over the top to use as a template. I wanted the board to be slightly bigger than the pizza stone, so I put the tip of the pencil through a washer and ran it round the stone. I free-hand sketched the design for the handle.
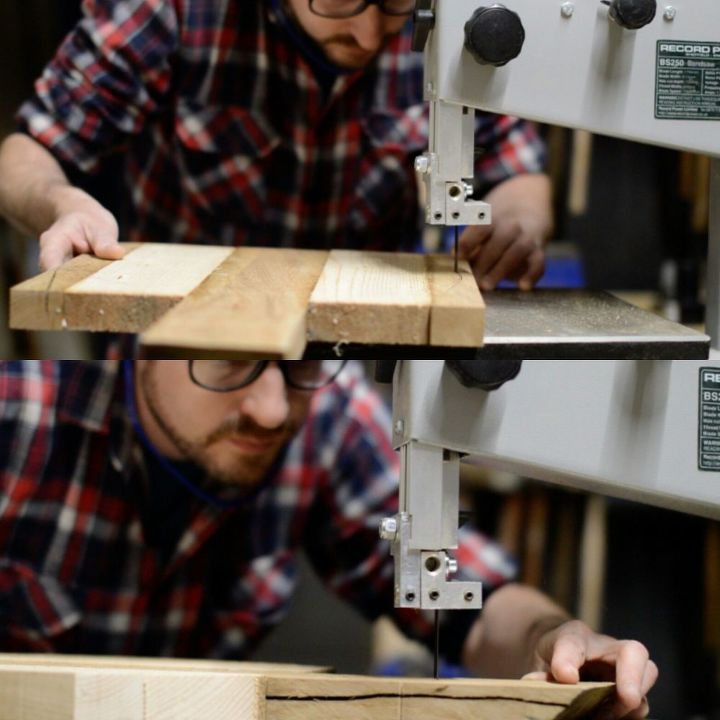
I took the board back the the bandsaw and cut out the shape.
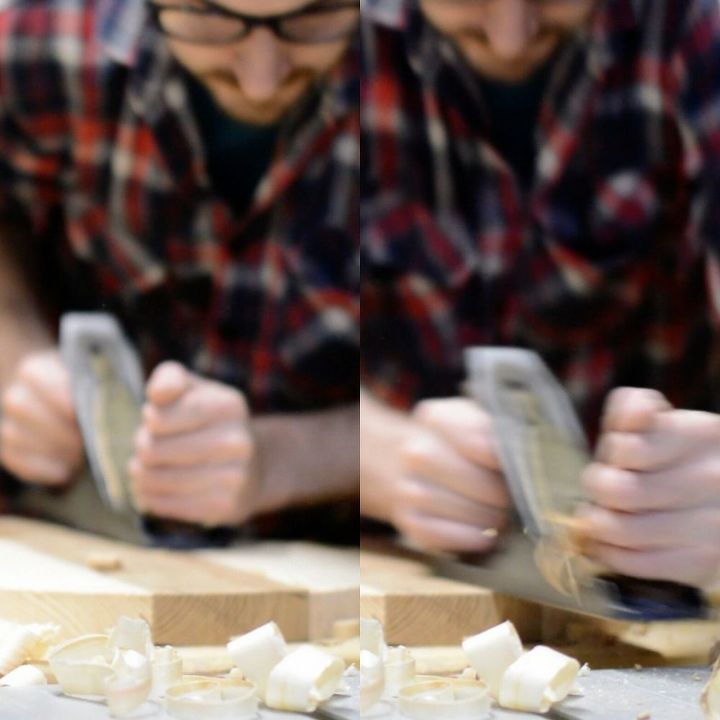
I used a hand plane to flatten and clean up the board.
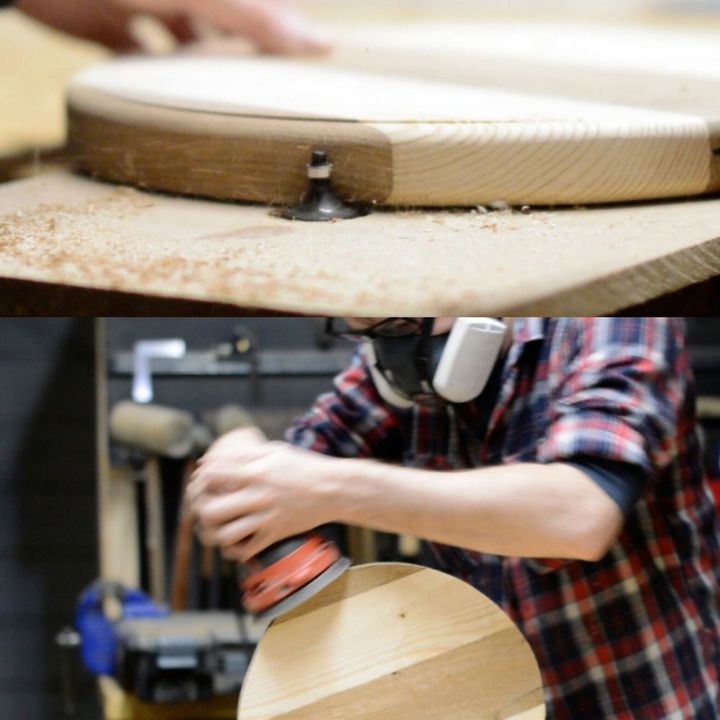
I then sanded it all down, and used a router to round over the edges.
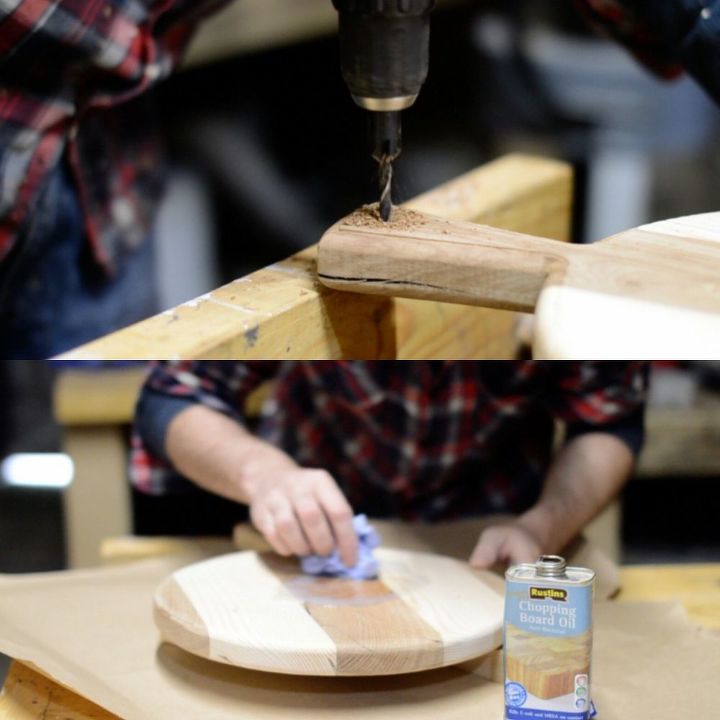
I drilled a hole through the handle so that I could attach a leather lanyard. To give the board a nice finish, I then rubbed in some food-safe oil with a cloth.
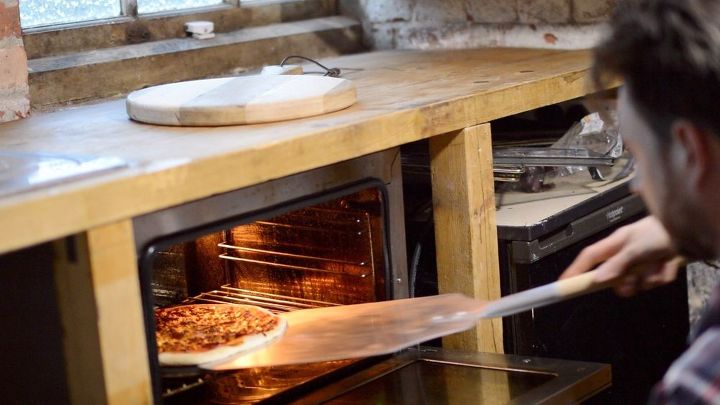
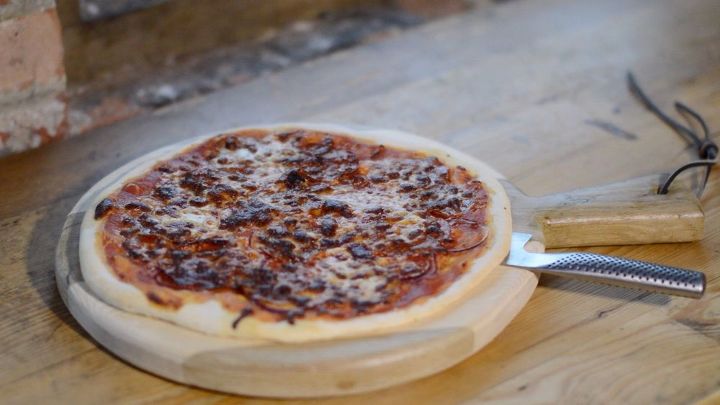
Once finished, there was only thing left to do, and give it a go with a freshly baked pizza!
Yum!
That’s it! All done. Please have a look at my YouTube video for more information and subscribe to my channel for a new project every week.
{
"id": "4624069",
"alt": "",
"title": "",
"video_link": "https://www.youtube.com/embed/3ONXtbcjJpc",
"youtube_video_id": "3ONXtbcjJpc"
}
{
"width": 634,
"height": 357,
"showRelated": true
}
Comments
Join the conversation
2 comments
-
Great looking pizza serving tray. I wouldn't limit it just for pizza. Cheese, veggies and dips. Endless possibilities.
-
Beautiful wood work! I'm on my way with a fresh batch of dough! Lol!


Frequently asked questions
Have a question about this project?