


Old Belt & Seashell Frames

7 Materials
$2
1 Hour
Easy
Old boring frames don't have to be replaced. Make them your own style with something you really like. For me, that would be seashells and burlap. Love the challenge this week, Wall Art. A project you can do with your feet up is just what I needed. An old belt, some scraps of burlap, seashells, and duct tape. Those old frames now have a new life.
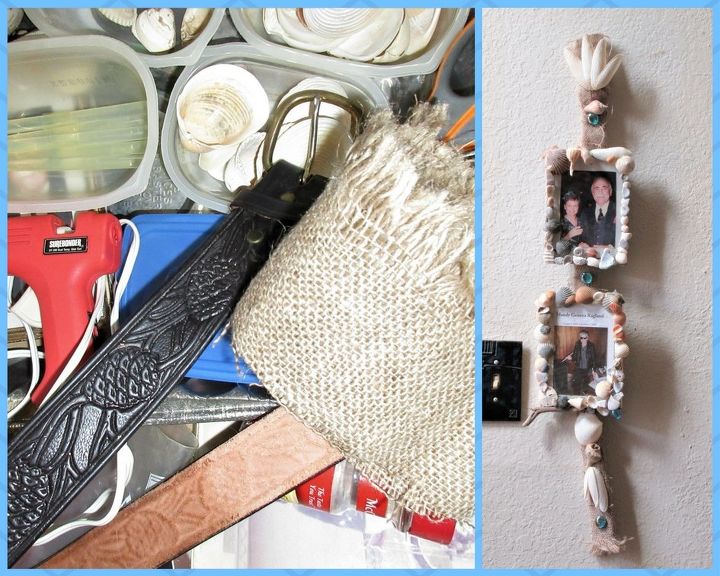
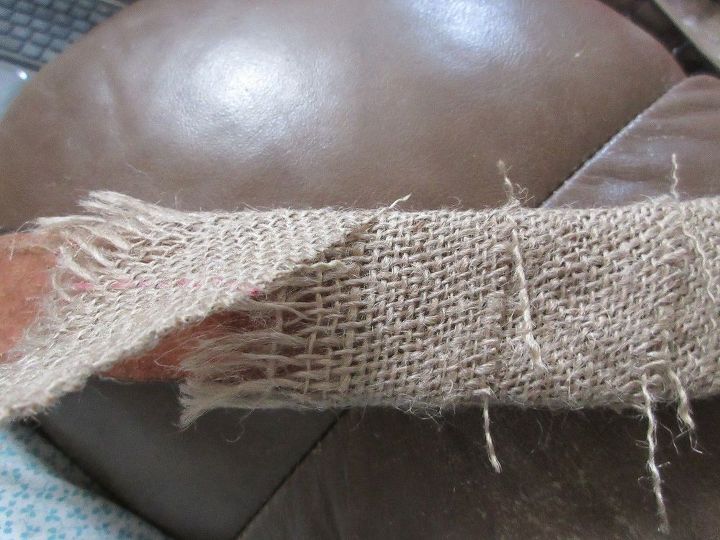
You will need glue, I used a hot glue gun. Scraps of a fabric you like, enough to wrap the old belt. Shells or what ever you like (buttons maybe?) to decorate the frames. Duct tape to hold the frames to the belt.
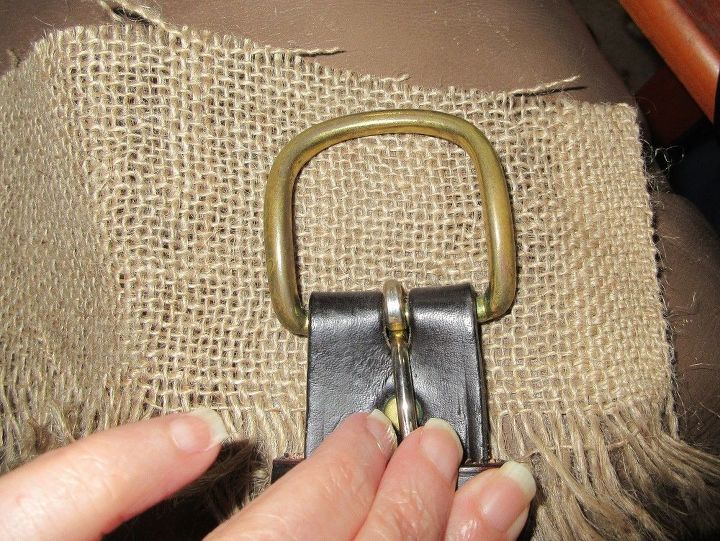
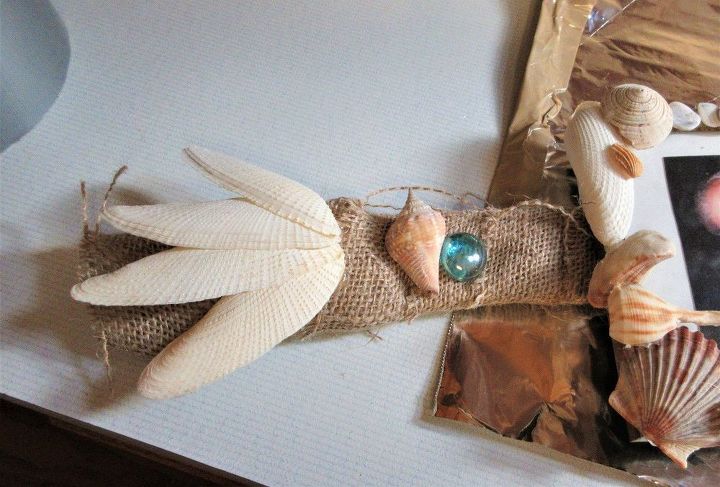
I'm using the buckle to hang it so I just held it in place and glued the burlap to the belt. You could cut it off with scissors if you would rather make a hole in the belt for hanging it.
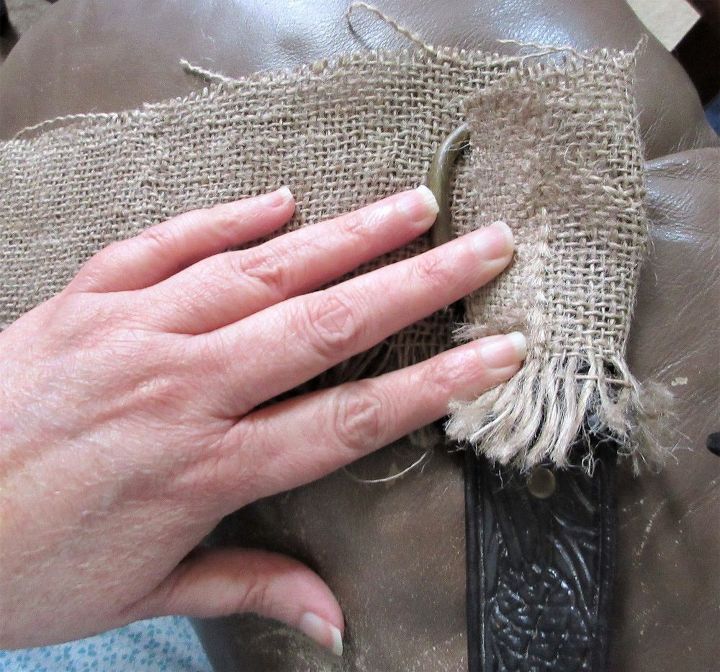
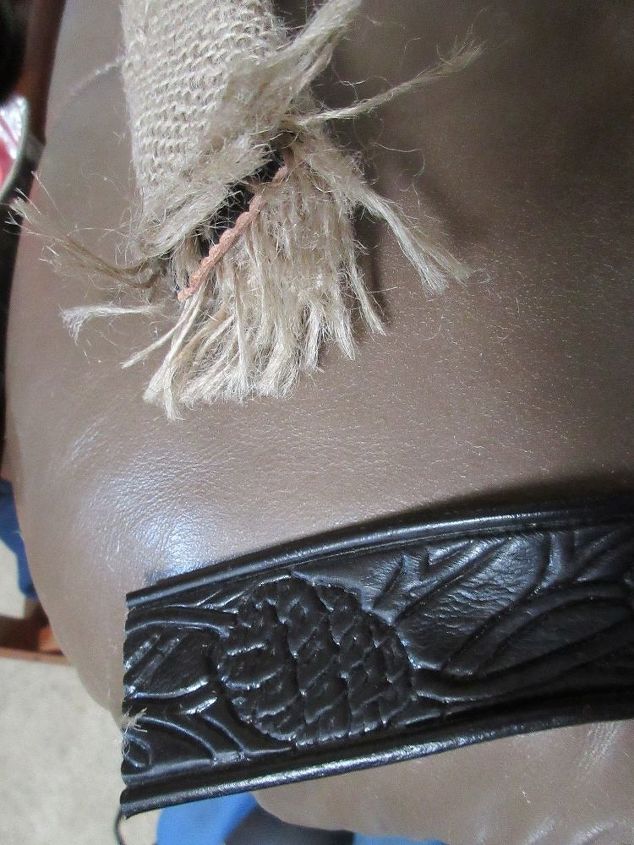
I left the frayed ends to add some bulk. Glue the top heavily so it wont come undone.
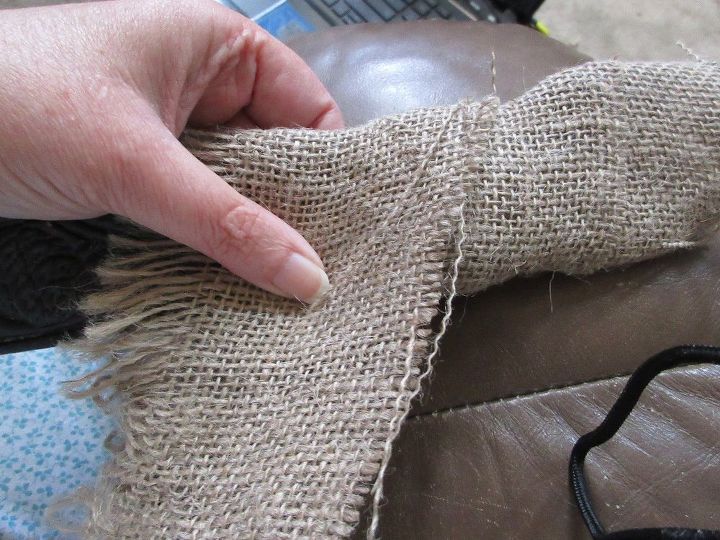
Pull the fabric tight as you wrap it around the belt. Use the hot glue at least every other wrap. You can finish the edges of the fabric for a cleaner finish. I always like the raw edge look, but that is the joy of DIY, having it your own style!
Remember to glue it on both the front and back of the belt for a good hold.
When you have it the length you want, cut the belt off with scissors. I cut mine up a little higher than my fabric end to have some fringe at the bottom.
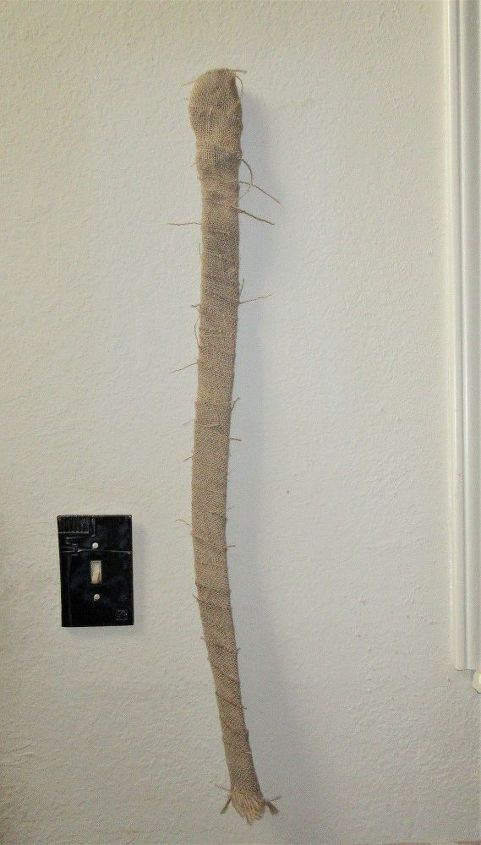
It should look something like this when you finish wrapping it. I chose a belt that has some curves, but again, you can choose one that doesn't.

Now take your old frame apart and clean it. Dry it completely. Get out your bits and pieces for decorating it and start gluing. I have no plan. But if you want to have a design planned, you can lay it all out on the frame and take a picture so you have the picture to guide you.

Now just have some fun! There is no right or wrong way, just your way. I glued some ribbon on the sides. You could paint it or cover the sides with your decorations. No rules here.

In the top picture you can see some glue strands. A hair dryer works well for getting rid of those. Use caution! It only takes a couple of seconds. If you use too much heat, the glue melts and all of your hard work will fall right off. After adding my pictures, I added more shells. You can see in the bottom picture. These frames are really old and cheap so I don't mind gluing them right on to the glass. After putting your pictures in the frames, don't be afraid to add to or change your design. Carefully use the hair dryer to remove something you don't like or just want to move.
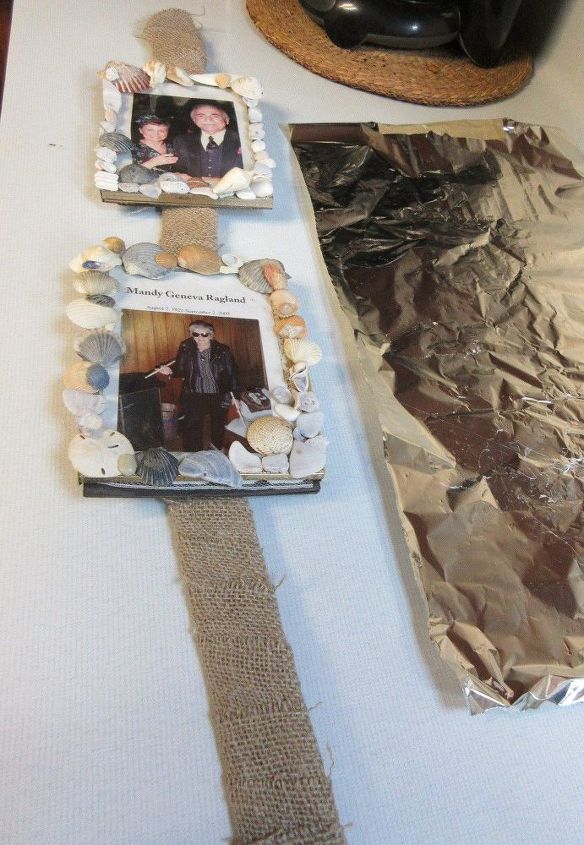
Once you have finished your frames, lay them out on your belt and figure out just where you want them to be placed. Also make sure your photos are not shifting or trying to fall out of the bottom of the frame. One of mine wanted to slide out, I turned the frame upside down to prevent it.

Once you know where you want your frames, cut your duct tape just a little shorter than your frame is wide. Put the tape on the back side of the belt at each spot you plan to put the frame. Press down firmly just on the tape that is on the belt like the top picture. When you have the tape pressed on good, turn the belt face up as it is in the bottom picture. As for the tape holding the weight of the frames...if it works for NASA, it should work for this, as long as the tape is fully adhered to your cardboard back piece.
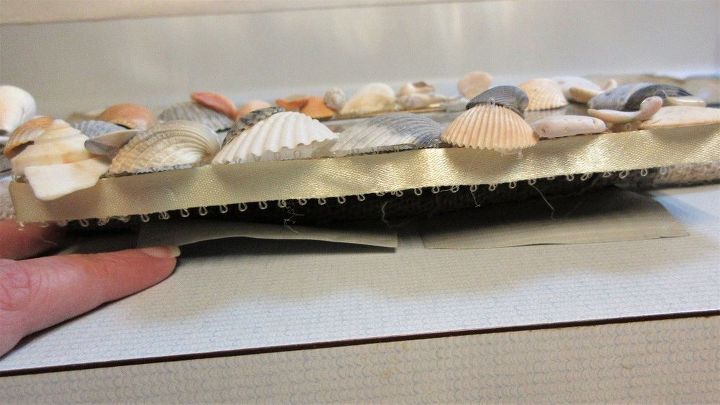
Place your frame face up with the back cardboard on the tape. Carefully press the tape up to the back of your frame. Do this on all of the tape until you have a good bond. If you need to, carefully turn the whole thing over and press down any problem areas.
You can add more of your decorations to the belt or any old thing you feel like doing to it. I added some more shells and a few glass beads I found. Check that every thing is well glued. You're done, hang it up and enjoy.
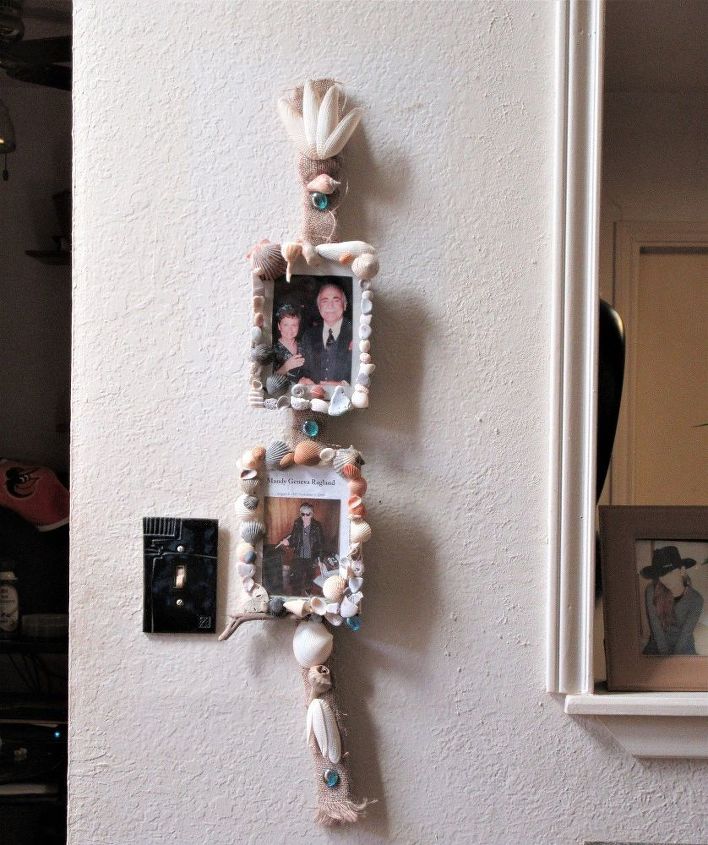
I really like how mine turned out. I'm not sure it will stay in that spot, just an annoying nail I haven't been able to get out of the wall yet. Made the wall look naked. Now I have my pictures hanging up and without having to invest in new frames. I put 2.00 for cost because I used a lot of my hot glue stash. The whole project actually cost me nothing. The next one I think I may have to make some clay beads 
Comments
Join the conversation
3 of 4 comments
-
Thank you. My friend suggested hot gluing the frames to the belt along with the tape. That would be great if you know you wont want to change the photos out.
-
That is adorable!!! Thank you for sharing 🙏


Frequently asked questions
Have a question about this project?