


Paint Stirrers, Rope, and Glue - Oh My!

by
Jacalyn
4 Materials
$30
3 Days
Easy
Don’t ask me what drew my eye to the sad microwave cart I found in one of my favorite thrift stores, but I needed a new project and creative challenge....

Okay, that’s the after. Here’s the before:
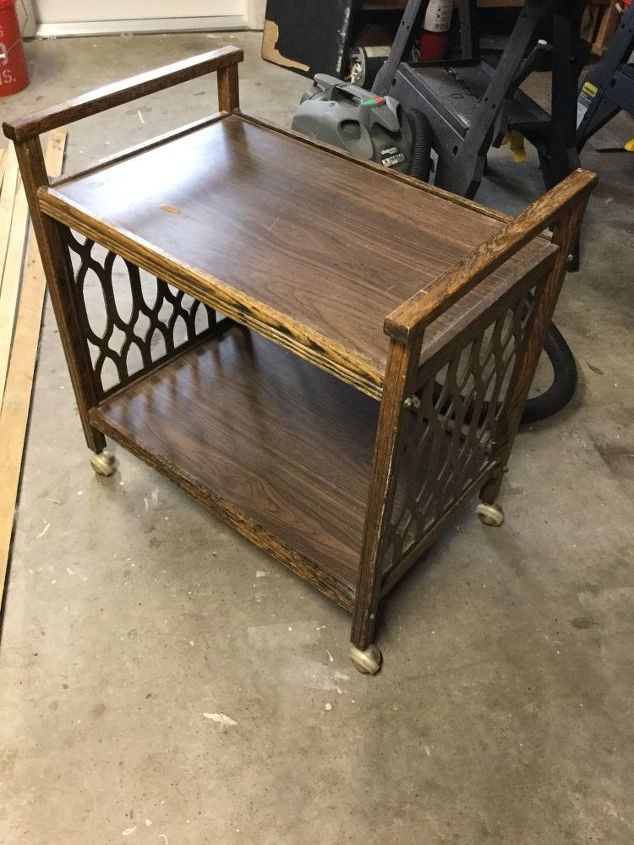
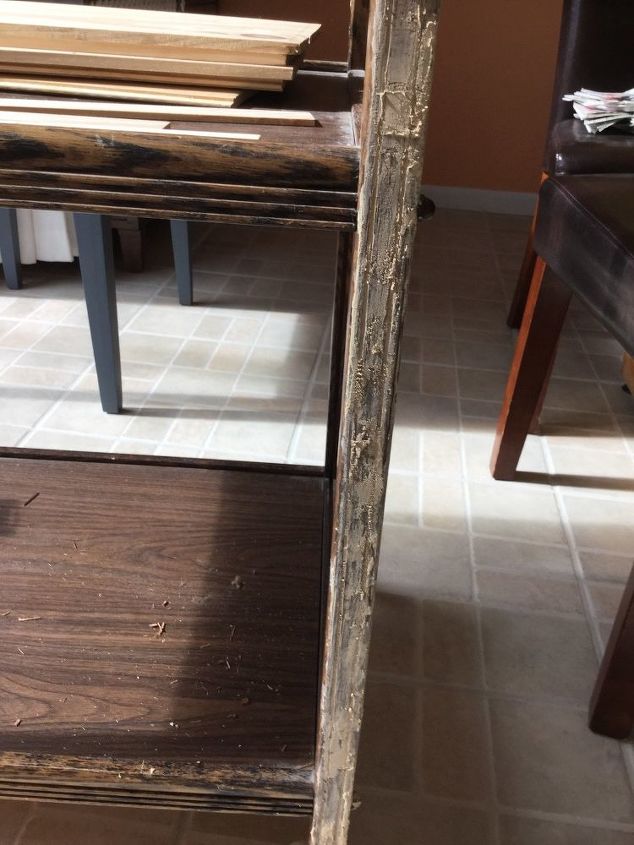
The first thing to go was the “trellis” on the side. It was cheap particle board and in bad shape. Fortunately, it was so flimsy I was able to rip it out with my bare hands. After cleaning it up, I decided to fill in some of the frou-frou channels running down the legs, which really dated the cart. Oh, what fun! My original plan had been to fill in all the grooves, but after using all of a large tube of wood filler and more time sitting on the garage floor than I care to recount, I decided that only grooves in the fronts of the legs would get filled in.
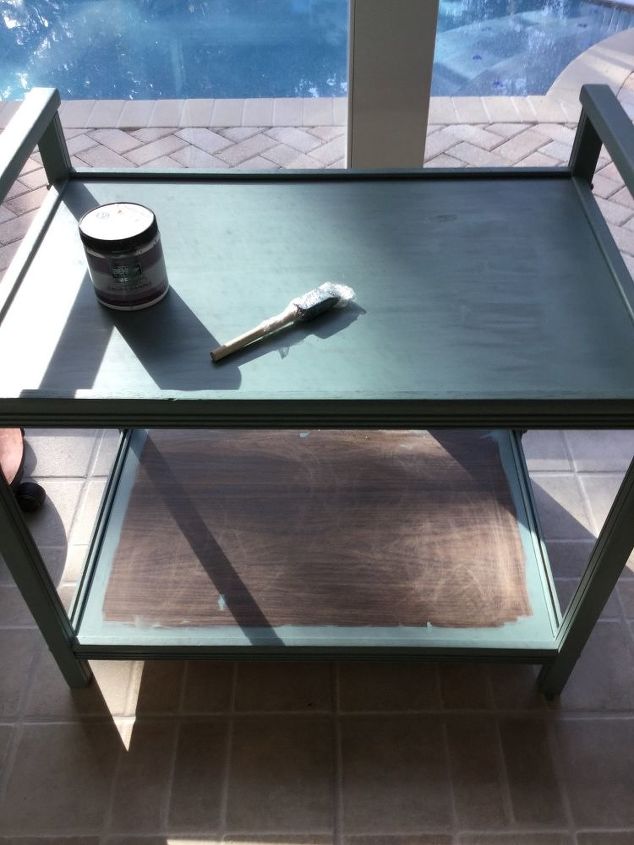
With the filling done, it was time to sand and then start painting.
I

I painted the top shelf, but only around the edge of the bottom shelf as it was getting a new board placed on top.
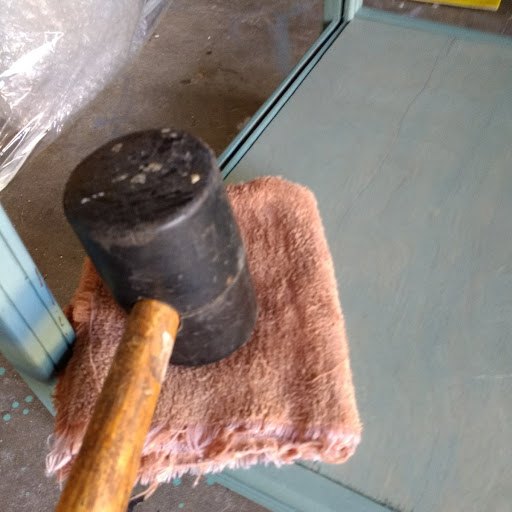
Who has heard the old adage, measure twice, cut once? Well, you know how who forgot, and the board was too tight a fit for me to wedge in. Time for some extra girl power - a rubber mallet to lightly hammer the board in place.
Now on to the fun part - making my vision for this cart come to life. I had decided that I wanted to do a decidedly Florida piece - think old wood bleached by the sun. But what to use for the planks I envisioned. A quick look around my supplies and inspiration struck - paintstirrers! I had about 10 at home and didn’t feel right about trying to get the rest free from Home Depot, but, as luck would have it, they sell the stirrers in packs of ten, and I was in business.
The inside of the top shelf measures 24 inches long, so I cut the sticks in 3, 5, and 8 inch lengths. After they were all cut, I mixed one part paint and one partwater in a covered jar, lightly dipped an old sock in the paint water, and rubbed the paint into the wood, letting the grain soak it up as it wanted.
The next step step was to lay the pieces out in a pattern on the top to get a quick preview, then the gluing began.

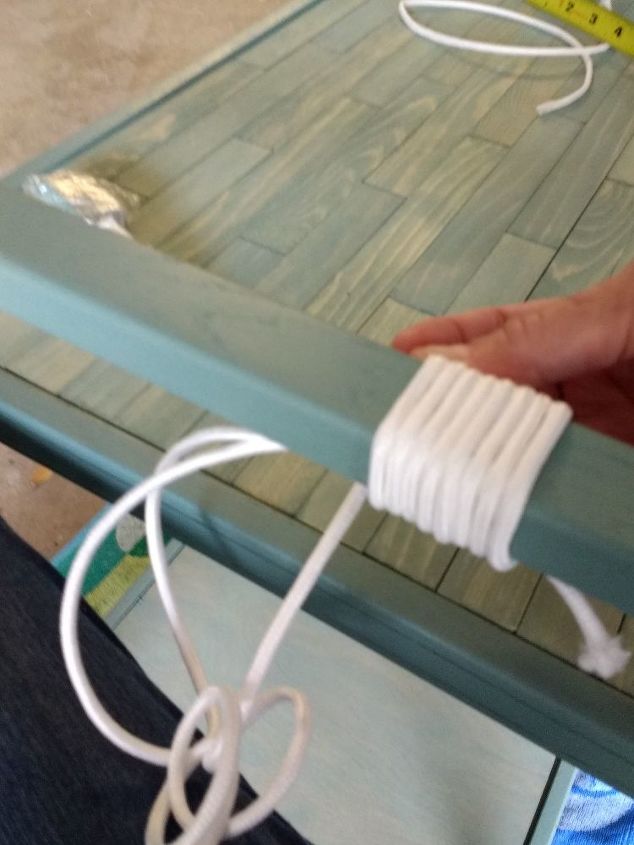
After all the pieces were in place and glued down, it was time to wrap the handles with rope. I have to admit being stymied here and had no idea as to how to begin, but it was YouTube to the rescue!
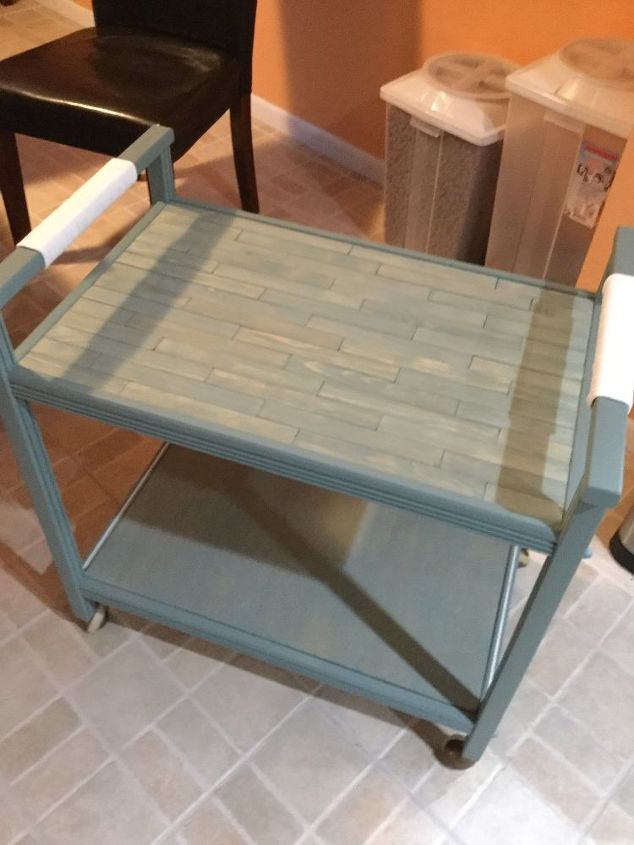
The paint got 3 coats of spray polyacrylic, and it is finally ready to use!
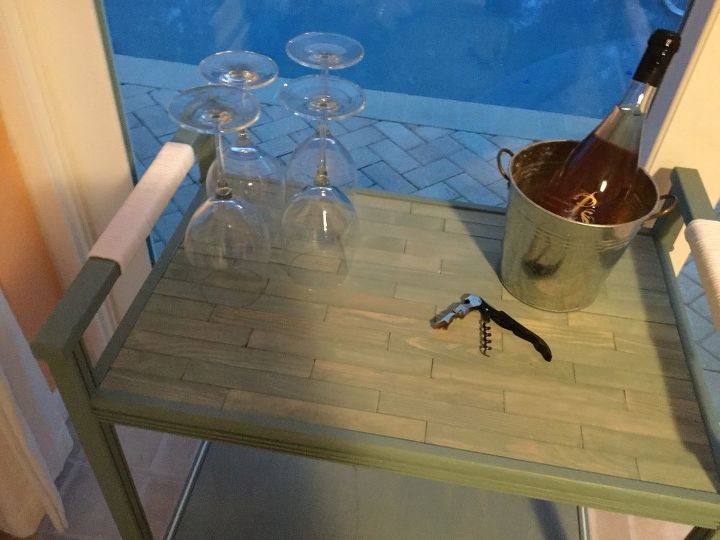
As a bar cart
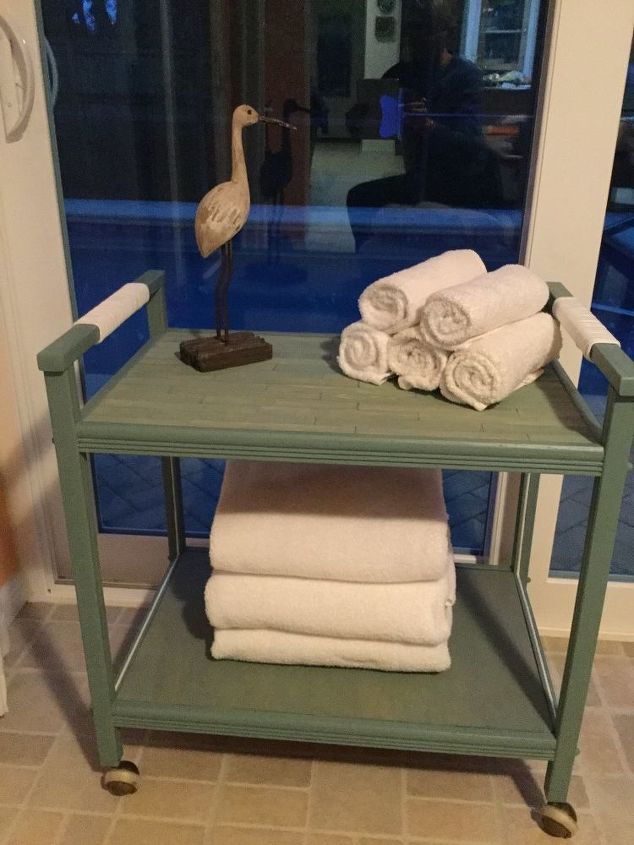
For extra bathroom storage.
Comments
Join the conversation
3 of 18 comments
-
Thank you! I have no idea how many paint stirrers
I used. I remember that the cart was 24 inches long, and I cut the stirrers into 3 different sizes - 3, 5, and 8 inches, so I could stagger them. If I recall correctly, only 8 inches or so of the stirrer was useable. My Home Depot store sells them very cheaply in a package of 12. Wish I could be of more help.
-
I have a cart like this and have trouble getting rid of stuff.
I think I may put tile pieces on top if not too heavy.
Looks beautiful!
Did you spray coat the rope handles?


Frequently asked questions
Have a question about this project?
What color did you use?