


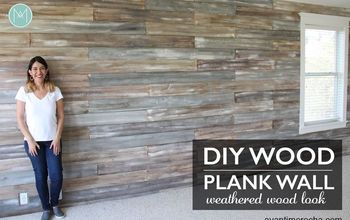
DIY Whitewash Plank Wall
2 Materials
$80
4 Hours
Medium
What I loved about doing this wall feature, was there was no wrong way (amen!). We were going for a rustic, natural, and imperfect feel so I really had fun with this one. When it was time to paint, I played around with color combinations then chose the look I preferred!
DIY Whitewash Wall
Materials for Wall:
- Nail gun and nails - we used 2 inch nails
- Stud finder
- Tongue and Groove Pine Boards - you can choose to have these cut to the exact length of your walls like we did, or if you want more lines you can cut each board to different lengths.
- Jigsaw
- Trim
Materials for Whitewashing:
- White Paint - we used SW Super Paint velvet in Alabaster
- Paint Brush
- Container to mix in - We did 5 cups Alabaster: 1 cup water
- Spray bottle with water
- Dry Cloth
- Drop Cloth
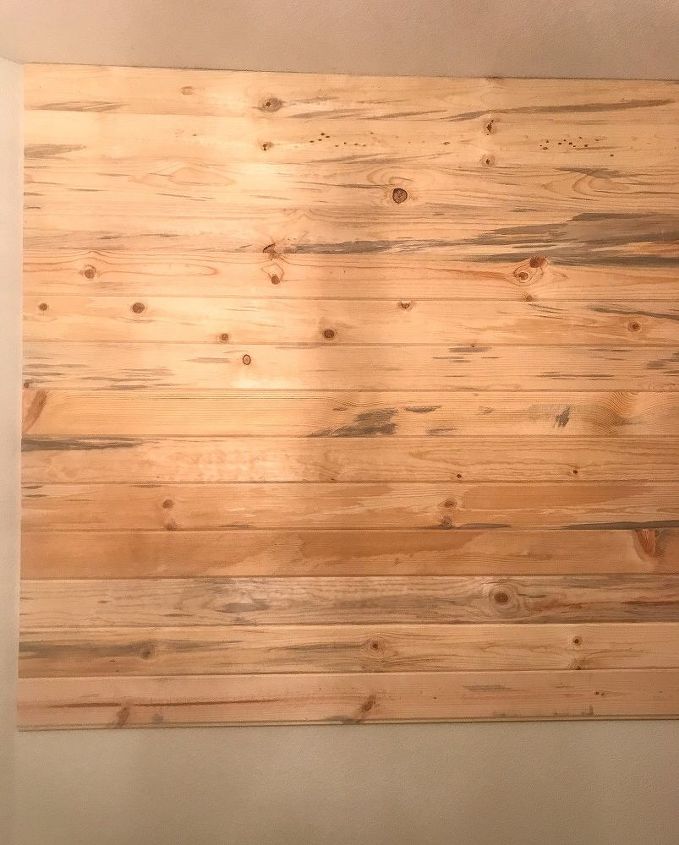
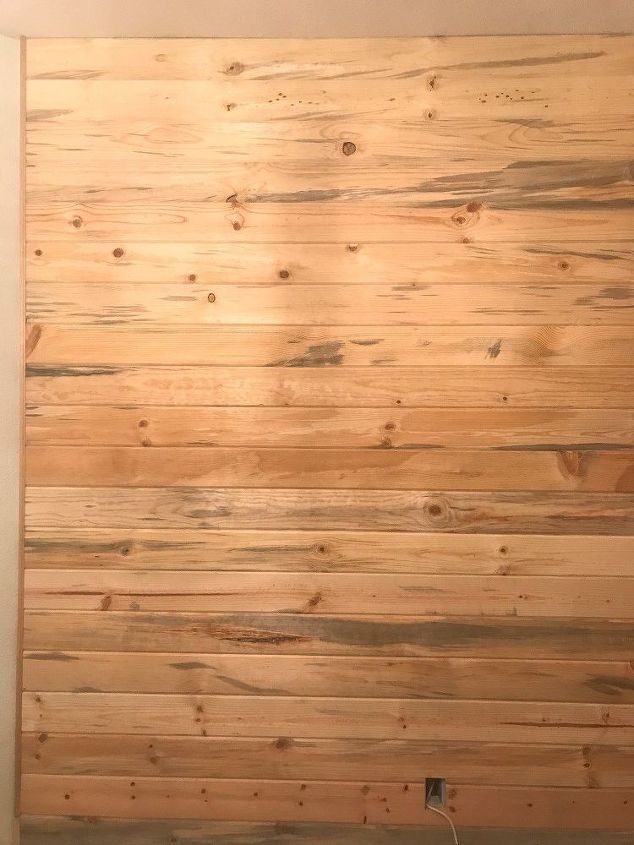
Installing your boards:
- Nail your boards to the wall - Using our stud finder we found the studs in the wall, and drew a line down each stud to show us where to nail. We chose not to use liquid nails for this project, so this was an important step. Starting at the very top of your wall use your level to make sure the very first board is perfectly straight. This board is the most important of them all, as it will set your line for your wall! Once your board is level using your nail gun, nail your boards into the studs. Because all of our boards were cut to the length of the wall we simply followed this method for the entire wall until we reached the outlets. We then measured out our outlets, and used the jigsaw to cut around these. And that was it! Our nails were so small that we didn't even need to patch and caulk, especially because we were going for a rustic, natural feel. This was a HUGE time saver!
- Add trim - We chose to trim out the wall feature, but it definitely isn't a must. We simply measured the height of our wall, cut the trim down, and nailed it right in. Easy, easy! And done, we had our wall feature. Now it was time to whitewash!
DIY Whitewash:
A few notes before we get started. Installing the tongue and groove boards to the wall was definitely the easier half of this project. The whitewashing is not difficult, but it is time-consuming and takes a bit of playing around with to get it exactly how you want. Don't be discouraged, but I don't want to pretend that it was the fastest moving, mindless thing either! And remember, like I said before there is no perfect way to do this. Play around with it, and get it exactly how YOU love it!
- Choose your paint - I love SW Alabaster so it was a no brainer that I would go with this color for the walls. I chose their Super Paint because it is not as thick (or expensive) as their top of the line paints, and I was going to be watering it down anyways.
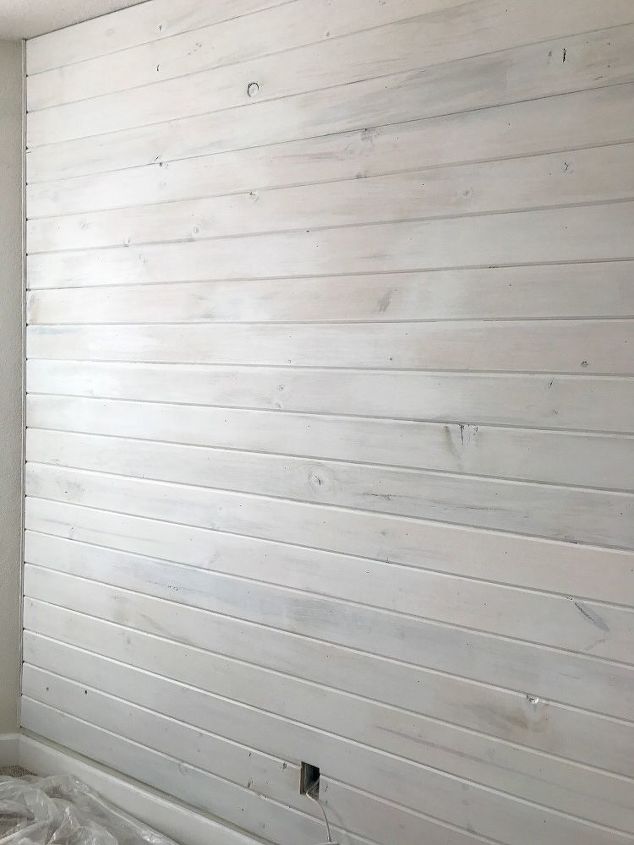
- Mix up your paint - This is the most important part! I started with 2 cups Alabaster to 1 cup water, and mixed it really well. Wow that makes a lot of paint! I would recommend using smaller amounts while you are coming up with your mixture...lesson learned! The second I applied it to the pine boards, we knew it was way way lighter than we were after. I simply added another 1 cup of paint to my mixture, so now I was at 3 cups Alabaster to 1 cup water. I applied it to another spot on my pine boards, and knew I was getting closer but still not as dark as we wanted. Finally, I ended up with 5 cups Alabaster to 1 cup water. And we LOVED it. It was exactly as we envisioned. It dries quite a bit differently than it goes on, so I would recommend testing out different mixtures, letting them dry and then picking your favorite. Again go with what you love! Every type of wood will take the paint differently, so play around with it and choose what most fits your taste.
- Apply your mixture - Before applying your paint, lay down a drop cloth. Because your paint is watered down, I highly recommend this step! Next, using your paint brush, apply the paint with the grain. This will allow the texture of the boards to really show through. I had planned on rubbing off the paint with a dry cloth in sections, but as I went along brushing with the grain I loved the look of it! So I ended up only rubbing off when I felt the paint was going on too thick. I also had a small spray bottle of water that I would squirt onto the wall when I needed the paint to thin out a bit. This really helped me achieve an even coat across all the boards.
- Stand back and admire - Let your first coat dry, and see if it is the look you want. I had planned on putting on a second coat, but after letting it dry it was exactly the look we were going for (woo, because mama was tired!). You also could go back and use a dry brush technique (dip your paint brush in paint then wipe most of it off) to add more texture to your wall. We love that the knots and natural veins of the pine boards show through and didn't want to take away from that! So we stopped at one coat!
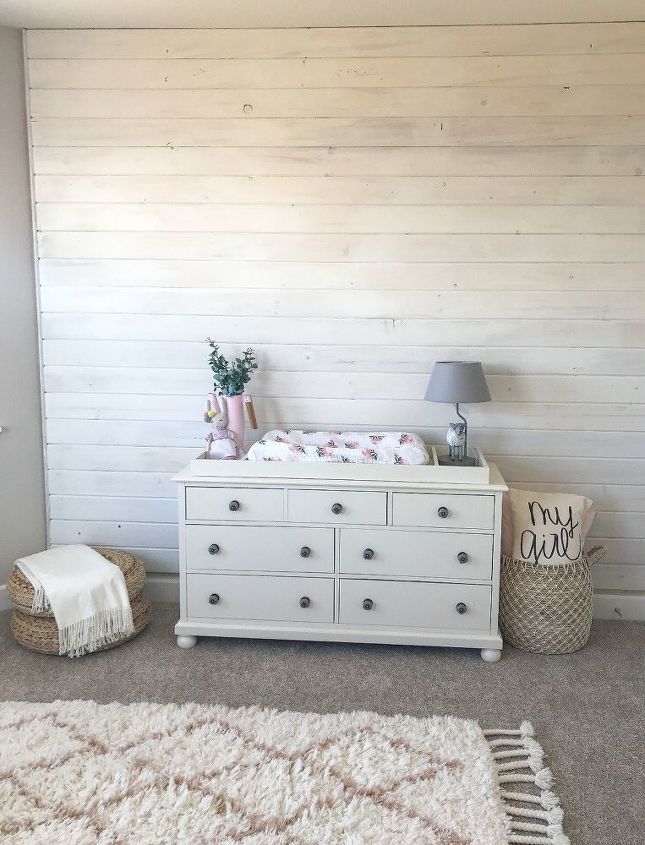
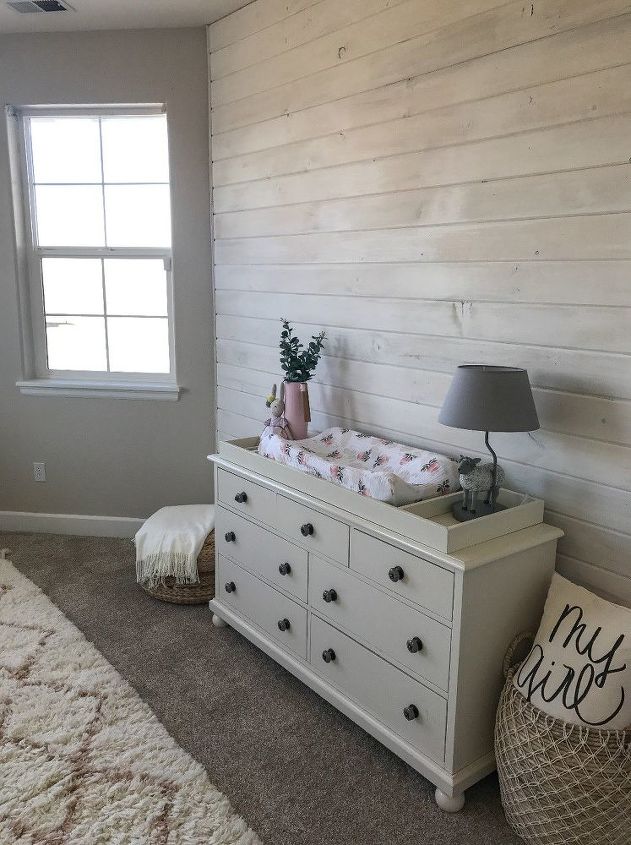
This whitewash wall is everything I hoped it would be and more! Now this room is such a soothing, relaxing sanctuary. I love the rustic tone it sets for the rest of the room. For all the sources and more details visit:
http://www.farmhouseblooms.com/weekly-blooms-whitewashed-wall-nursery/
Nailing the boards
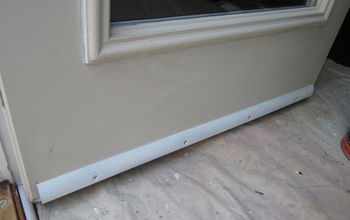
Adding trim
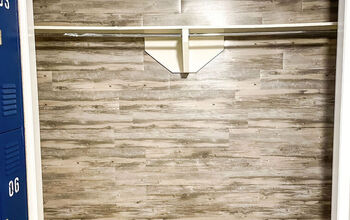
All complete!
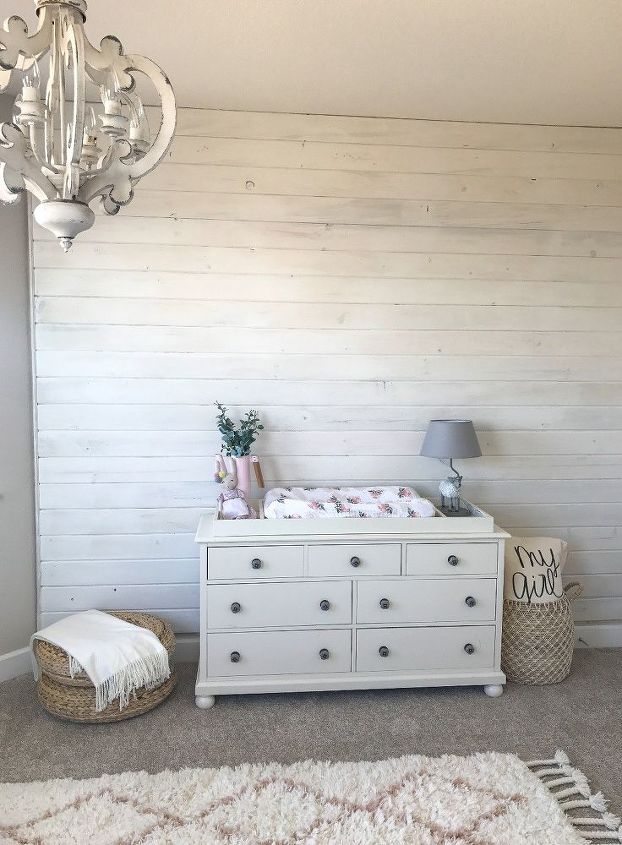
Final Result

Want more details about this and other DIY projects? Check out my blog post!
Comments
Join the conversation
2 comments
-
I love this look. Your project came out so great. Thanks for the tips!
-
I love this. What is the exact color number for the paint. I checked the Sherwin Williams website and didn't see it. Thanks!


Frequently asked questions
Have a question about this project?
How much was the tongue and Grove boards and where did you buy them and what width are they im getting ready to do backsplash in kitchen and i wanted to do this but paint with a very light tint of gray over the white
My wood walls are already finished. Do I need to primer them before trying this method?
Do you need to polyurethane the wood after you whitewash it to protect it?