


TV Console Makeover

2 Materials
$20
6 Hours
Easy
Hey there, Hometalkers!
If you checked out my previous post on my dining room table makeover, you will see that this makeover is quite like it! In fact, I used the same chalk paint I did with the dining table to achieve the new look on my tv console, so I didn’t have to buy extra paint. I did both projects simultaneously, so it worked out. :)
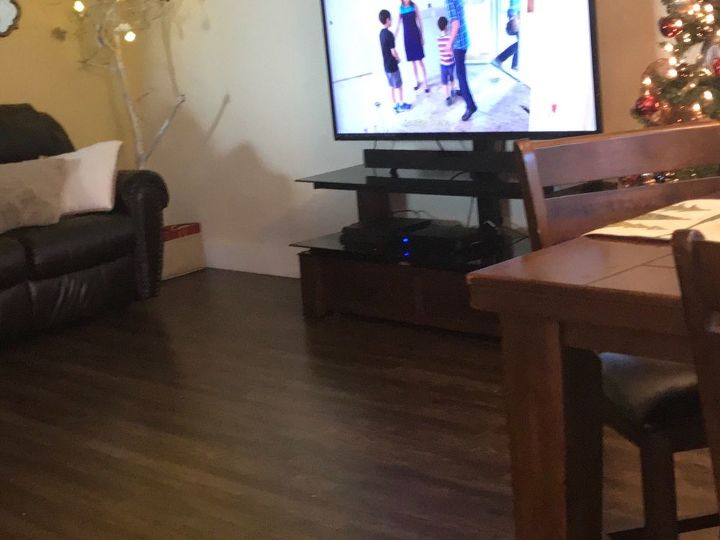
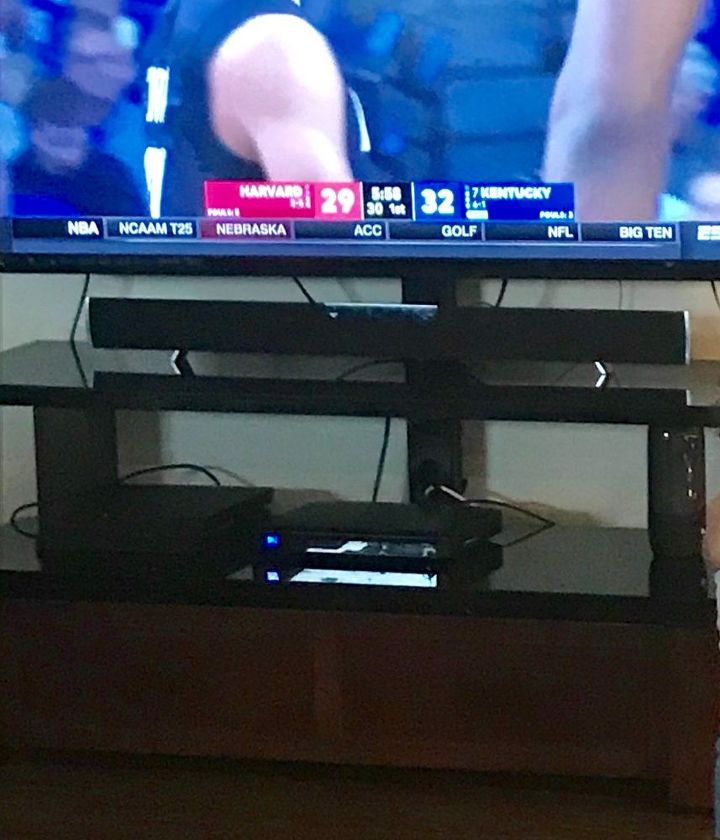
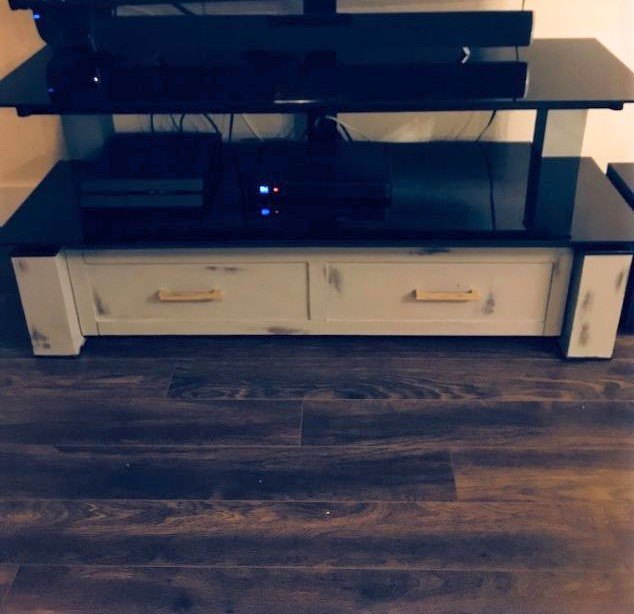
In my previous post I commented about the darkness of my living/dining room area. To top it off, the windows all around my house are tinted, so you can only imagine! I was OVER of all of the dark wood everywhere, so I decided to change up a few things just to brighten it up a bit. Here’s a so-so look of my before. Sorry for the poor quality before pictures. I don’t know if this happens to you, but I tend to forget to take before pictures BEFORE I start working on a project, then I have to scramble through my old pictures hoping to find one, ugh!
Btw, the table has since been painted too, so go check out that makeover. :)
Before I began to paint, I made sure to wipe down any dirt/residue. There was no prepping necessary, such as sanding or stripping, since I used chalk paint for this project. I was mainly focused on giving the exterior of the console a facelift, so I wasn’t going to get too crazy, I left the inside of the cabinet as-is and just painted around the edges. I removed the two drawer pulls and the bottom piece of tempered glass.
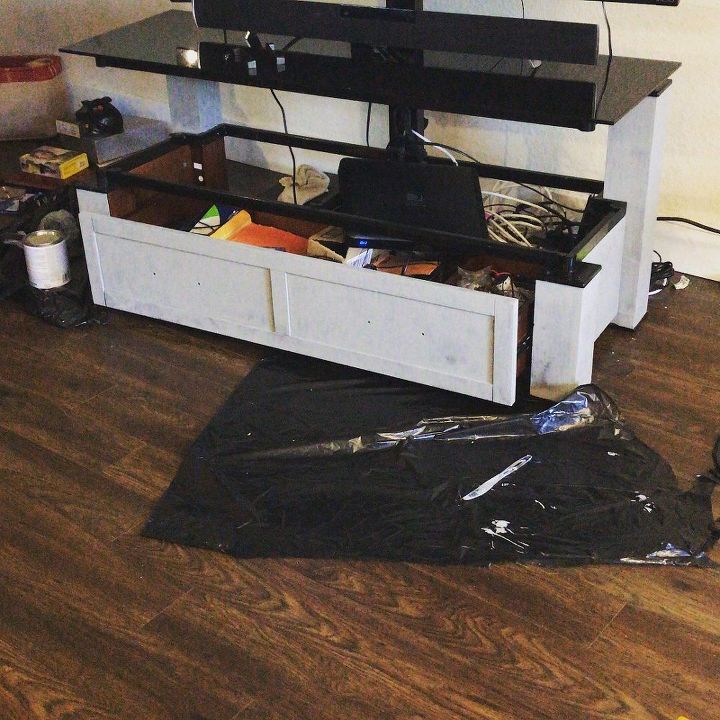
Here is the first coat of paint. I used Rust-Oleum Chalked ultra matte paint in Country Gray. Once I applied the first coat, I allowed it to dry for about 2 hours. In the meantime, I grabbed the drawer pulls and spray painted them with some gold color spray paint I had left over and then set those aside to dry. Once the paint dried on the tv console, I proceeded to apply the second coat. I could’ve probably left it with one coat as a lot of people do, but I wanted a rich look, so I felt two coats would do the trick. Two hours after the second coat dried, I took my sand paper (80 grit) and began to add some distressing. I love this part because this is where you add your own personal touch! I then wiped down all the dust (I recommend a tack cloth for this step) before applying one coat of Rust-Oleum Chalked protective topcoat in Matte Clear. I just loved how the top coat brought the color to life! I let that dry for about 1 hour and added the hardware (I distressed the harware a bit too).
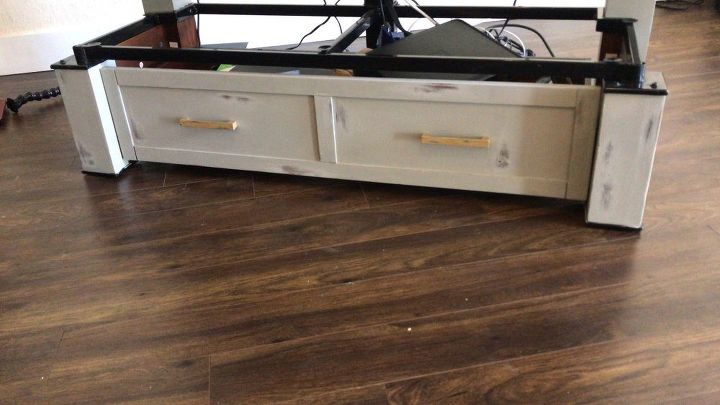
And Voila!
I remember when I just wanted to get rid of this thing. I was tired of it and it wasn’t my style. When I decided that I would paint my dining table, I thought, why not my console too! Now I’m happy with the outcome and will gladly keep this piece for a while longer.
So to give you an idea of how much paint I used...I bought the 30oz can of paint and that was enough to complete this project, my dining room table/chairs and I still have a little less than half of paint left over. Not bad! If you’re only going to do one small piece, you can probably get away with the spray can version of chalk paint.
I hope you like the final product, feel free to leave your feedback! :)
Thanks for checking it out, until next time!


Frequently asked questions
Have a question about this project?