


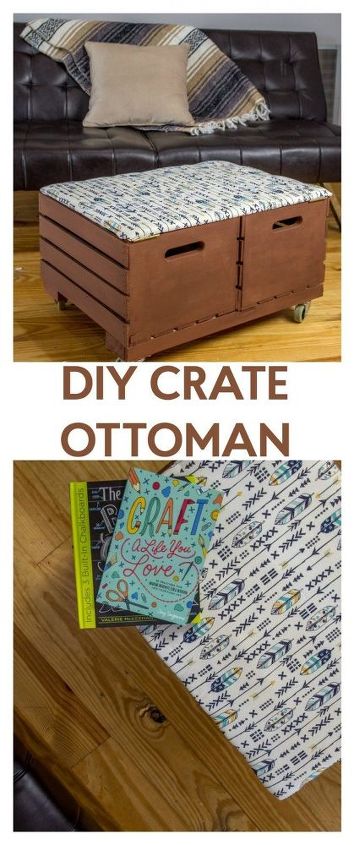
DIY Crate Ottoman

by
Tanner Bell
2 Materials
$30
2 Hours
Medium
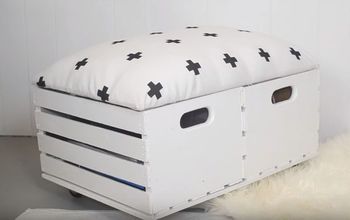
If you know me, you know I’m obsessed with crates and love using them in DIY projects for home decor. Today we’re creating a DIY Crate Ottoman from two crates I found at my local craft store. You’re going to love how practical and customizable this DIY project is.
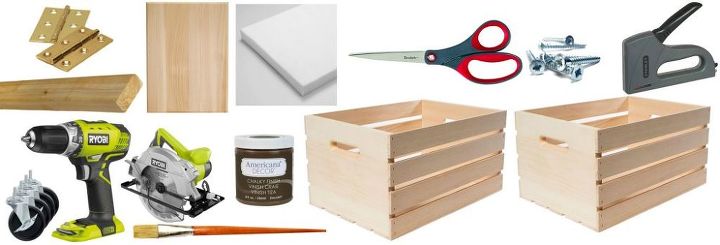
Supplies: Americana Decor Chalky Finish Rustic | 2 by 4 piece of wood | 2 wooden crates | Hinges | Fabric | Scissors | Foam | Drill | Screws | Paint Brush | 4inch Wheel Pack | Staple Gun | Circular Saw | Plywood
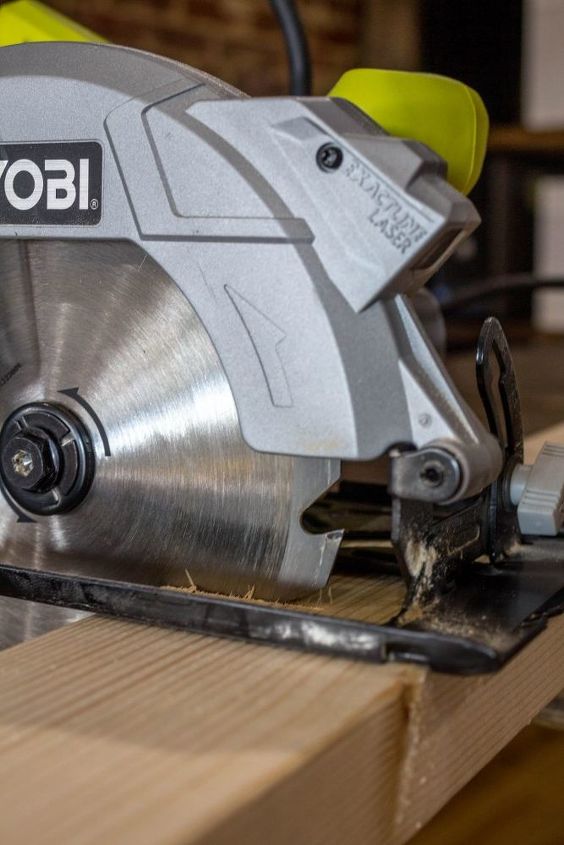
Step 1: Measure the length of the two crates sitting side by side and cut two pieces of your 2 by 4 at that length. This will be your supporting piece that holds your ottoman together.
Step 2: Measure and cut the plywood the dimensions of the top of the crates side by side.
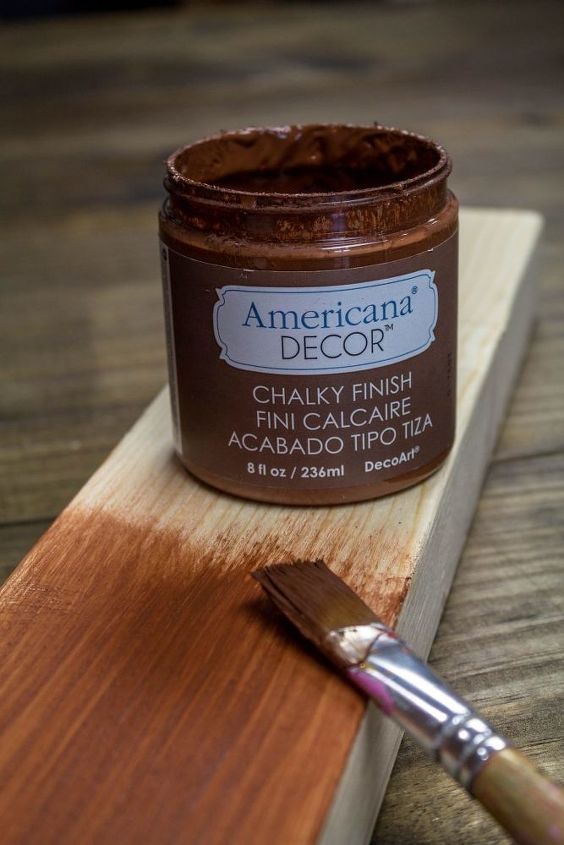
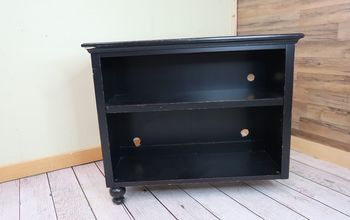
Step 3: Paint your crates and 2 by 4 pieces with Americana Decor Chalky Finish in Rustic.
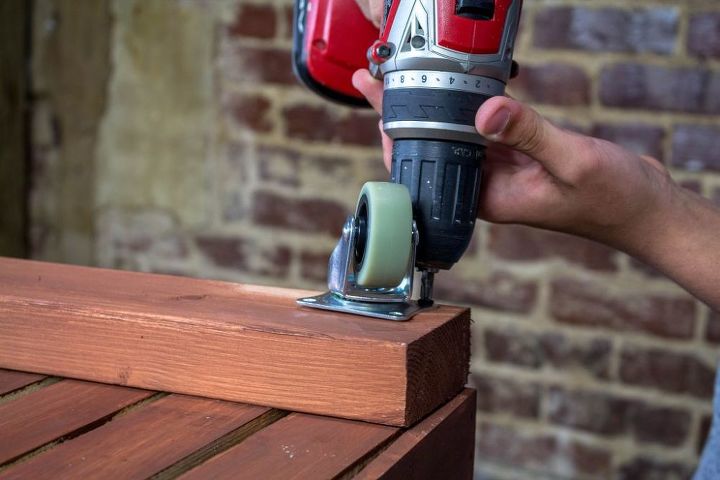
Step 4 : Drill your wheels on with long enough screws to go through both the 2 by four piece and the crate. This will secure your crate together.
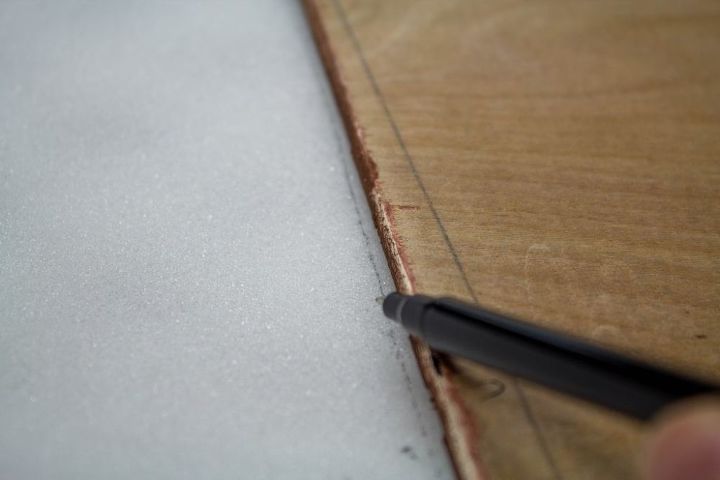
Step 5: Trace the plywood onto the foam.
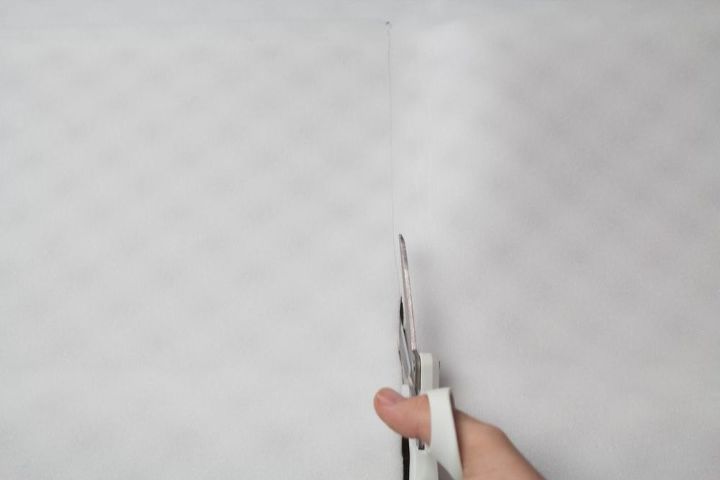
Step 6: Cut your foam outline with scissors.
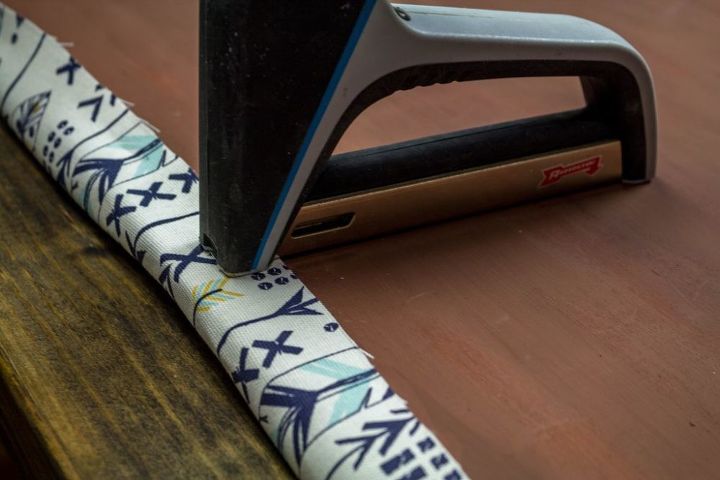
Step 7: Place your fabric, foam, and piece of plywood down. Pull the fabric tightly around and staple it on the back.
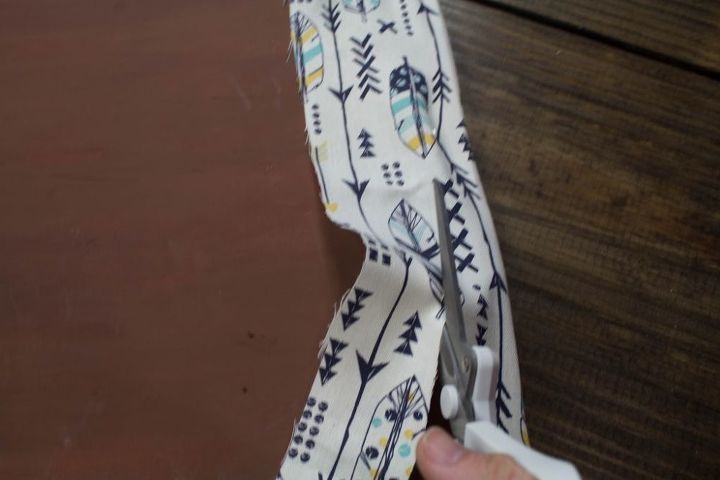
Step 8: Cut the excess fabric off with a pair of scissors.
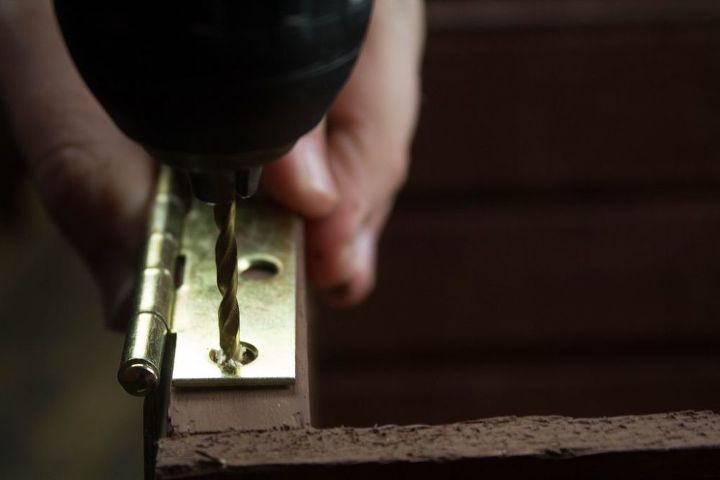
Step 9: Drill the holes for the hinge of the ottoman.
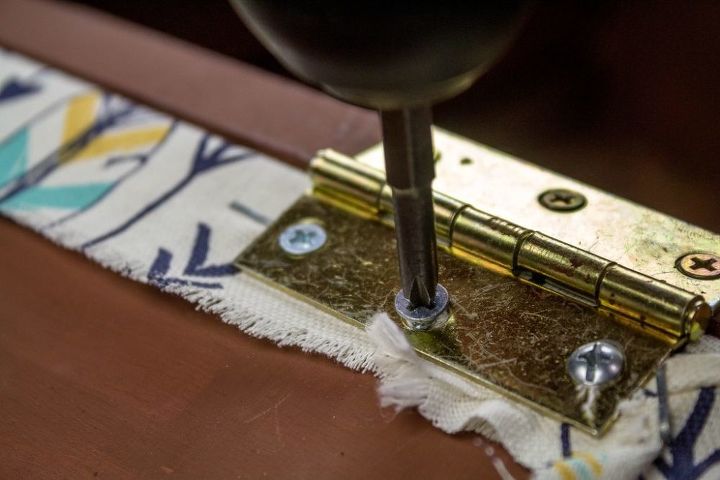
Step 10: Screw your hinge onto the upholstered piece of wood and to the crates. Now you’ve completed your own DIY crate ottoman.
Love this DIY Crate Ottoman? Head over to our blog, A Little Craft In Your Day to see more DIY creations.
Want more details about this and other DIY projects? Check out my blog post!


Frequently asked questions
Have a question about this project?