


Repotting My Beautiful Adenium Aka Desert Rose
5 Materials
$5
30 Minutes
Easy
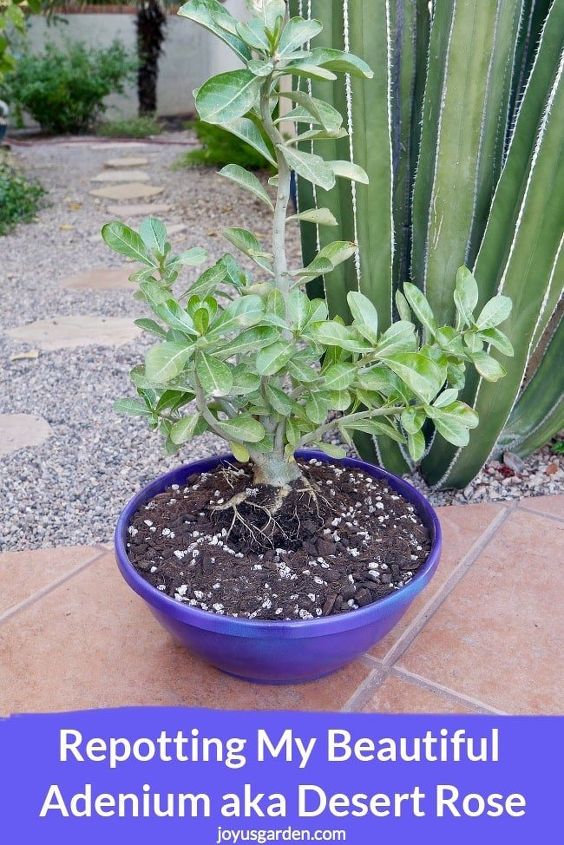
I love Adeniums for their interesting forms & beautiful flowers & have been growing 1 on my patio. This is all about repotting my Adenium obesum, aka Desert Rose, into a low, wide bowl. See the materials used & steps taken.
It was true love when the Adenium my dad grew in the greenhouse attached to our home in Connecticut bloomed for the 1st time. What was this gorgeous plant with the twisting branches and the trumpet-shaped flowers?
So exotic! Many moons later, after 1 year in Boston, 7 years in New York City and 30 years in California, I now have 1 of my own at my (relatively) new home in Tuscon. I want to walk you through the simple steps to and tell you why I’m repotting my Adenium, aka Desert Rose.
{
"id": "4721055",
"alt": "",
"title": "",
"video_link": "https://www.youtube.com/embed/BSzv4G9NYuo",
"youtube_video_id": "BSzv4G9NYuo"
}
{
"width": 634,
"height": 357,
"showRelated": true
}
Materials Used:
2 Gallon Adenium Obesum.
Low Plastic Bowl; 14″ w x 6″ deep.
This is a “cheapy” thin plastic terra cotta colored planter which I bought at a reuse & recycle store when I lived in Santa Barbara for 50 cents. It has been sprayed blue, then gold was added in & I just recently sprayed it gloss grape. It has 2 coats of a gloss sealer on to protect it from the strong desert sun. I like it because I can easily move it around if I have to bring it indoors or move it out of the summer sun. Never pass up a bargain I say!
Coffee Filter.
I covered the 4 drain holes with it so the light succulent mix wouldn’t run out of the pot with the 1st few waterings. Newspaper works fine too.
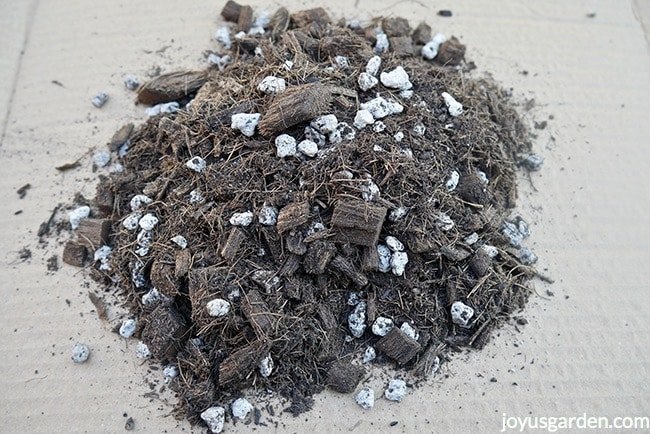
Succulent & Cactus Mix.
Remember, Adeniums are subject to root rot. You want a mix which drains really well. I use 1 which is produced locally – this one is good too. If you’re using a heavier s & c mix or potting soil, you want to add pumice or clean, small gravel to amend the drainage.
Compost.
I use Tank’s local compost. Give Dr. Earth a try if you can’t find anywhere you live. Both enrich the soil naturally so the roots are healthy & the plants grow stronger. I added a couple of small handfuls of compost in because the Tucson growing season chugs along all year. If your Adenium is a houseplant, then skip it.
Steps Taken:
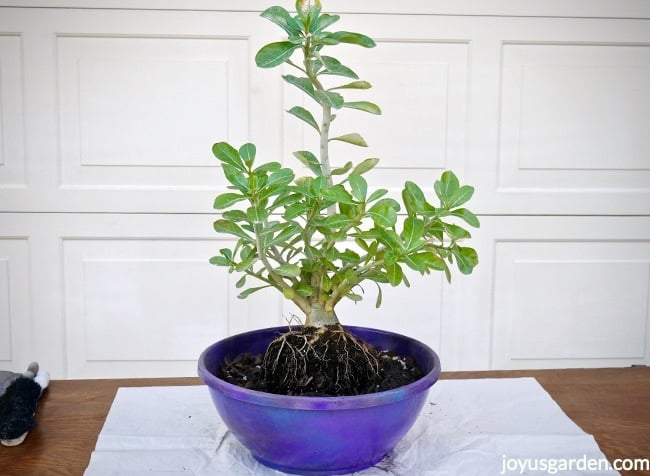
Remove the adenium from the grow pot. I did this by turning the plant on its side & gently stepping on the grow pot. I came right out like a dream!
Put the coffee filter over the drain holes & add in the mix to the desired depth.
Place the adenium in the pot.
Fill in with the rest of the mix & a couple of small handfuls of compost.
Let the plant settle in for a couple of days before watering.
Good to know:
Adeniums can be grown with the caudex above or below the soil line. Above the line is the look for me because I like plants with character – you know, wacky plants!
Adenium obesum (the 1 most commonly sold) emits a sap just like oleander. All parts are poisonous so if any break, be sure not to get that sap in your mouth, near your face or on your skin.
They can tolerate being tight in their pots.
Adeniums do well in containers which are wider than they are tall. For this reason, they make excellent bonsai specimens.
Repotting is best done during the growing season, not while it’s dormant.
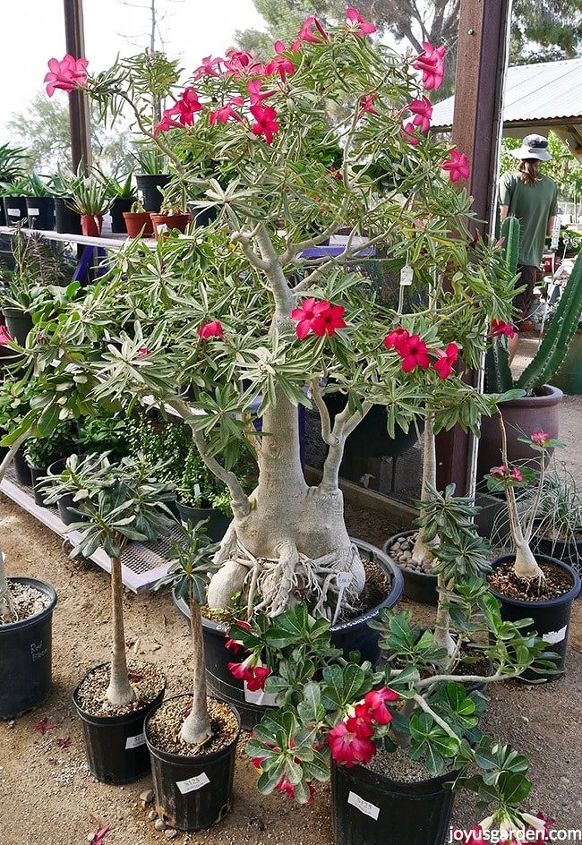
I love my Adenium and can’t wait to see it grow and develop into a fascinating form. In the video, I said that I would show an Adenium which retails for $1400 but I was mistaken. Oops – it’s selling for $4000.
Isn’t that baby fabulous?!

Want more details about this and other DIY projects? Check out my blog post!


Frequently asked questions
Have a question about this project?