How to make old plaster walls look new again?

+7
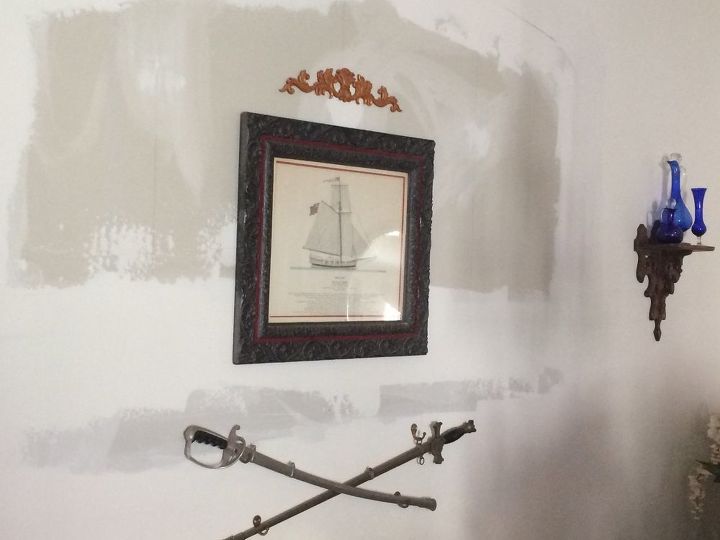
I live in a house that was built in 1925 most everything is original...floors, walls, windows. The walls have nicks and scratches from over the years. Can they be covered up like with drywall mud to make the wall smooth again?
Related Discussions

Suggested Project Book

https://www.youtube.com/watch?v=t4oI2SsOAC4
https://www.youtube.com/watch?v=Mob1K_P_L8U
Is there paint on the wall? There must be layers and layers of paint. Are you going to be painting another color after fixing. (By the way, yes you can repair with drywall mud). But sand very smooth and apply a sealer before painting.
Yes you can use drywall compound for repairs. Make sure you prime before painting.
Can you prime over new paint
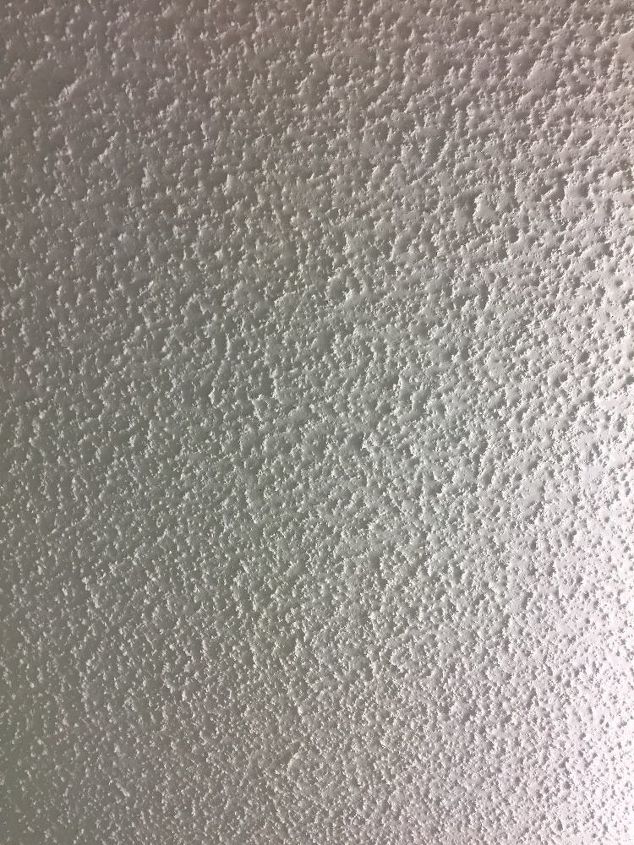
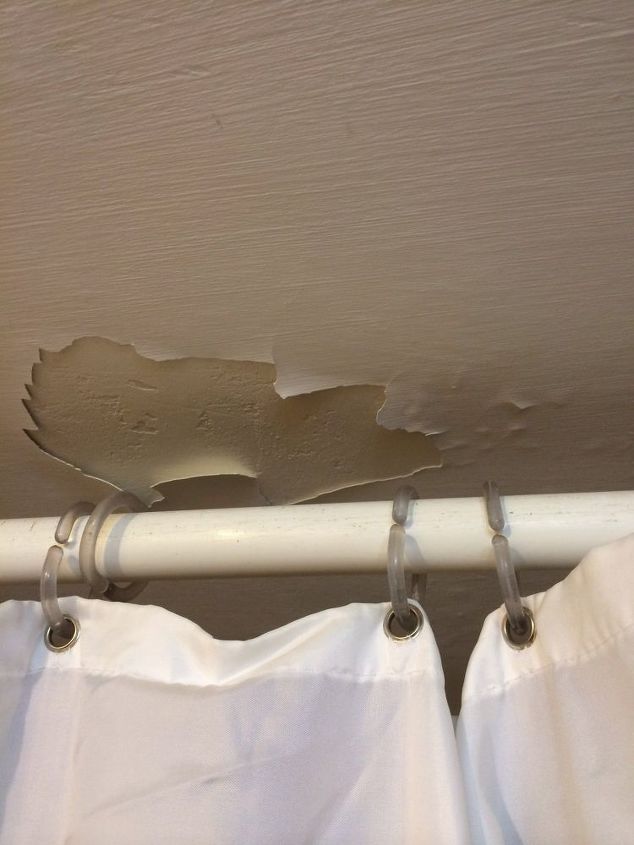
The ceilings are old plaster and l didnt prime it because it looked good then after it started to show lines and some tape is coming loose now what can l do
I found 2 good posts:
first, on the prep: https://www.bradthepainter.com/preparing-walls-for-painting/
then on the method
https://lifehacker.com/five-tips-to-make-painting-your-walls-easier-1632720076
Hope it helps. It is helping me
Ask a Plasterer to give them a SKIM coat of Plaster!
Get a couple of good stiff 3” or 4” wide scrapers and scrape the walls down removing any high spots, chips, old roller marks, bubbles and drips. If you don’t do this, you will only make those spots bigger and uglier when you start painting.
Now you are ready for sanding. Take a 5” or 6” random orbit sander and a HEPA rated vacuum system with 80 grit paper and sand the surfaces down. The purpose is not to remove all the paint, just the dead paint, dust and dirt that has accumulated over the years. You will also be making the walls even smoother. The marks the scraper leaves will be a good indicator of areas needing additional attention.
Once that’s done you are ready for taping and skim coating. This may in itself be a two or three step process. Once the last coat is on, I take a sanding screen attached to the vacuum and sand the entire surfaces down again.
Now you are ready for the first coat of primer. I prefer Oil or Alkyd based primers. They will generally seal better and hide any lingering spots such as oil or adhesives that might be just below the surface waiting to have a bad reaction to a water-based primer. Depending on the color you are covering and the eventual finished color, you may want to tint the primer.
After the first primer coat, I inspect the surfaces again and touch up any imperfections I missed earlier. If you find dust marks or fuzz from the roller you can take a “fine finish” sanding screen and ever so lightly sand the surfaces down. You want the walls smooth as possible before the second primer coat.
By now you should be on automatic. Apply the second primer coat and inspect again. Repeat the “ever so lightly” sanding if required.
Now it’s time to apply the top coat. This is where all the hard work and priming pays off. Paint the ceiling first. Don’t rush it because you will only mess up the walls. One or two coats of ceiling paint should get it done.
Typically, the walls are where the color is applied. Paint tinting machines are generally very accurate today. However, if you are using multiple cans, I suggest mixing them all in one bucket before starting. You will find that less paint will be required than the primer you used.
Leave 24 hours between the first and final coat with a fan gently circulating the air. Don’t start the fan for an hour or two though.
Time for the last coat. Do one last inspection. It’s your last chance to find any old imperfection or new ones you created in the previous coat(s). Make sure you have enough paint before you start. If in doubt add another gallon and mix them all together before starting. Apply the last coat. Allow another 24 to 48 hours to dry in gently circulating air.