


DIY Wood Frame Quote Sign

by
Holly Conway
9 Materials
$40
2 Hours
Easy
You see them all over the shops and online, but now you can learn to make your own at home. Follow my step-by-step tutorial on how to make your own easy DIY quote sign!
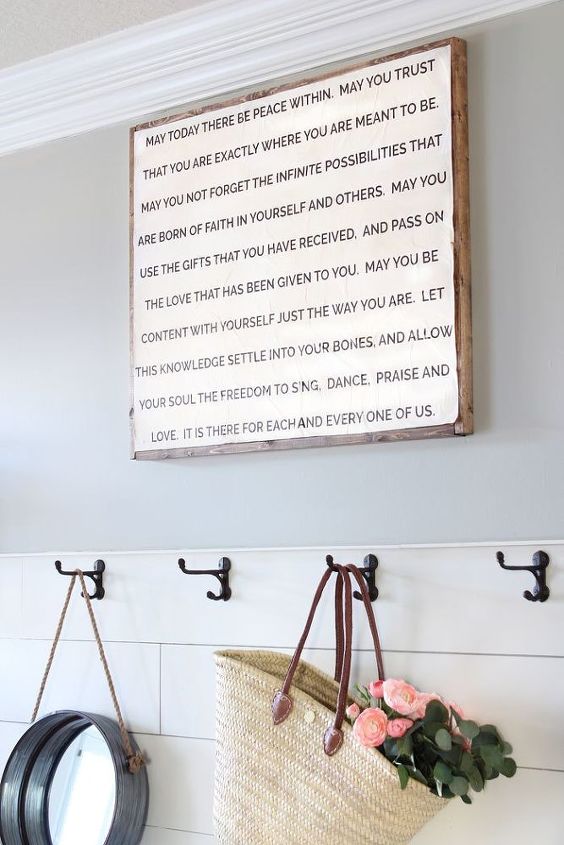
So you've seen them everywhere and you want one, but you don't want to pay what they are asking for it? Well I've got you covered my friend. We are going to learn how to make them at home. We are also going to learn how to make a wooden frame, so the possibilities are endless!
Materials Needed:
- Scissors
- Black Tea
- Cotton Cloths
- Chip Brush
- Engineer Print (I choose the 36 x 48 size from Staples)
- Nail Gun (Or a hammer if you don't have a nail gun)
- 2inch Finishing Nails
- 1/2 inch thick Plywood
- 3 1x2x6 wood boards
- Mod Podge (Matte)
- Stain (I used Special Walnut by Minwax)
How to Make an Easy DIY Quote Frame:
Order an Engineer Print - if this part sounds confusing to you don't worry. I will walk you through how to do this. After you have chosen your quote you will want to type it up in a program like Canva where you can design it in the size that you'll want your finished sign to be. For me I choose the 36 x 48 inch. Go into Canva and design a new document with your custom dimensions. Add a new text box to the document and choose whatever font your want your sign to be. Try and fill the page to the desired size because the way it looks on the document is how it will look when it is printed. After you have it the way you want, make sure to download and save as a PDF. After you have saved this, you have two options. You can either order your print online (at Staples online it will be called an oversize print), or if you would rather just save it to a jump drive and take it in to your local Staples or email it to them. If you don't have a Staples, most office supply stores will have this printing option.
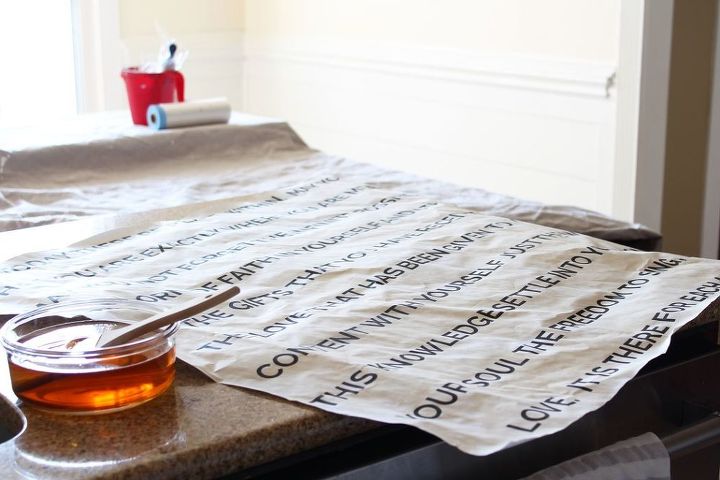
Age your print - Once you have your print, you can choose to age it or not. I wanted mine to look aged and weathered so I used a very cheap and easy way of aging paper, tea! Simply take a chip brush and dip it in your tea and brush it all over your print and go behind yourself and wipe off the excess with a cotton cloth.
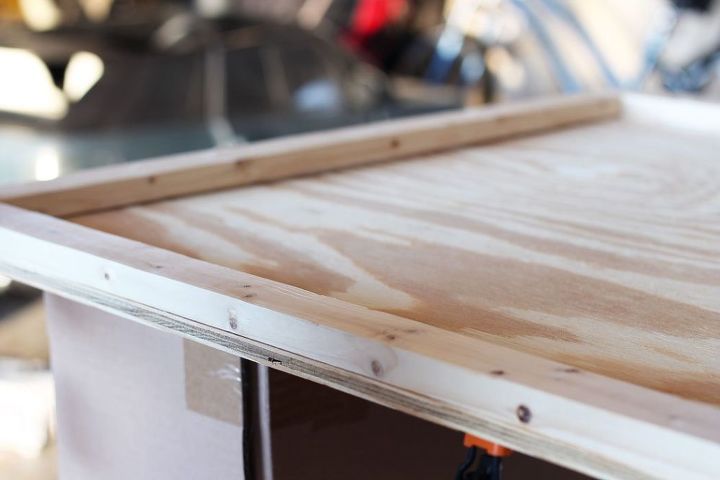
Make your frame - This will be the easiest wooden frame you ever make! You can do what I did and go to Home Depot and have them cut down all of your wood pieces for you. Make sure before you cut the plywood that you measure your print to confirm the measurements. I ended up cutting off the sides of my print to make my margins smaller so be sure to double check this before you have them cut. Next have them cut down your 1x2x6 boards to the measurements that you need. I will share my measurements below.
To make the frame first attach your 1x2x6 boards to the back of the frame for support. The boards for the back of my frame were cut at 48 inches long (for the top and bottom back pieces) and 34 inches high for the two back side pieces (took 2inches off so it would meet up with the top boards).
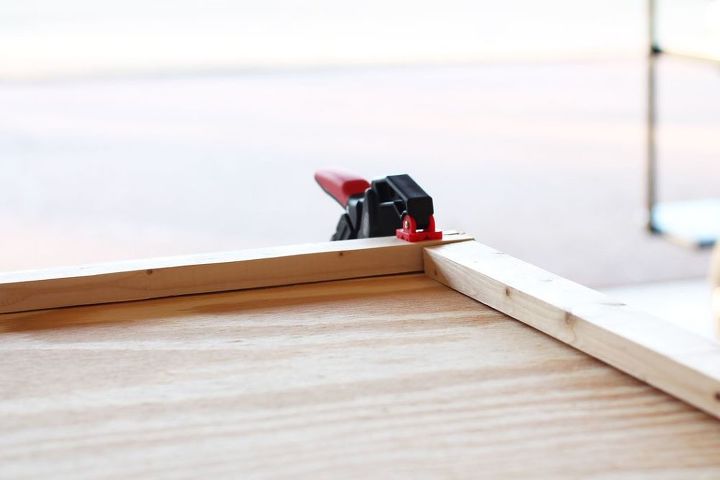
To make the next step easier, take a few clamps and hold down your pieces so they won't move when you nail or hammer them in.
The next part is securing your boards to the plywood with either an air nailer if you have one, or a hammer and nails will work just fine too! I always choose the nail gun because it's fast and fun! ;-)
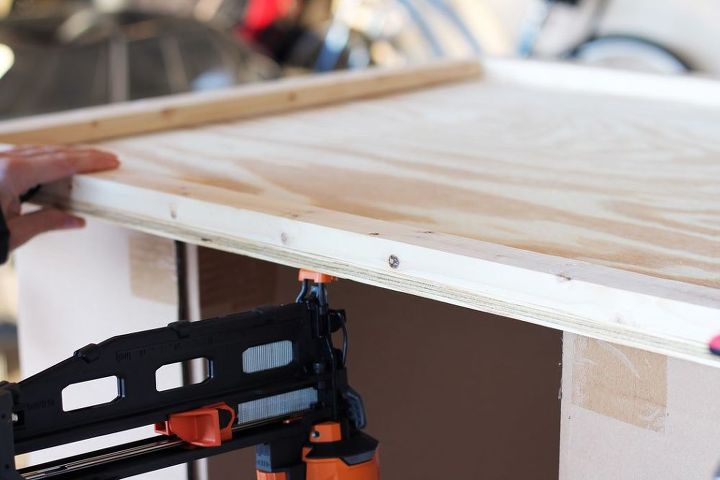
The next part is securing your boards to the plywood with either an air nailer if you have one, or a hammer and nails will work just fine too! I always choose the nail gun because it's fast and fun! ;-)
After you have nailed in your finishing nails or hammered them in, it should look like this.
The next part is attaching your side boards for the frame. This is where it all starts to come together! You will first attach your side pieces which will need to be 2inches longer than the frame. So for mine the side boards measured 38inches.
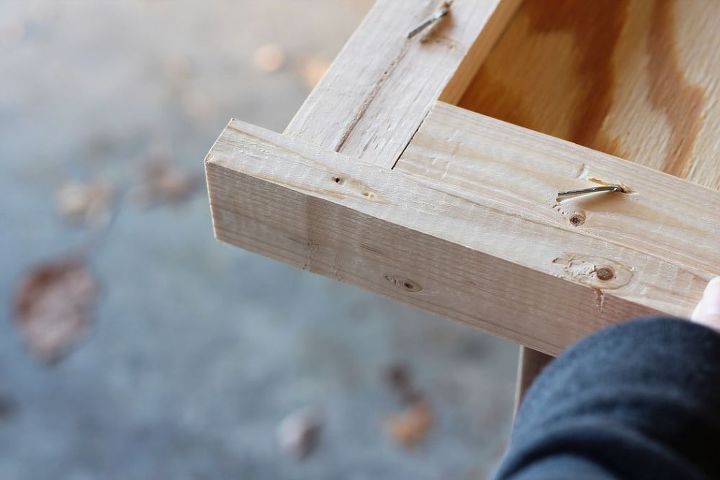
The next part is attaching your side boards for the frame. This is where it all starts to come together! You will first attach your side pieces which will need to be 2inches longer than the frame. So for mine the side boards measured 38inches.

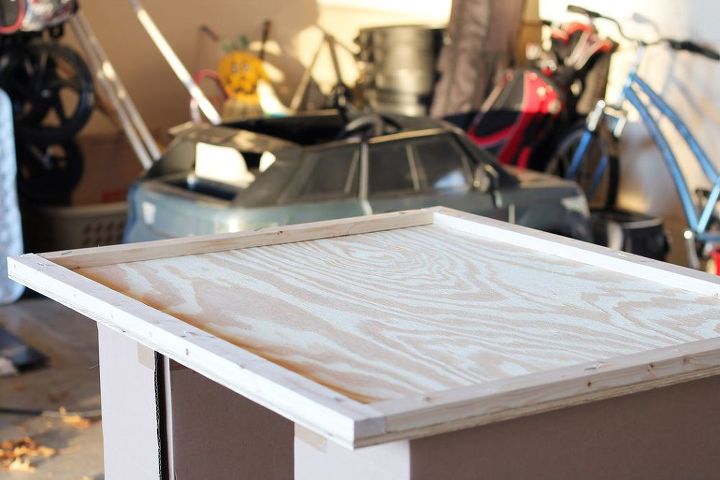
You will then nail them into the back supports that you just made. After you have all of your pieces together, this is what your completed frame should look like.
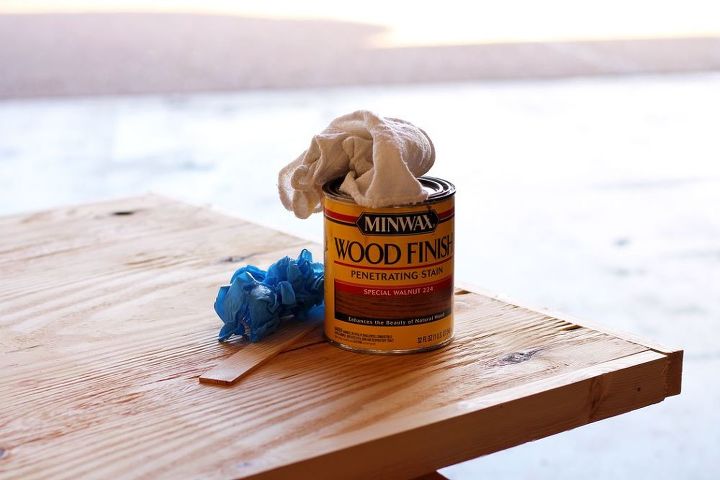
Ok so now we are home free. Just get the stain of your choice and stain the edges of the frame. I made sure to get a little bit of stain on the top of the plywood so the raw wood wouldn't show through the print in case it was a little off. I choose Special Walnut by Minwax as my stain (I already has this on hand).
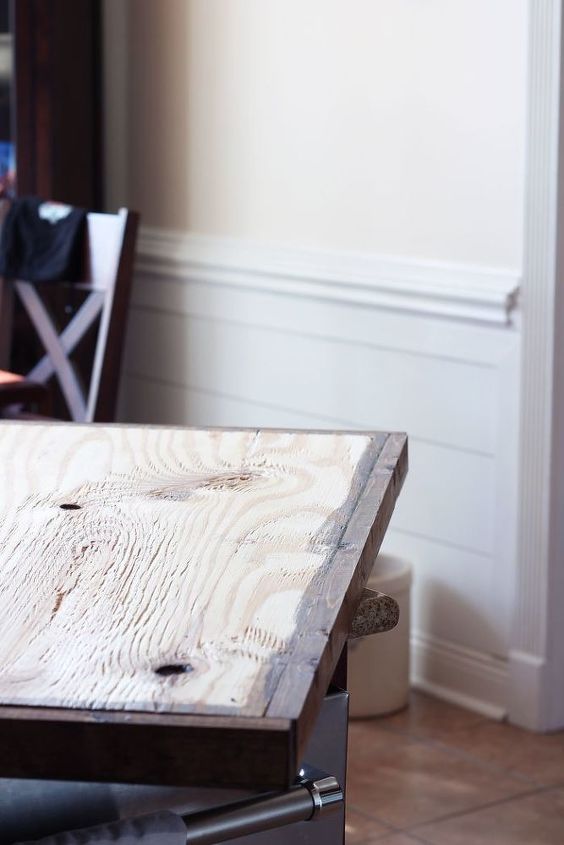
Make sure to let it dry very good and then you are ready to attach your print.
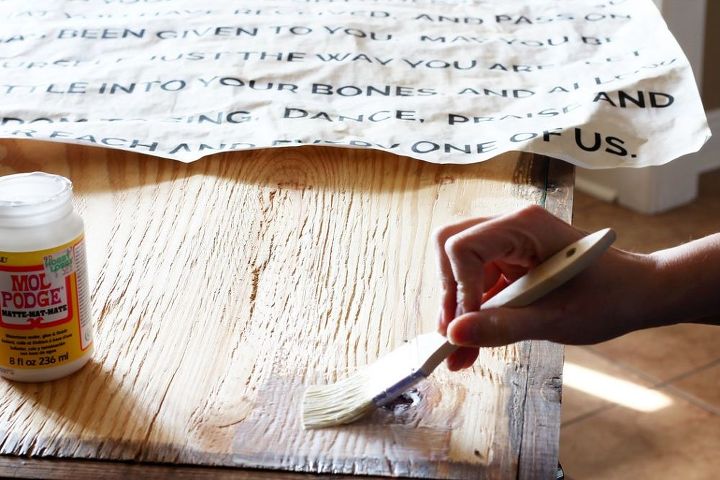
Mod Podge your print - Your frame is completed and now it is time to Mod Podge the print onto the frame. For me the best way I have found to do this is work in sections. I would work in about 5 inch sections going from top to bottom of the frame and slowly laying down my print and using a credit card to smooth out the bubbles. I had a few creases in mine and I left some of my sides not all the way glued down because I liked that look better. You can do either!
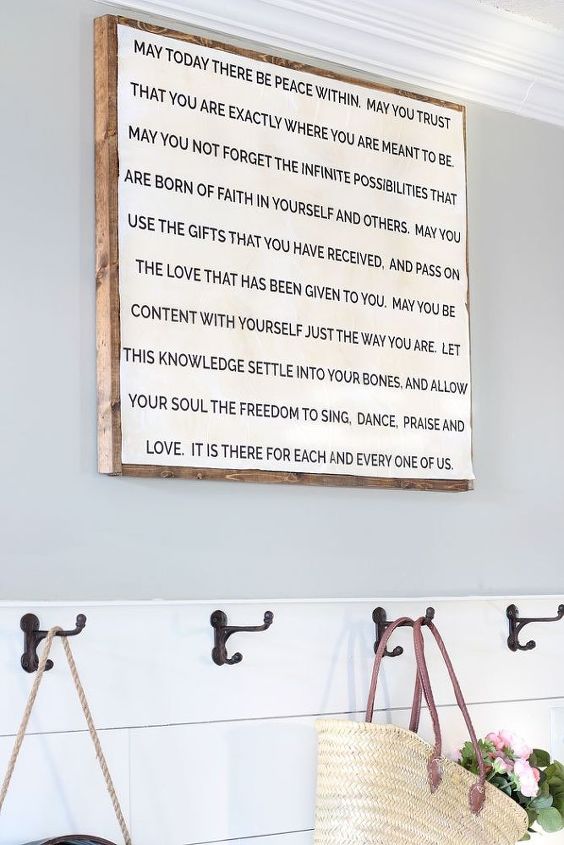
Attach hooks to the back and enjoy your beautiful frame - After it is finished drying I attached a couple of claw hooks to the back and hung it up. After you have completed this project, you will be making these all over your home! You also now have the instructions for a basic wooden frame, so have fun and run with it!
I hope you enjoyed this tutorial and can't wait to make your own Quote Sign!
Want more details about this and other DIY projects? Check out my blog post!


Frequently asked questions
Have a question about this project?