


Guitar Glam
8 Materials
$10
8 Hours
Easy
Cleaning out my craft room, I ran across a guitar that had long been abandoned and outgrown. I thought of selling it, as is, but then I decided to try my hand at a new (to me) stencil technique. The result would be a fabulous addition to any music room.

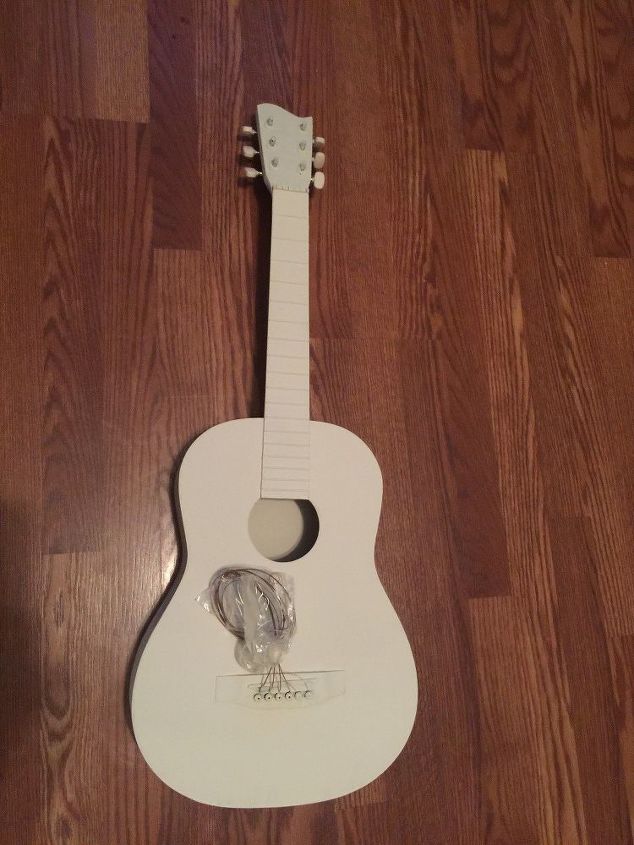
The original youth guitar my son outgrew and told me to get rid of. (He got a new one for Christmas)

I disconnected the strings from the tuning pegs and placed them in a ziplock bag to protect them from paint. I later removed them completely which made the process a lot easier.
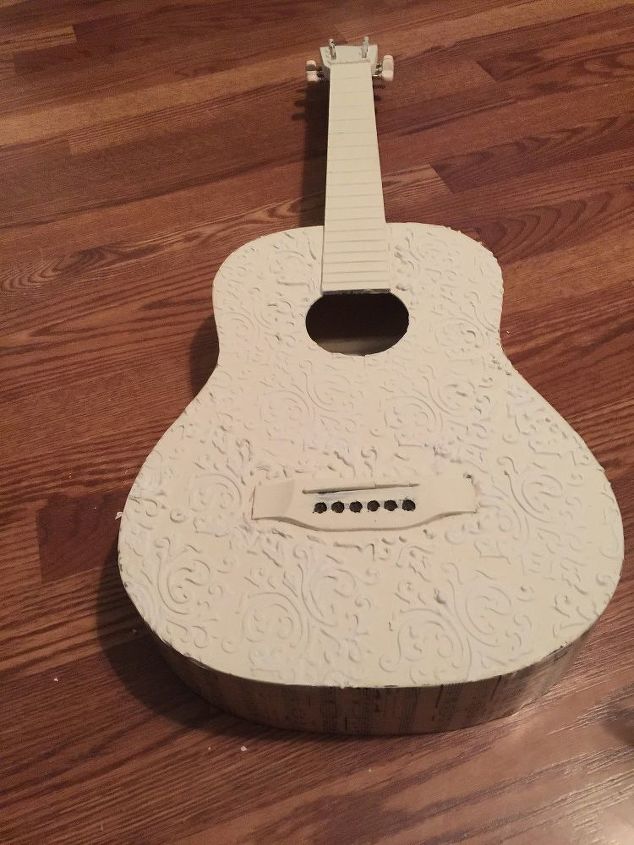
I added the first coat of chalk paint. This was a real trial and error project as I knew the look I wanted but wasn't sure how to achieve it.
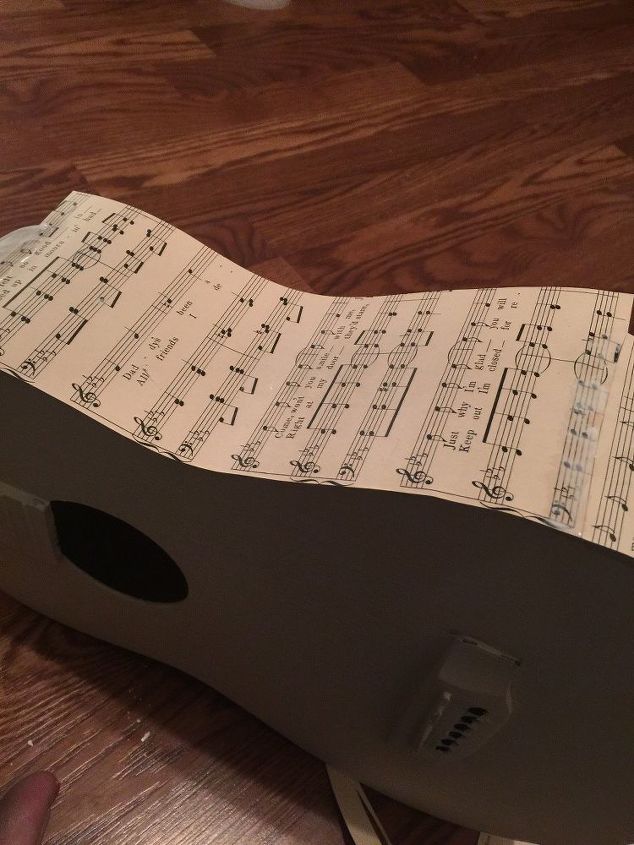
I added vintage music sheet with Mod Podge. Once this drys you can lightly sand the over hang for a smooth look.
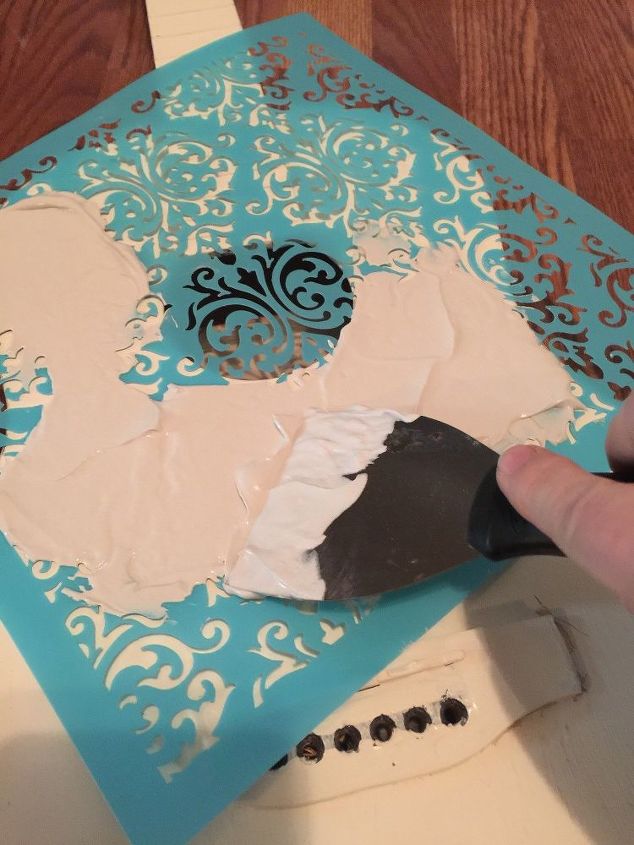
Next I began the stenciling process. I laid the stencil at an angle and added sheet rock mud with a putty knife.
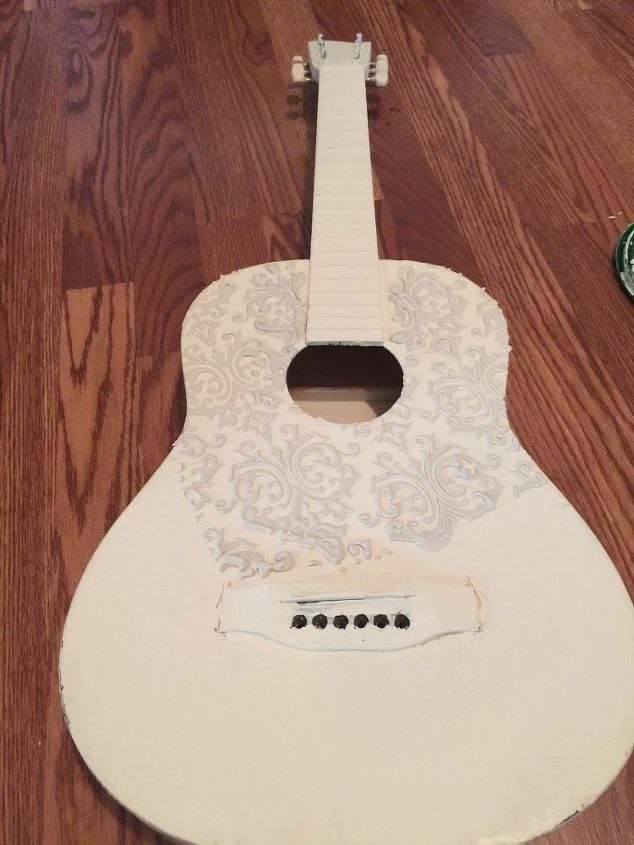
Once the stencil is removed you have a nice raised effect. I let the stenciled area dry and then place the stencil back on using the raised detail as a guide. Your stencil should fall right into place.
Once the stenciling was all done, I let it dry while I decided what to do next.
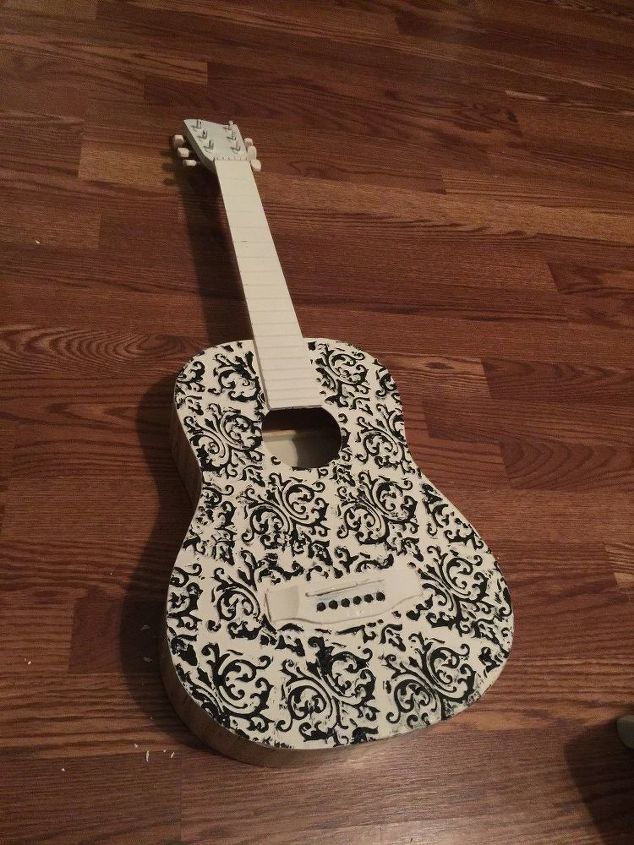
I new I wanted to highlight the detail of the stencil but I wasn't sure how to do it. I decided to paint over the raised edges with black paint, paint over it again with off-white chalk paint and sand to the black but it just did not give me the look I wanted (see below)
As you can see, the detailing just wasn"t there... so back to the drawing board I went.
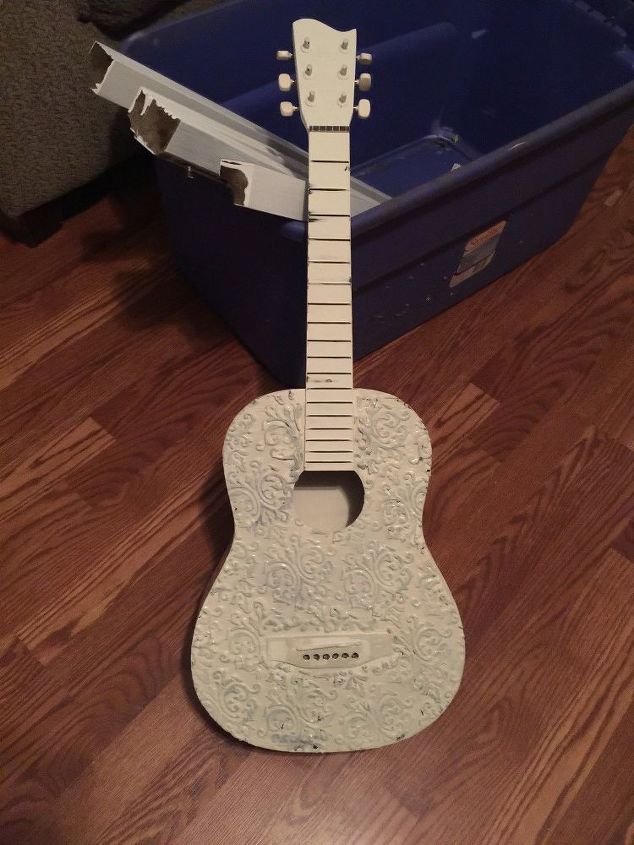
I finally decided to add another coat of off-white chalk paint and seal with Polycrylic.

Next I mixed dark oak stain with a glazing medium and applied it to the raised stencil... wiping off to get the look I wanted.
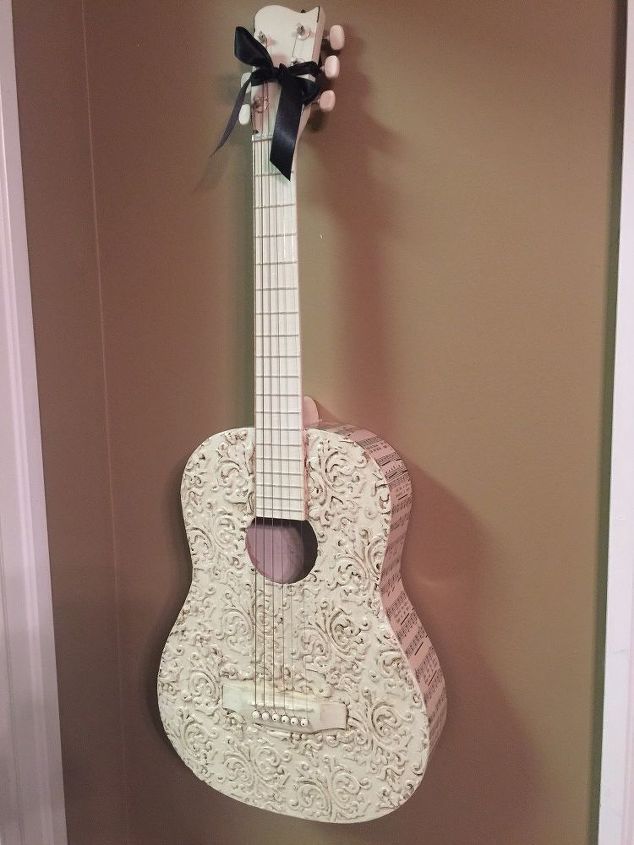
I restrung the guitar and added a ribbon for easy hanging.
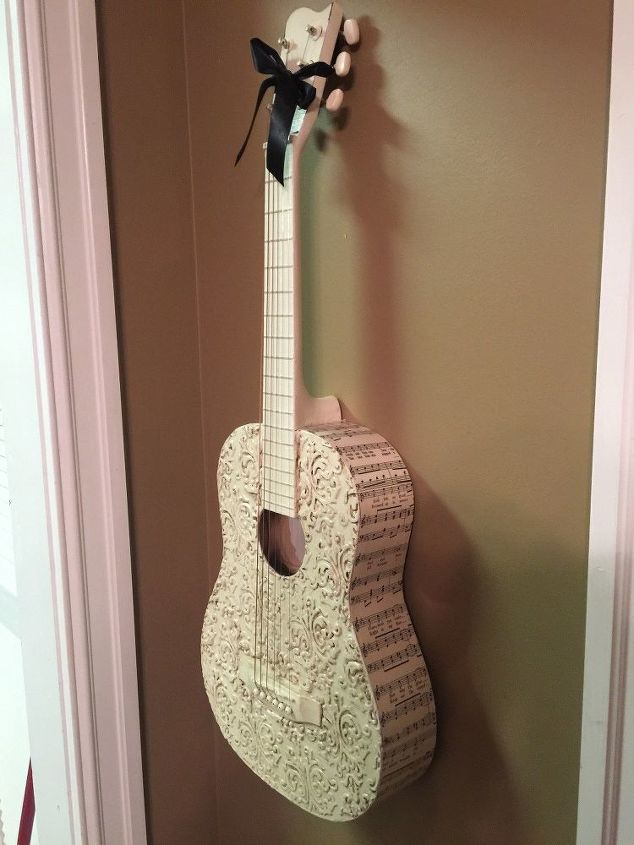
Here is a better view from of the side (sheet music).
The end result was amazing! I could not be more thrilled.
Just remember, if at first you don't succeed (get the result you want), try try again!
Resources for this project:
See all materials


Any price and availability information displayed on [relevant Amazon Site(s), as applicable] at the time of purchase will apply to the purchase of this product.
Hometalk may collect a small share of sales from the links on this page.More info

Want more details about this and other DIY projects? Check out my blog post!
Comments
Join the conversation
3 of 54 comments
-
I liked it with the black showing before you redid it. Very nice!
-
You shouldn't sell it. I think you should restore it or paint it and make it a piece of home decor. For example, I have been obsessed with guitars for the longest time. I even have an impressive collection of special guitar picks. I lost their number, but they are over 25-30 pieces. It may sound weird since I quit playing it and like to sing something once a month, but I feel like it's giving a special video to my house. Especially since it's something unusual you don't see in many houses, it makes me want to keep t even more.


Frequently asked questions
Have a question about this project?
This is really pretty! I was looking for ideas for a cabinet & this would be great! After you applied the mud, did you remove the stencil right away? Or wait for it to dry? What kind of time frame for drying?
thank you!
Can you cut the back of the guitar off without cracking for a less 3 d project?
Can you cut the back of the guitar off without cracking for a less 3 d project?