


Neutral Valentine's Day K-Cup Garland
2 Materials
$10
30 Minutes
Easy
I received a Keurig K-Cup coffee machine a couple of years ago and I’ve been collecting the K-Cups from the machine to use for a craft project. I wasn’t sure what to do, but finally decided upon a Neutral Valentine's Day K-Cup Garland!
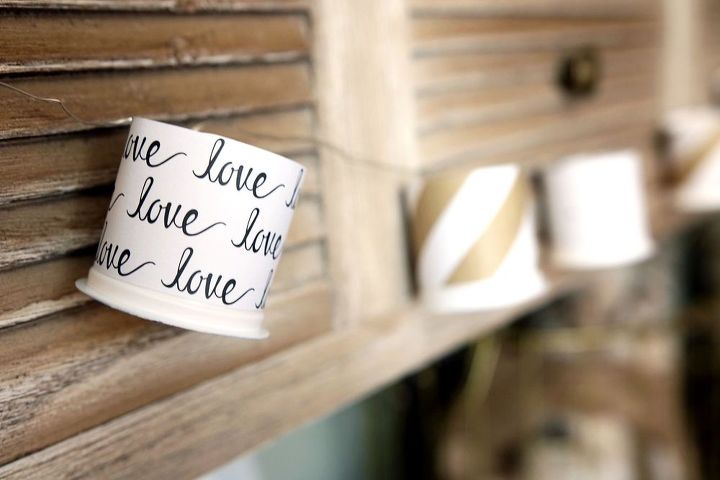
I decided not to decorate for Valentine’s Day this year, because it’s been so busy. But, I thought it would be fun to create a Neutral Valentine’s Day K-Cup Garland for the console table in our family room. This was so easy and took me 30 minutes TOPS! What I’m excited about, is that I can decorate it differently for each season if I change out the paper I used! The garland is actually made from those little Twinkle Light Strands you can find in the Target Dollar Spot. So, yes… this garland even lights up!
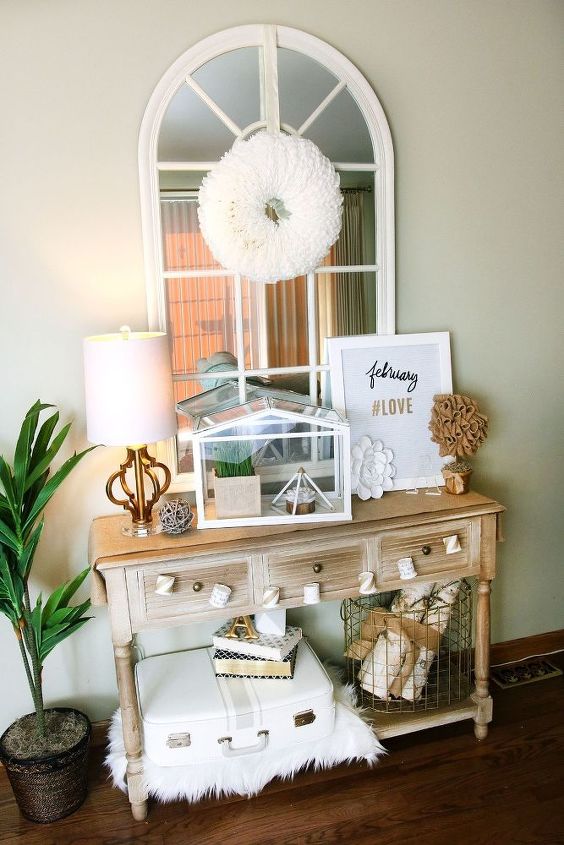
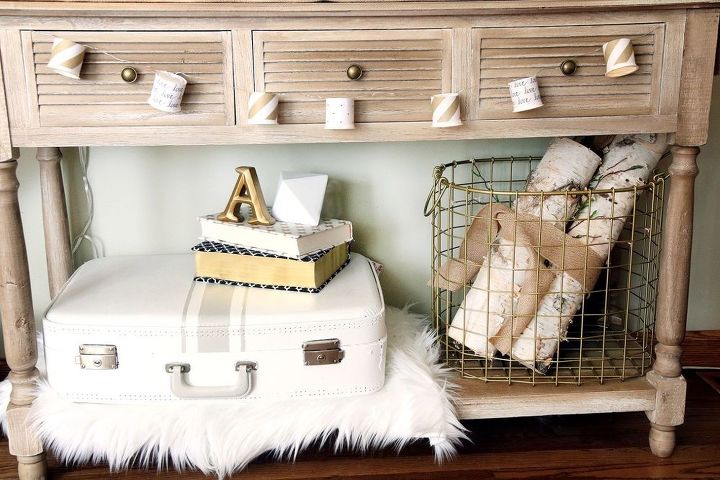
Here is a view of the entire console table, which my husband gifted me from Hobby Lobby for Mother’s Day a few years ago. I just love this table! I also have a letter board (also from Hobby Lobby) and a terrarium(from Ikea) that I change up from season to season. The suitcase on the bottom shelf is the suitcase my mom carried all of her belongings when she came to St. Louis for a job when she turned 18! Of course, I freshened the suitcase up and you can see the post for that HERE.
I decided to go with neutral colors for this garland, instead of traditional Valentine’s Day colors. I think it blends in with my decor better this way. I did pick up some Valentine colored paper, but I’m going to return it. I went with whites, golds and blacks.
How to Make a Neutral Valentine’s Day K-Cup Garland
You’ll Need:
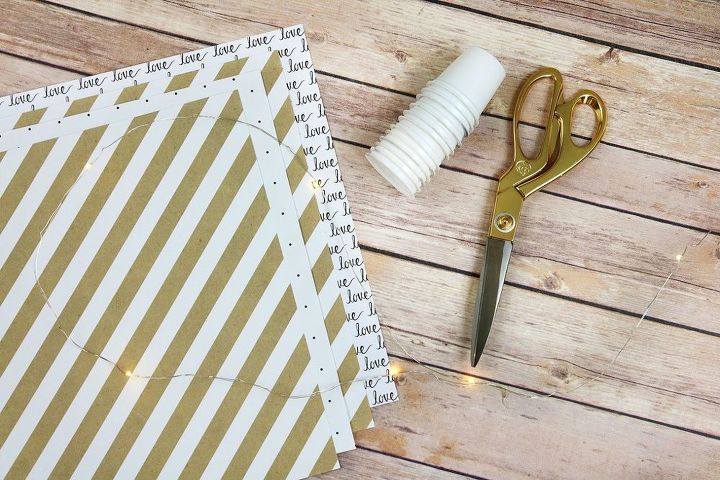
- Scrapbook Paper in 3 Different Patterns
- K-Cups (how many you need depends on how long you want your garland to be)
- Twinkle Light Up String (Target Dollar Spot, usually $3, however the ones I found online are $6.99)
- Clear Tape

First, I measured how long the K-Cup was from top to bottom (1.5″). I marked this on my paper and cut it into long strips.

Then, I measured around the widest part of the K-Cup, under the ridge (6ish”) and cut the strips of paper down again, so that each strip could fit around each K-Cup with just a little overlap.
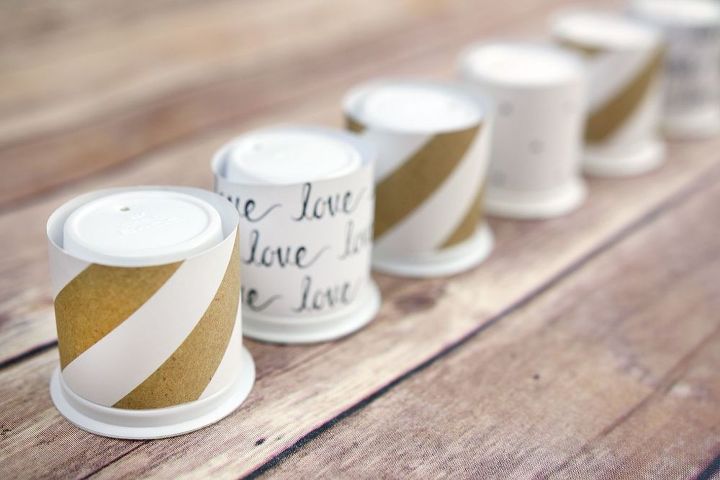
I taped each individual strip closed, before I fit it around the K-Cup. Since the K-Cups are wider on the top than bottom, it was easier to just make a loop with the paper that was equal length on top and bottom and to place it on top of the K-Cup. Since the K-Cup is wider on the very top (or bottom as you see pictured above) the strip doesn’t fall off! And, you can change them out with different papers from season to season, since the paper isn’t ‘adhered’ or ‘glued’ down to the K-Cup.
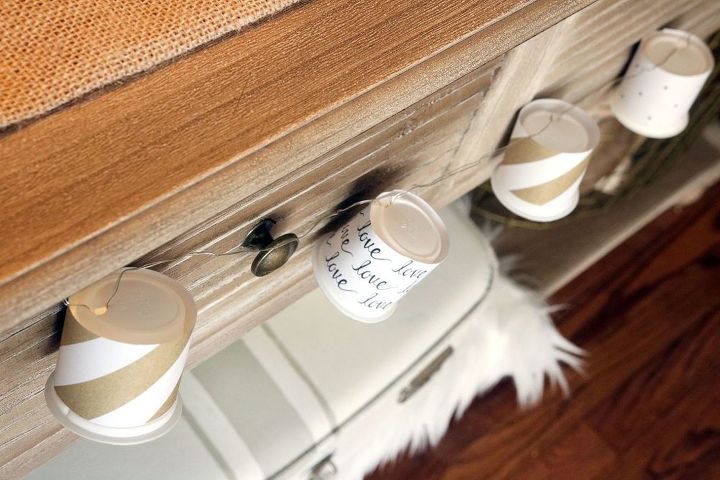
Your K-Cup will have a small hole on the top of it. I took a ball point pin to make the hole on the top of each K-Cup a little bigger and I fit one Twinkle Light into each K-Cup. It worked out great! I hid both ends of the Twinkle Lights inside the drawers on each side. These lights work with a small battery pack, so I hid the battery pack in the drawer on one side.
I hope you enjoyed this fun and simple craft! And, if you don’t have a set of Twinkle Lights from Target yet, you should definitely pick some up when they have them! They have them in white or pink lights, so you can decide what color you want! They usually carry the pink lights around Valentine’s Day!
Have you crafted with your K-Cups yet? I’d love to see what you’ve done with them! I also hope you enjoyed this post, one of my goals this year is to start sharing more crafts on Curly Crafty Mom!


Any price and availability information displayed on [relevant Amazon Site(s), as applicable] at the time of purchase will apply to the purchase of this product.
Hometalk may collect a small share of sales from the links on this page.More info

Want more details about this and other DIY projects? Check out my blog post!


Frequently asked questions
Have a question about this project?