


Faux Bone Inlay Tray
During the brief time we lived in India, one of the things I fell in love with was the bone inlay furniture they make. Now let me tell you – bone inlay is truly work of art! Do you know how long it takes them to make a piece of furniture? Weeks…and sometimes even months, depending on the piece! Very interesting and tedious process overall. But that is why these beautiful bone inlay pieces come with a hefty price tag. Even a small tray is out of our reach, and even if we could afford it, you know me – I would never spend that kind of money on a piece of furniture or decor! That is why stenciling a faux bone inlay was the way to go! :-)
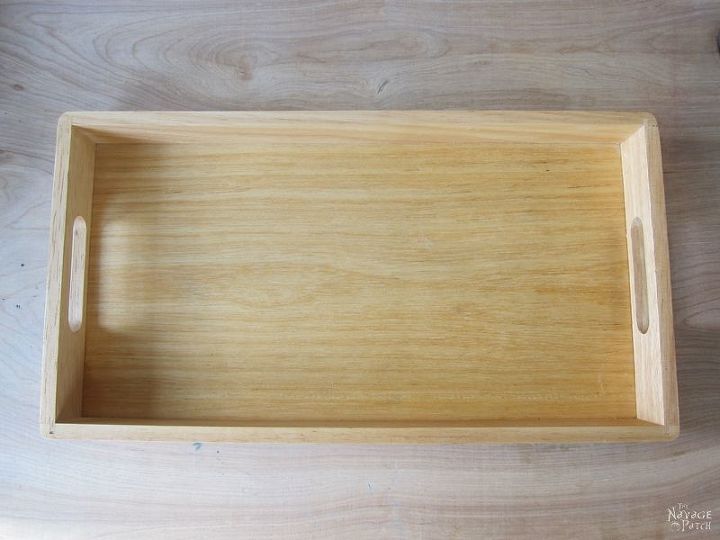
I actually wanted to try this on a bigger piece, but because these stencils are pretty intricate, I didn’t want to mess up on a large scale or have a nervous break down while trying to finish it, LOL. Digging through our basement for a suitable piece, I found this little old wooden tray among the other million Put & Take finds I brought home. It was the perfect little thing for this faux bone inlay project.
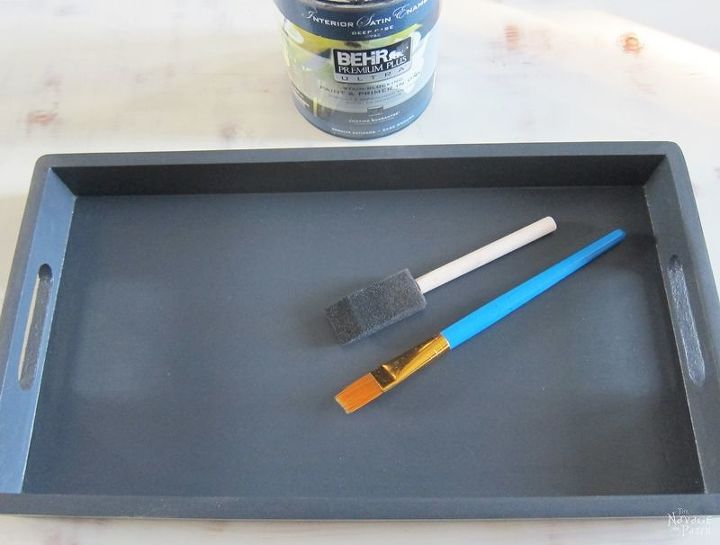
Using a smooth small brush and a sponge, I painted the tray with 3 thin coats of dark grey latex paint. In case you are wondering the name of this color is French Beret 1610.
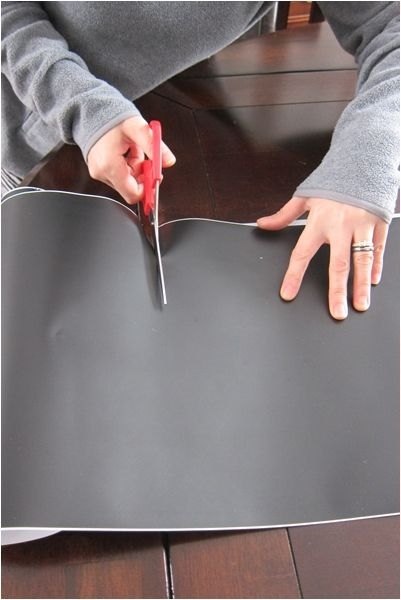
Next, I tried to place the bone inlay stencil I bought from Amazon into the tray, but the tray was a tad small for the whole stencil. Whoops! To solve this “little” problem, either I had to cut the stencil with a scissors or turn it into a digital stencil file, so I could have it exactly in the size of my tray. I chose the second and got my stencil resized using my Cricut machine.
------------------------------------------------------------------------------------------------------
 CLICK HERE TO SEE HOW I RESIZED MY STENCIL to fit exactly to my tray's size.
-------------------------------------------------------------------------------------------------------
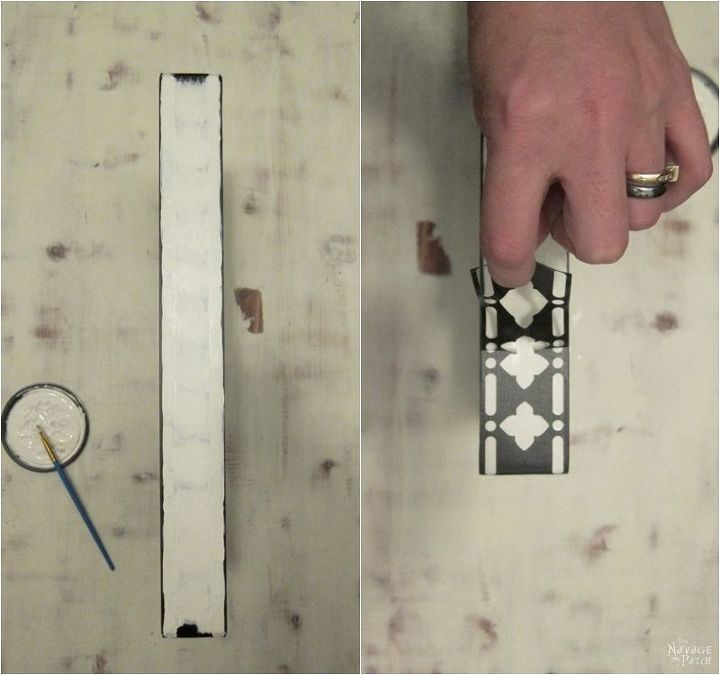
Once I had my stencils prepared with my Cricut, I placed them on my tray and started stenciling. I first stenciled the sides of the tray and then moved onto the inner part.
After I finished stenciling, I sealed it with wipe-on-poly and that was it!

So what do you think?
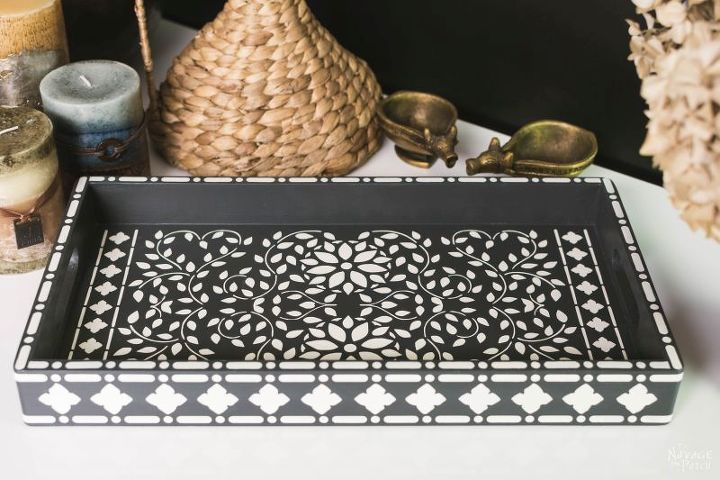
I am really proud of this little tray, because it was my first time trying this kind of intricate stencil, and I wasn’t sure if I could pull it off. But it turned out pretty neat.

Please visit the blog post for hints on this kind of intricate stenciling and to learn how to turn a store bought stencil into a digital stencil file.
-------------------------------------------------------------------------------------------------------
-------------------------------------------------------------------------------------------------------
Thanks for reading and happy crafting!
Handan, xo


Frequently asked questions
Have a question about this project?
Plans available for the potting bench made from pallets? Thanks!! Great idea