


Faux Subway Tile Backsplash
2 Materials
$60
8 Hours
Medium
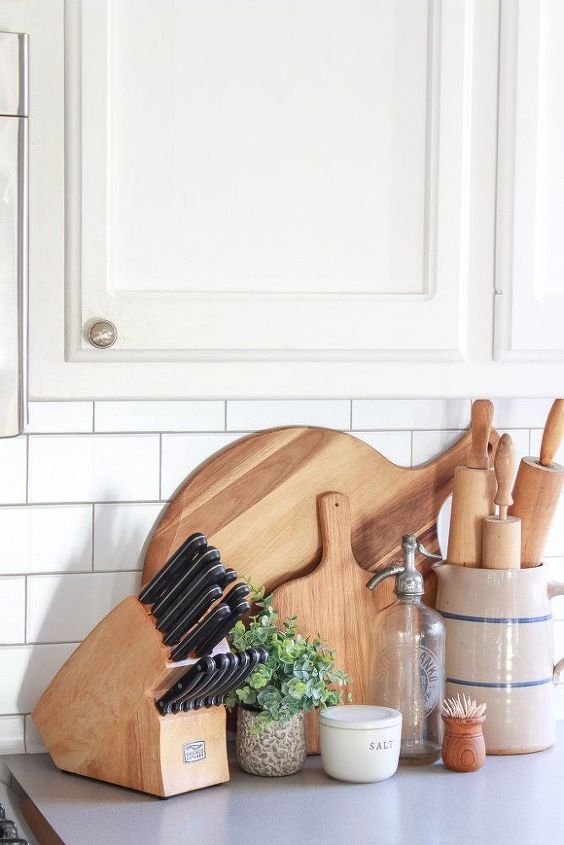
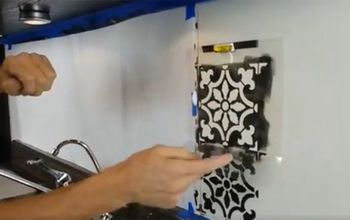
You guys, I put subway tile up in my kitchen ALL BY MYSELF! Okay, so it’s not the real deal, but hey, it looks pretty legit. This is a Textured Subway Tile Backsplash ! I must admit, I was a little hesitant about this, but it did not disappoint.
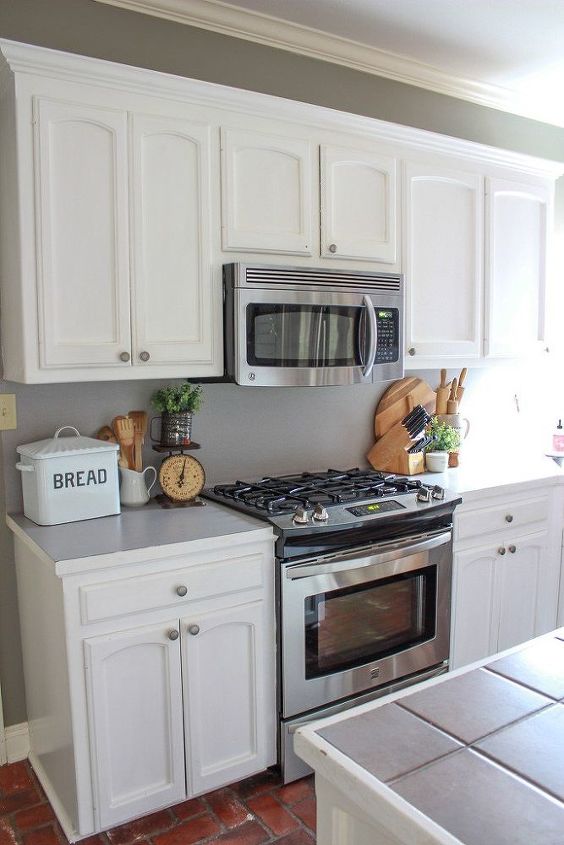
This is what my blacksplash looked like before the peel and stick wallpaper... formica countertops and backsplash.
I’ve wanted a kitchen makeover since we moved in to our home a little over a year ago. I had big plans for my dream kitchen, but sometimes life doesn’t go as we plan. Anyone else have that problem? Regardless, I trust that God is in control and working for our good. Time and time again, He has been so faithful in my life.
My husband had back surgery a little over a month ago and his back is actually worse now than it was before surgery. We keep hoping and praying that it will improve, but that hasn’t been God’s plan just yet. He has pretty much been confined between the bed and the sofa. Needless to say our budget is tight and my diy project master is no longer able to help.
But who said that just because your circumstances are not what you expected, you can’t accomplish your goals? Maybe it’ll just take getting creative and going about it in a different direction. The subway tile backsplash is an example of that. It was budget friendly and I was able to do it by myself.
I’m not going to give you the step-by-step instructions for hanging because the instructions are on the insert, but I will share a few tips that I learned while hanging this subway tile backsplash wallpaper.
1. Make sure your walls and/or backsplash are clean. I used a warm soapy rag to clean my backsplash and then let it dry before I started.
2. Start with a clean slate. Remove everything off of your counters and as much stuff off of the backsplash as you can. Remove your electrical plates and if you have any moldings that can be removed and replaced, that will make hanging the paper easier.
3. If you can get someone to help you, it will make this project so much easier! And go so much faster. It took me a FULL day to do this by myself.
4. Get a ! This makes all the difference and you will not want to attempt this project without it. Otherwise, you will end up with lots of air bubbles.
5. Measure twice and cut once (check and double check your measurements before you cut). I think this is where I missed my hubby’s help the most. I wasted a good bit of paper because I kept messing up my measurements. Oops. My backsplash is roughly 30 square feet so I purchased 2 rolls and have plenty left over (even after all that I wasted).
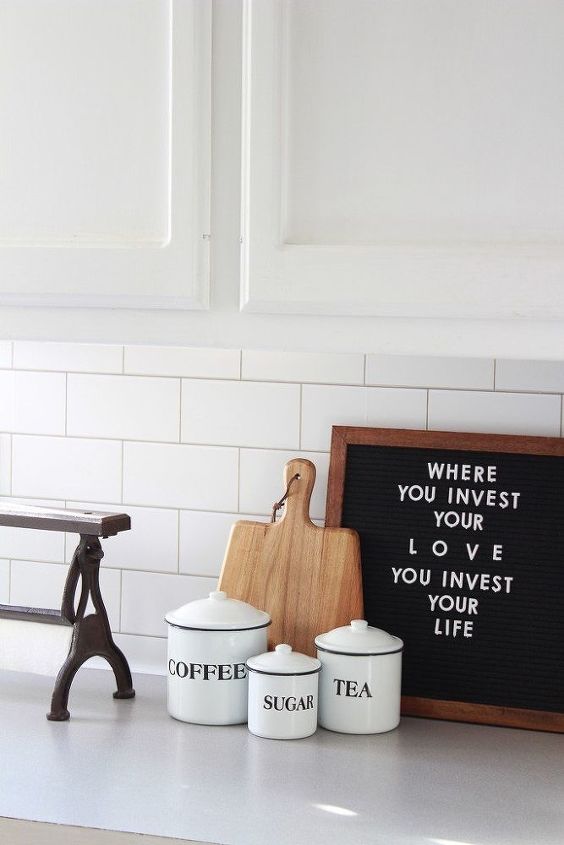
6. Make sure your are hanging the paper right side up. The grout lines have a light gray line and dark gray line. I accidentally hung one of the sheets upside down and had to pull it down and start over because the colors on the grout lines didn’t match up.
7. Make sure your grout lines match up. I would say that this is the most difficult part of hanging this wallpaper. The instructions say to hang from the top down, but that is nearly impossible if you want your grout lines to match up. I peeled back the side of the paper first and matched up my grout lines, then started smoothing out from the top down.
8. Make sure your subway tiles line up so that they are the full length. There are 2 alternating rows of the subway tile. When you are hanging your sheet, make sure that you are lining up the correct rows so that it makes a full tile.
9. Use a to make your cuts and trim around molding and outlets. This is much easier than trying to use scissors. I laid a cutting board on my island and made all of my cuts right there.
Those are my 9 handy-dandy tips to help you not make the same mistakes I did. You’re welcome. 
You can’t tell from the pictures, but my kitchen cabinets desperately need a new coat of paint. Of course I will go with white again. This is something that I will eventually tackle, but I know it will take some time and I’m not ready for that commitment yet. Afterwards, I want to get new first.
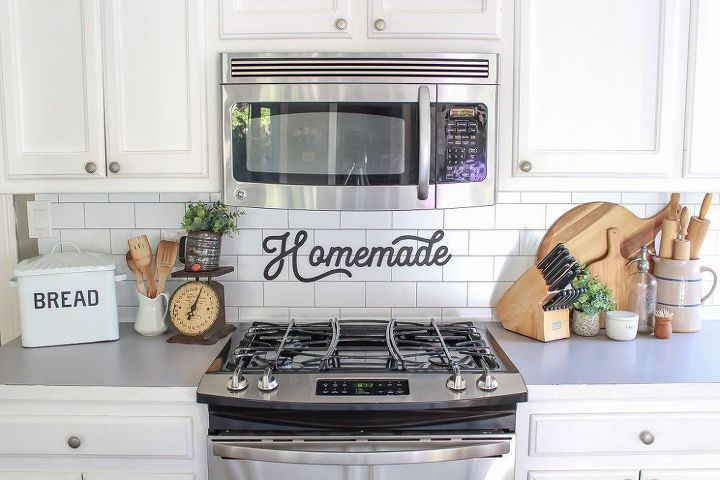
I absolutely love the way this turned out! But I’m not going to lie, this was a workout!! I was literally climbing on countertops and sitting in that little corner behind the sink. The entire time, I kept saying that I will never hang wallpaper again, but after seeing the results, it was totally worth my effort and a day’s time. It’s crazy how a small little project like this completely transformed the look and feel of my kitchen!
What do you think about the faux subway tile backsplash? Is this something you would attempt? I’d love to hear you comments below! Thanks for stopping by and be blessed friends! xoxo

Want more details about this and other DIY projects? Check out my blog post!
Comments
Join the conversation
2 of 11 comments
-
Beautiful honey. And I hope life gets to be wonderful for both you and your husband. God Bless.
-
yes where did you getmthe tile wallpaper


Frequently asked questions
Have a question about this project?
Where did you get the HOMEMADE sign above your stove? I love it!
Thank you!
where did you get the wall paper
Step 4. Get a ___! This makes all the difference...
Step 9. Use a ___ to make your cuts.......
Afterwards, I want to get new ___ first.
Please fill in the blanks above.
Thanks