


How to Texture a Ceiling
4 Materials
$10
2 Hours
Easy
Do you live in an old house that has cracks in the ceiling that you'd like to cover up? Or do you have plans to remove that ugly popcorn ceiling but don't know what to do once it's gone? I've got a super easy technic to texture the ceiling to cover up imperfections and modernize your space all at the same time!
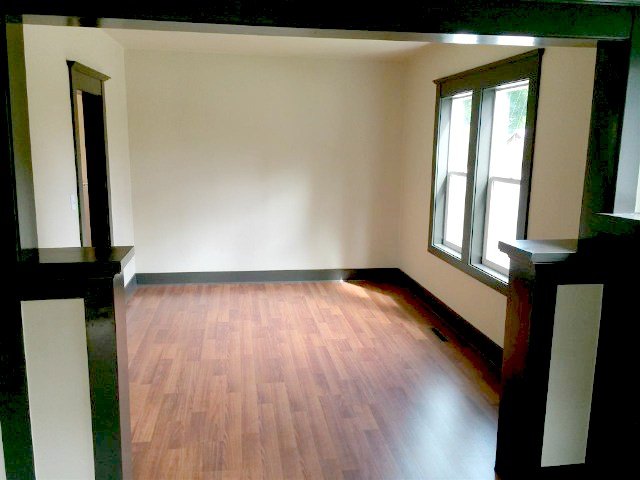
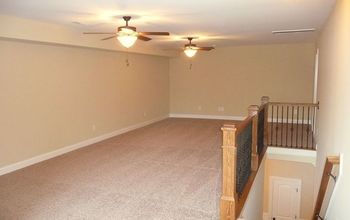
This is an original photo of what our dining room looked like when we first got our hands on it.
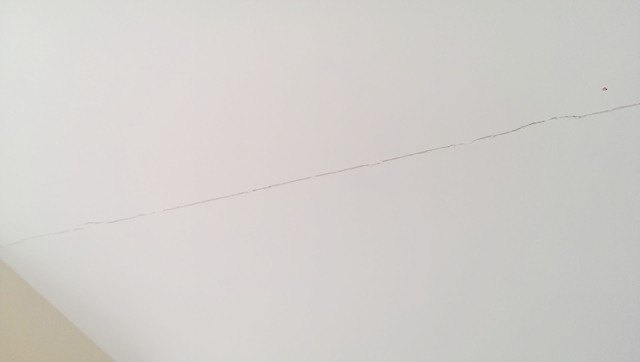
We had hairline cracks in the ceiling we wanted to cover-up without hurting the pocket book! The home is over 100 years old and there was nothing wrong structurally, just needed some cosmetic work and a little ♥.
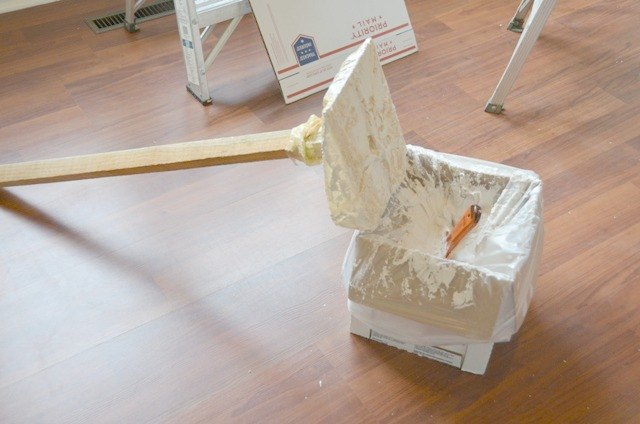
This is the coolest trick EVER! My dad actually told us about it. Just grab an old scrap of 1"x 3" wood (or something similar) and a 12" x 12" square piece of 1/4" plywood and attach the two together. You can screw in from the bottom into the handle and/or add 2 little blocks of wood on either side of the handle to keep it securely attached (that's what my husband does). Then all you have to do is wrap a plastic garbage sack around the flat 12" x 12" piece and tie it in a knot or duck tape it to keep it secure. It's a loose fit, you want the crinkles!
We purchased a box of All-Purpose Pre-Mixed Joint Compound 3.5 Gallon. We spread the compound onto the plastic with a putty knife. Just slop it on, but you don't want it to be too thick. You want to be able to go back and easily just knock of the tips you leave behind on the ceiling after you apply the compound. Sometimes it takes a little practice. We were nervous the first time we used this method, but believe me YOU WILL LOVE IT!!! It's such a simple, inexpensive solution and looks like a Million Bucks when it's done!
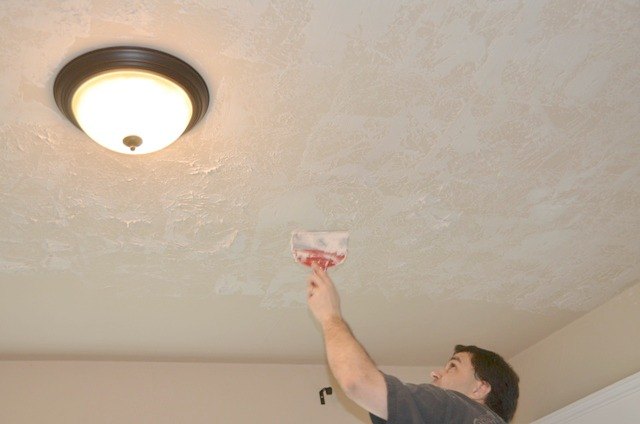
To apply the compound to the ceiling, just simply keep the plastic covered plywood flat to the ceiling and tap, tap, tap as you work your way around the ceiling in sections. Don't try to tackle the whole ceiling at once. Divide it up into sections by first applying the compound and then going back and lightly smoothing it out like shown in this photo. Can you see the peaks to the left in the photo? My hubs is just working his way across the ceiling and knocking them down as he goes. It's not suppose to look perfect at this stage, but once you paint it all...it will!!!
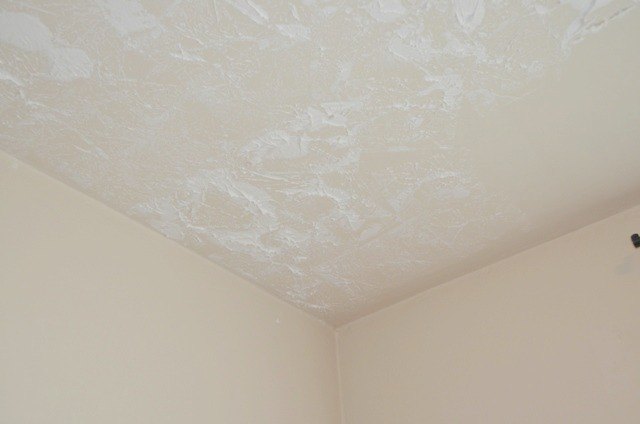
Here's another view right after the compound has been applied to the ceiling.
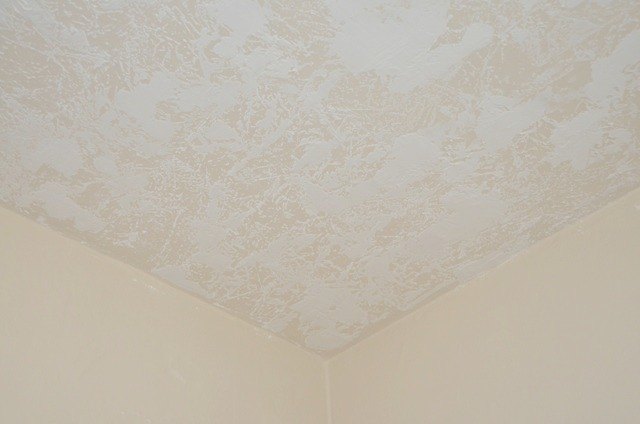
Here it is once it's been smoothed out. If you find you missed a spot, just add a little more. If you have more drastic imperfections to cover up, you may want to apply a heavier dose of compound and leave more texture. Just play with it and have fun!
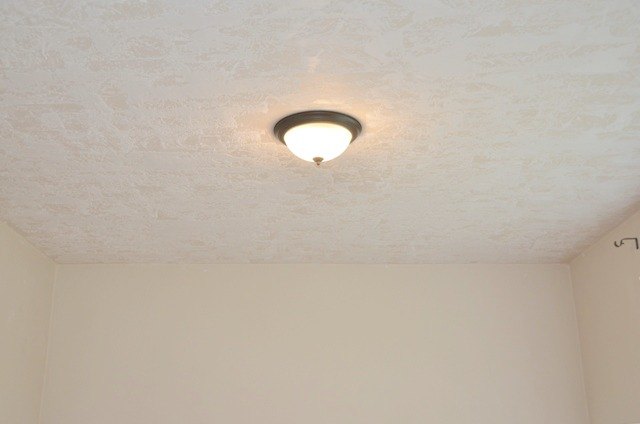
Here is a photo of the textured ceiling completed before paint (we still had the boring light fixture up so we could see). If it got damaged, we wouldn't have cared. Haha!

Here is what the space looks like now! This dining room transformation at The Craftsman on Park Rd was HUGE! You can see the entire final home tour of this 100 year old home on my blog! Also take note of the living room ceiling. We gave it the same treatment!

It's truly amazing what a difference a little joint compound and paint can do. You would never know this ceiling was 100 years old now!!!
Please let me know if you decide to take on texturing your own ceiling. I would LOVE to hear all about it! If you have any questions, feel free to ask away. I'd be happy to help!

Want more details about this and other DIY projects? Check out my blog post!


Frequently asked questions
Have a question about this project?