


Natural Floating Wood Shelves

by
Beth
6 Materials
$50
1 Hour
Easy
I wanted floating wood shelves in our laundry room, but I have very beginner construction skills and was on a very tight budget. I decided to try this "cheater" method and was super happy with how easy it was and how great it looks!
Okay, this method will only work if you are building shelves wall to wall, because the supports for the shelves will be on each of the side walls.
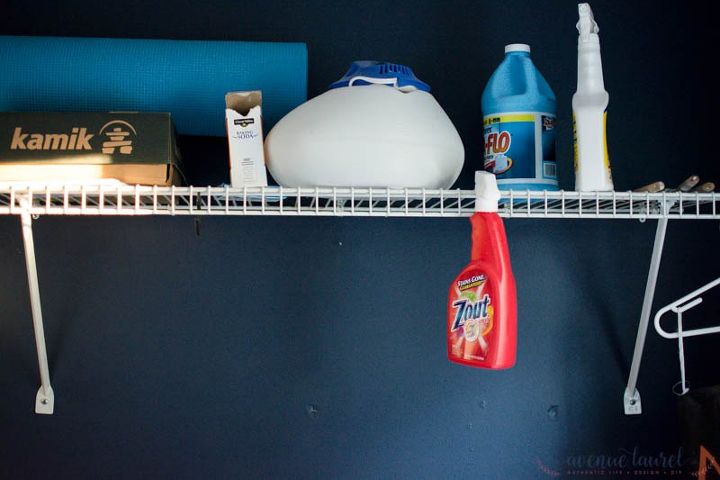
Just so you know what I was dealing with before. Yuck.
First, gather your materials. To do this, you’ll need to determine the dimensions you want your floating shelves to be so you can figure out the lumber you’ll need. I wanted mine to be around a foot wide, so I used 1X 12’s. And, my length was 63 inches wall to wall.
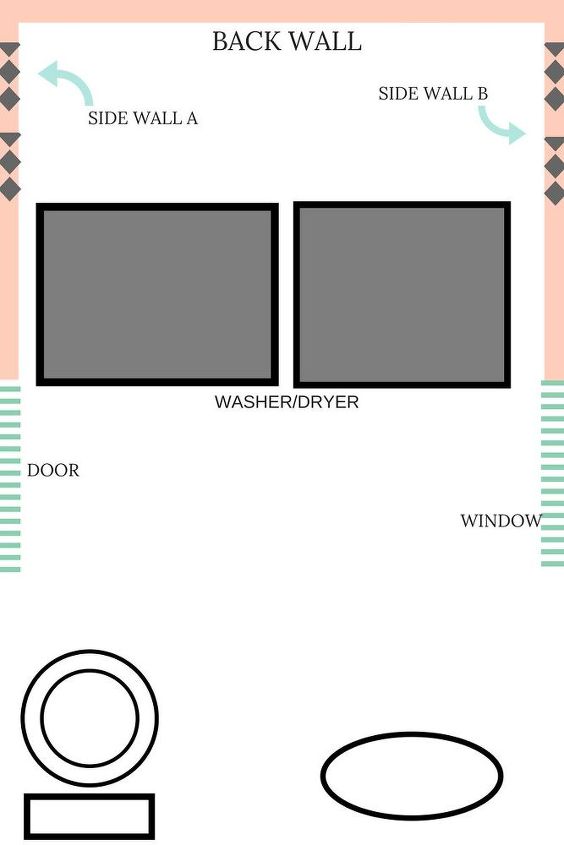
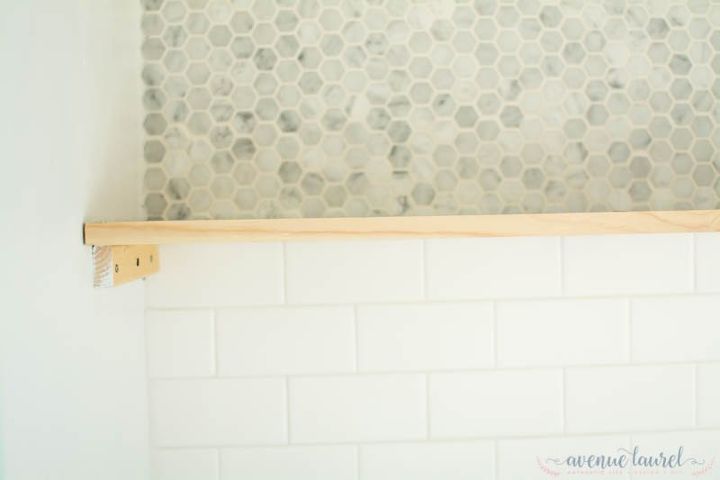
Then determine the placement of your shelves. I had a really good idea with mine, because I knew they would line up with where that top line of subway tile was. Mark your lines, and check for level. You can see in this graphic that I wanted to run my shelves along the back wall over my washer and dryer.
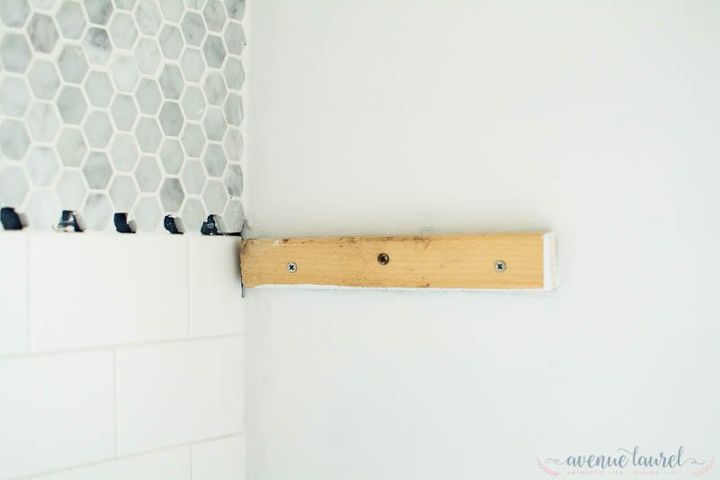
Once you determine how wide you want your shelves to be, cut your wood supports so they are just a bit smaller than the width of your shelves. FYI, I used furring strips for this part. Then, screw the wood supports into the wall. If you aren't able to screw into a stud, be sure to use wall anchors.
Cut your shelves to length, then dry fit into place.
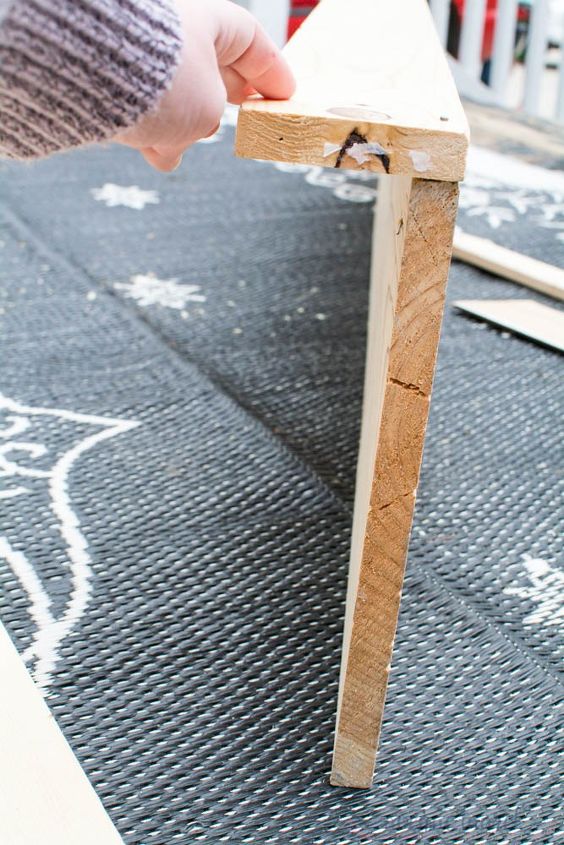
Now remove the shelf- it's easier to add the shelf on the front with the shelf removed. Nail your shelf lumber (the 1X12) to the 1X4 so that the 1X4 makes a thick “lip” over the front of the shelf. I only used 3 nails-one at each end and one in the middle.
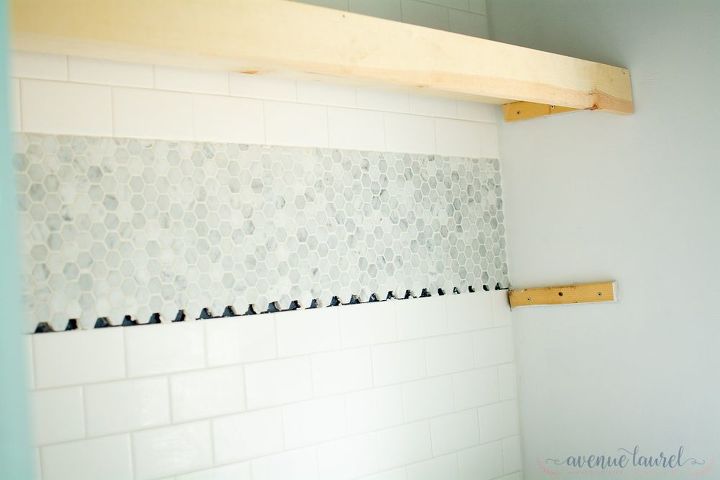
Slide the shelf on the supports.
I painted the shelf supports on the side walls white so that they would visually recede into wall. They do! They're hardly noticeable.
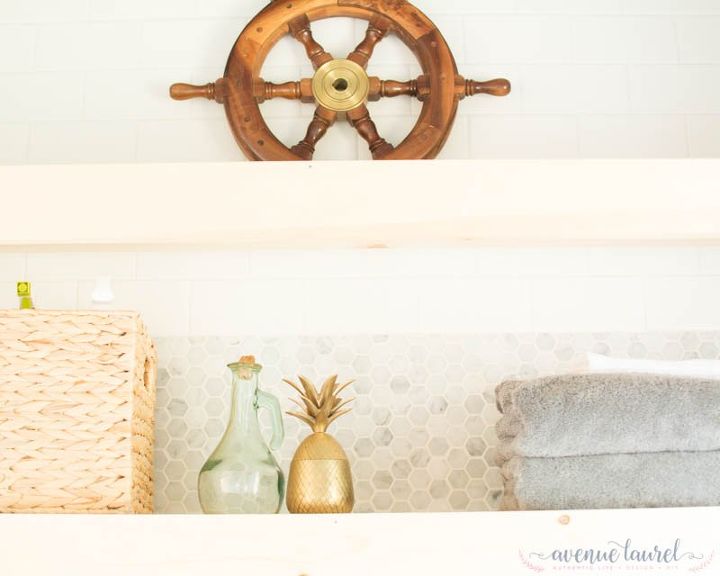
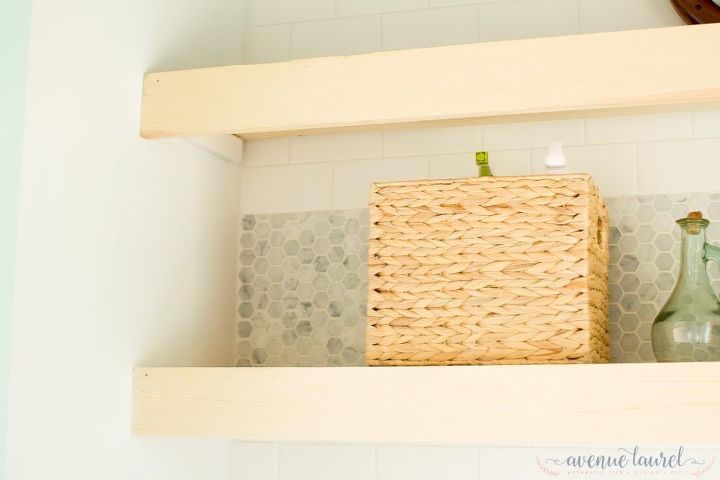
The end result. A simple way to get the look of built in shelves!
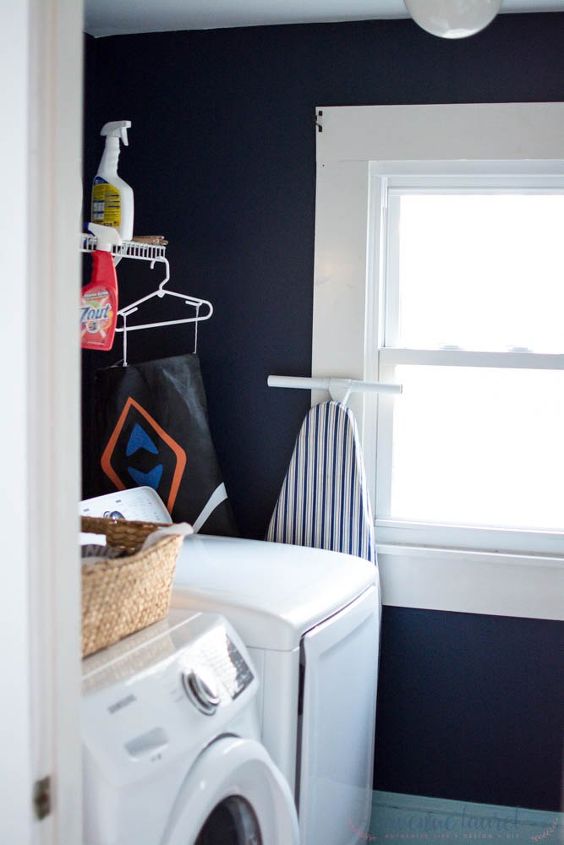
P.S. - I made over this entire laundry room for around $100! Check out the room reveal here!
Resources for this project:
See all materials


Any price and availability information displayed on [relevant Amazon Site(s), as applicable] at the time of purchase will apply to the purchase of this product.
Hometalk may collect a small share of sales from the links on this page.More info
Want more details about this and other DIY projects? Check out my blog post!
Comments
Join the conversation
3 of 27 comments
-
Did this 20 years ago but put another long board along back wall. Never had a problem with sagging in the middle.
-
I really hate those metal shelves! I have a kitten that broke his leg just below the shoulder when his leg slipped between the bars and he fell. Your solution is not only practical but really attractive. Well done!


Frequently asked questions
Have a question about this project?
Any thoughts on whatI can use to stick suction cups to textured ceramic tile.
Looks like a different room?? The natural wood shelves would have looked great on the navy blue walls. Greater contrast. But great job and easy over all.
Where did you get the golden pineapple sitting on the finished shelf?