


Make a Moon Phase Wall Hanging

by
DIY Passion
4 Materials
$5
1 Hour
Easy
Projects that highlight the beauty of the moon and the skies are really popular right now! It seems like it's a big trend to harness the power of the moon and integrate it into home decor. It's especially popular in nurseries and in my case, my home office!
Here's how I made a Moon Phase Wall Hanging out of simple supplies.
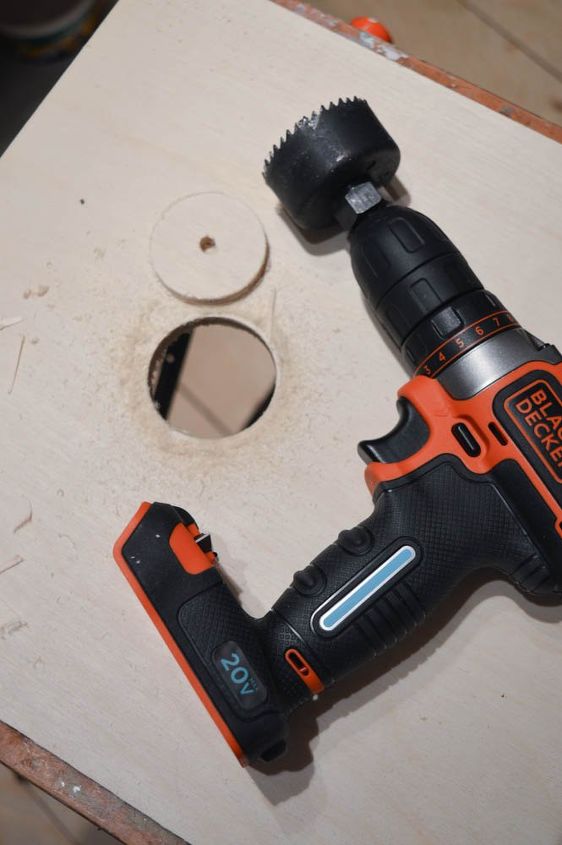
To do this project you'll need basic supplies (listed and linked below!). The most important is a power drill with a hole saw. I used the largest sized bit I had - 2 1/4 inches. I made five different holes in my plywood and made sure to keep them as clean and chip free as possible.
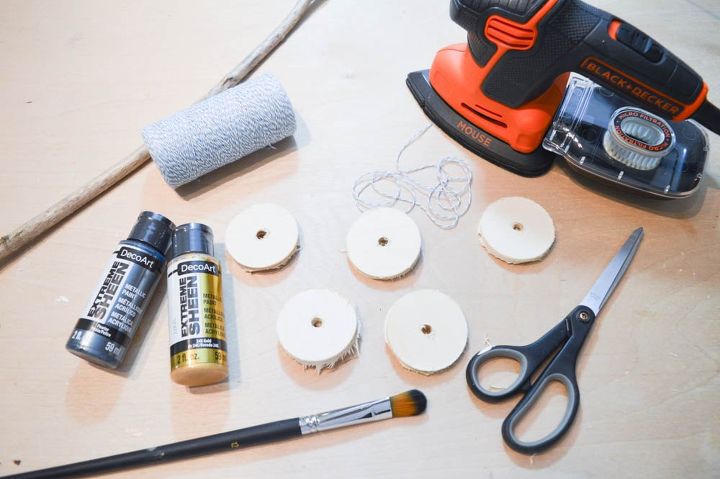
Using plywood is always a challenge, so then you'll want to really sand down your 'hole' middles to prevent further splintering. I used a mouse sander which is one of my all-time favourite craft and DIY tools.
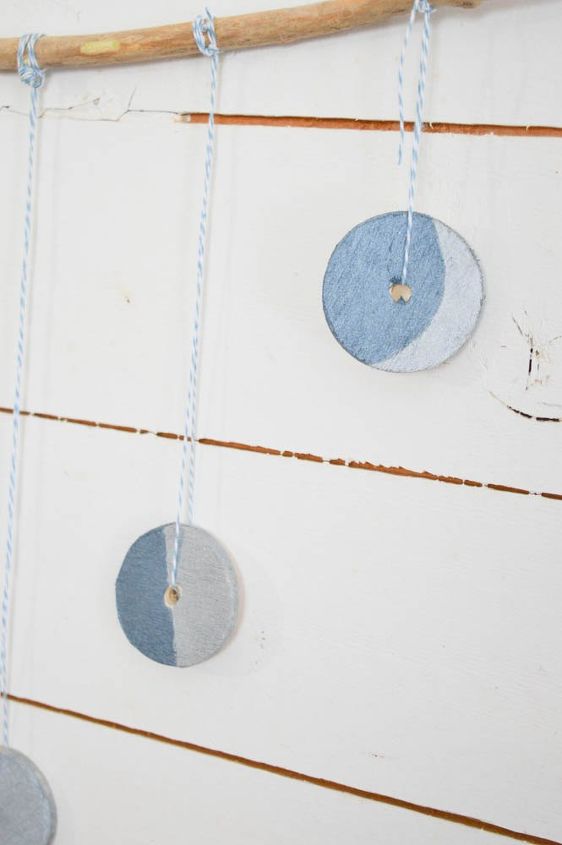
Then you'll want to use metallic paint to create your moon phases. I only did five, but you could research and add many more! Make sure the 'full moon' is in the centre and use the hole from the hole saw to string them up. My full moon is silver and the 'shadows' on the others are in a pewter colour.
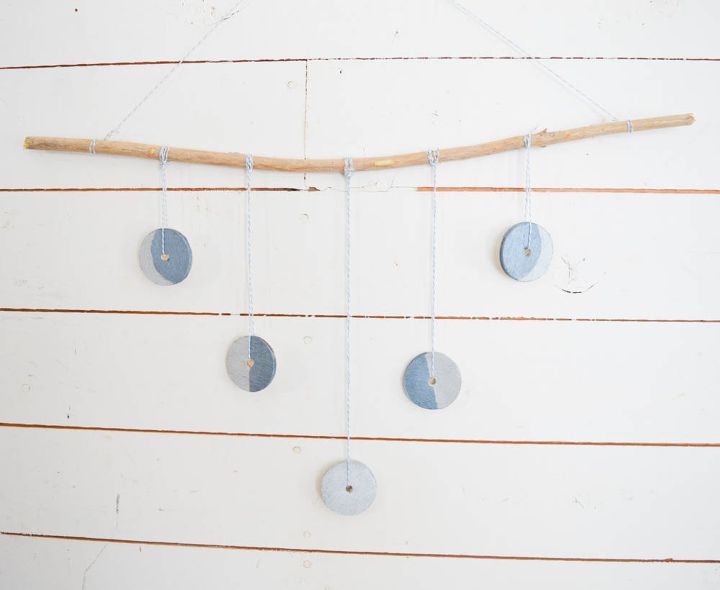
I simply strung them up on a stick from the yard! But you could use a dowel :) That's it!
Check out my other recent projects including my DIY BARN BOARD DINING WALL and MY INSTAGRAM INSPIRED PHOTO GALLERY!
Want more details about this and other DIY projects? Check out my blog post!
Comments
Join the conversation
1 comment
-
Is so cute, you are so talented guys


Frequently asked questions
Have a question about this project?