


Tin Ceiling Tutorial

by
Tootie Trouy
4 Materials
$150
1 Day
Medium
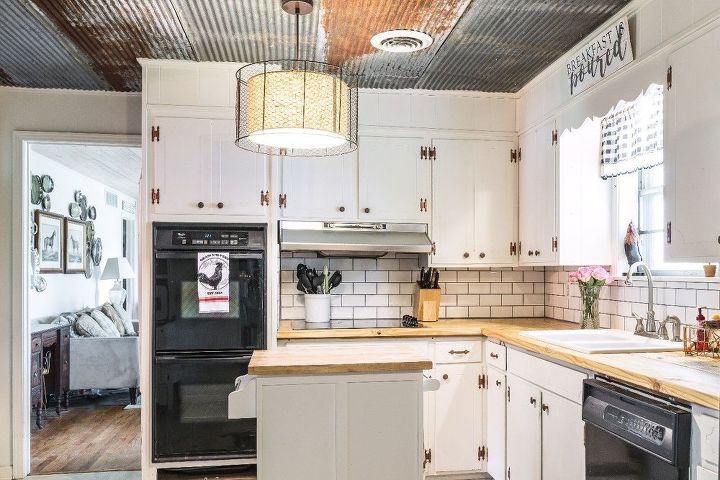
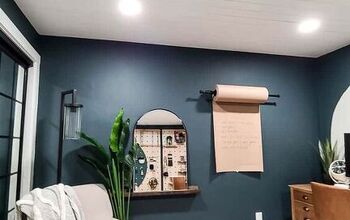
Adding character to your ceilings using rusted Barn tin!
I often joke that Rust is my favorite color. And when we decided to cover up the nasty, 1968 original, 2% asbestos containing (don’t even get me started) popcorn ceiling, I KNEW I wanted to use rusted tin somewhere.
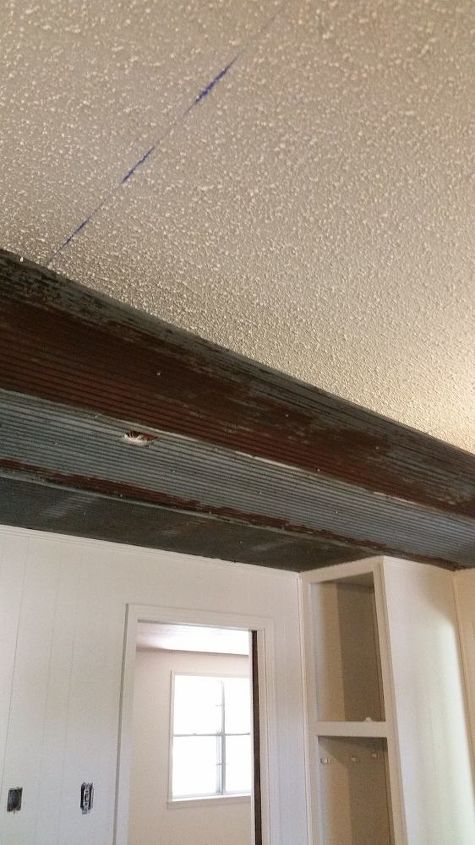
Step 1: Find your ceiling joists. This is what you are going to be screwing your tin sheets into, so first, you need to find them. This can be done with a stud finder or by using a drill.
Step 2: Mark your ceiling joists. Once you have gone down the side of the room and have located your joists, you will need to use chalk to mark them. This will be important so that as you move across the room, you can still see where you will need to secure the material.
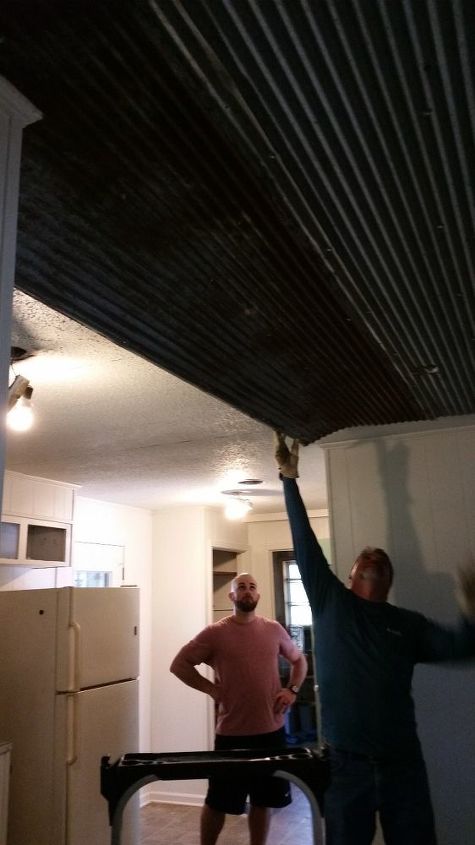
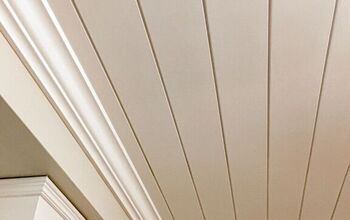
Step 3: Install the tin. As you begin to install the material, some pieces will need to be cut to fit. Similar to flooring, you may have a light fixture, a ceiling vent or a corner to deal with. We used tin snips for ours, but there are many other tools that would work as well. Once you have the cuts completed and the piece is fitted, you attach it to the ceiling joists using Self-Tapping metal screws. Any type of screw should do, but the self-tapping ones make it significantly easier to drill through the metal itself.
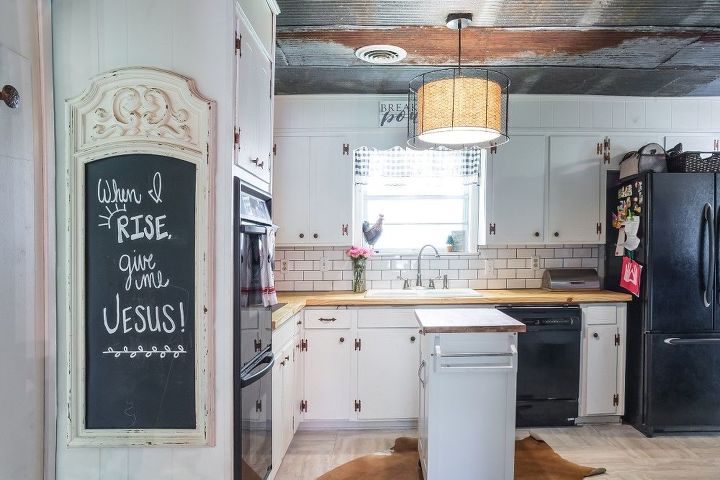
And that, my friends, is all there is to it! Our ceilings are always a topic of conversation and I absolutely loved using an unconventional material in our renovation. Design doesn’t have to be boring. It doesn’t have to fit inside of the walls of the “box”.
It can be fun and unexpected. Most of all, it can be YOU. After all, you're the one who lives there. You are the one who should enjoy your Home.
So, step outside the “box” friends and let your creativity loose!


Any price and availability information displayed on [relevant Amazon Site(s), as applicable] at the time of purchase will apply to the purchase of this product.
Hometalk may collect a small share of sales from the links on this page.More info
Want more details about this and other DIY projects? Check out my blog post!
Comments
Join the conversation
2 of 95 comments
-
Inhaling rust particles scares me but I like the look.
-
We have corrugated tin on the ceilings in our cabin. It was already here when we bought it and moved in. It was actually aged to show rust. It adds to the rustic look of the place. The bedroom was added after the original one room cabin was built and the barn tin was done in there as well. We love it! I can’t imagine any other ceiling!


Frequently asked questions
Have a question about this project?
So I don’t have to remove the popcorn ceiling first? Sounds good as my ceiling has a crack in it and contractors are saying I would have to remove it
Is it bendable at all? I have a converted greyhound bus with cloth on the ceiling but there is a slight curve on the sides. I love this!
Where did you get the tin? The link on here leads to 5” by 7” tiles if tin..... it would take a WHOLE lot more than 200$ to make the ceiling out of the tiles in the links.