


How to Turn a $1 Picture Frame Into a Tray

by
Beth
7 Materials
$10
20 Minutes
Easy
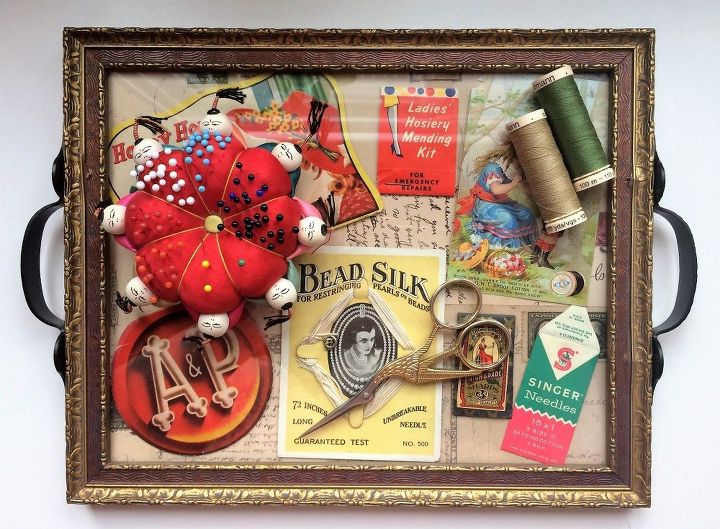
In this post, I’ll show you how to turn a picture frame into a tray. I'm using mine to display vintage sewing ephemera. I love buying old sewing lots at thrift stores and antique shops, but I'm never sure what to do with all of the odds and ends I acquire. I love the graphics on some of these vintage sewing items--they make for a great display. I'm using this tray to hold sewing supplies and projects in progress, so it's functional and cute! I found my picture frame at a thrift store for $1, so this is definitely a project that you can do on a budget.
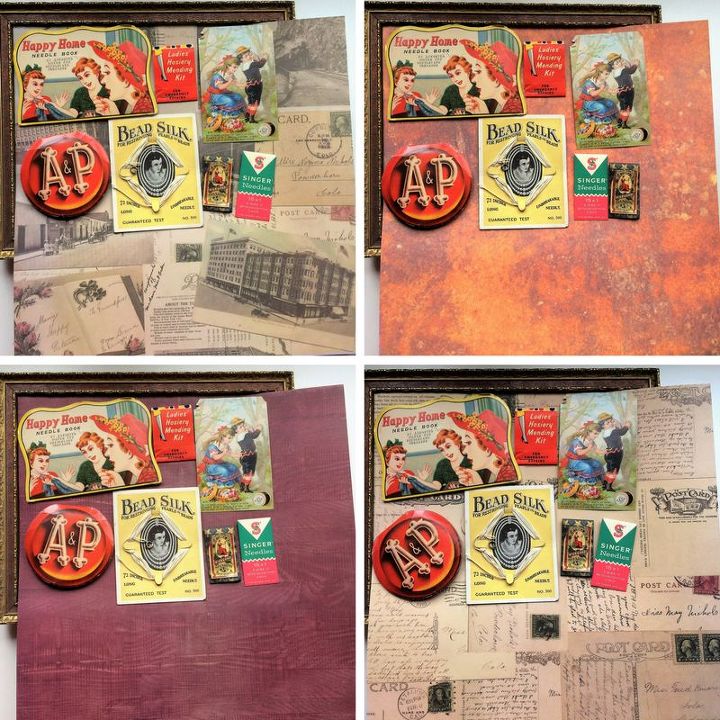
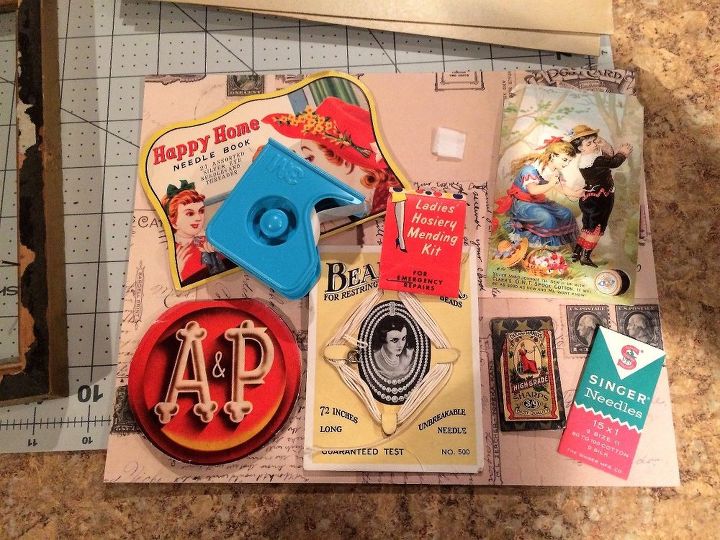
I tested out a few different backgrounds and layouts to see what looked best.
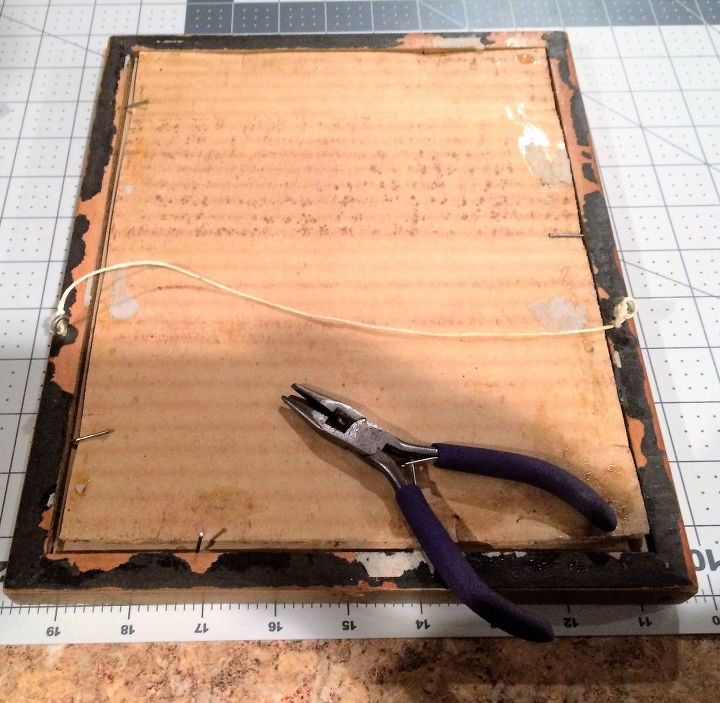
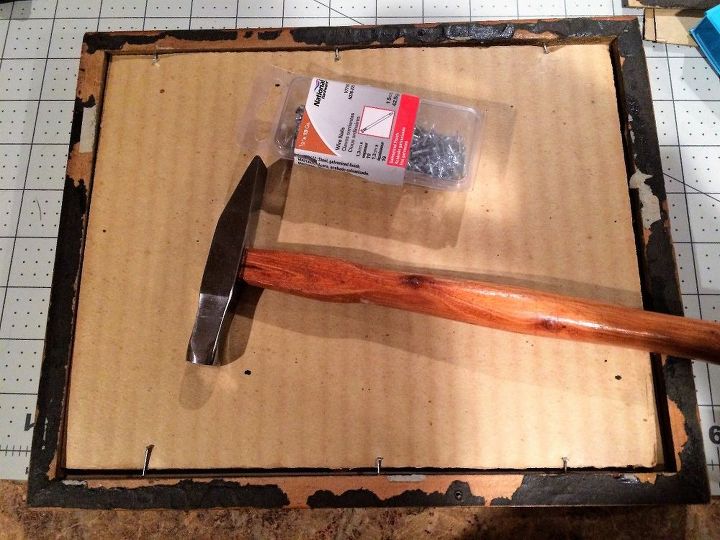
My frame was kind of old, so I had to pull up the nails holding the backing in place. Some of the nails were too warped/loose after this, so I had to replace them later on. I used pliers to pull up the nails, and I manually unscrewed the eyelets holding the string in place, so the back would lay flat.
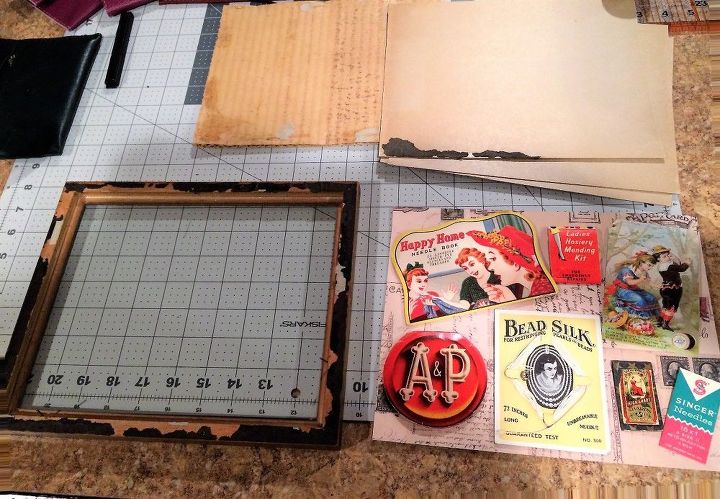
I used the cardboard that I removed from the frame as a template to cut my paper to the right size. Then I started arranging my sewing ephemera on it.
Because I had a bunch of small items to display, I used surgical tape to hold them down. I use this tape to hold things in place while sewing, too. This particular tape holds things well, but also isn't hugely sticky, so you can remove it from paper/fabric with ease, just in case I decide to remove these items from the tray at some point and don't want them damaged.
As noted above, I had to replace some of the nails. I only included nails in the long sides of the frame, since I knew I wanted to add handles on the shorter sides. I didn't want to hit any nails when I drilled into the sides.
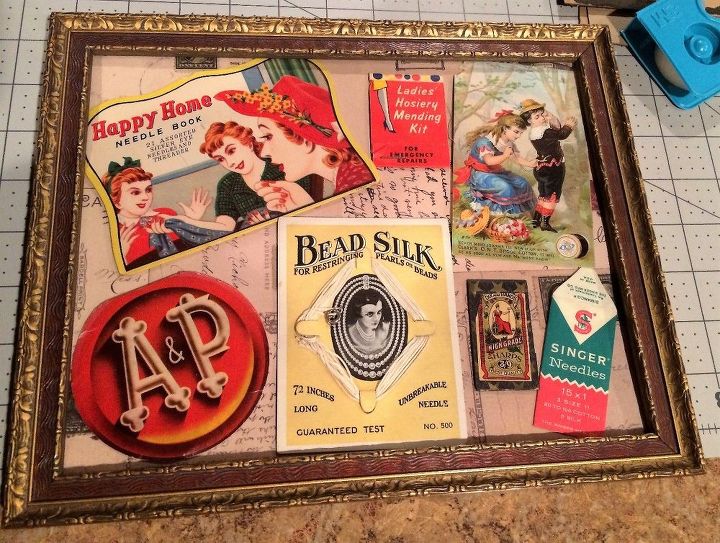
Here's what it looked like after assembly, but before adding handles.
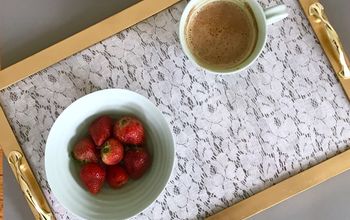
And here's the finished product with handles. I used drawer-pull handles, but I think most handles would work. These handles are held on with screws. Since my frame was older, I didn't want to risk damaging it with an electric drill, so I pre-drilled the holes for the screws with a hand drill instead. The wood was pretty soft, so this wasn't difficult. Now I'm using it to hold sewing supplies next to my sewing machine!

Want more details about this and other DIY projects? Check out my blog post!
Comments
Join the conversation
5 of 11 comments
-
Awesome! I have a lot of old sewing items from my grandmother. I will make this using her things.
- See 1 previous
-
Love this! I Love making things with Picture frames 😊❤ TFS


![Don't Throw Away Old Picture Frame[Turn Into Serving Tray] !](https://cdn-fastly.hometalk.com/media/2015/01/11/2054742/don-t-throw-away-old-picture-frame-turn-into-serving-tray.JPG?size=350x220)


Frequently asked questions
Have a question about this project?