


Custom Gift Boxes With Cricut Explore Air Gold
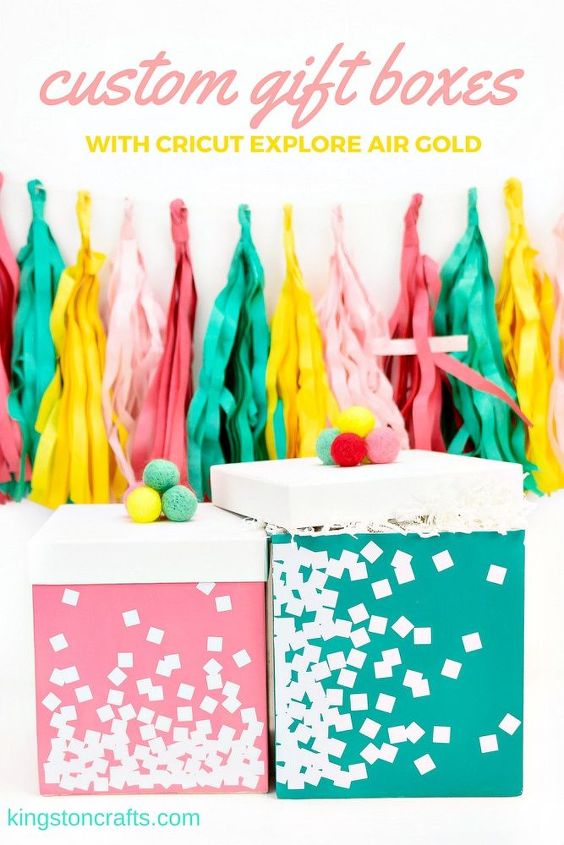
Never show up to a party with plain gift boxes again! Learn how to turn white boxes into colorful gift boxes, using the Cricut Explore!
I WANT to be one of those people who plan far enough ahead to bring beautifully packaged and coordinated gifts to parties. However, I would always get frustrated when I couldn't find the right size box in the right color and just end up wrapping it in brown paper and adding some ribbon. Don't judge me. ;)
Now, thanks to my Gold Cricut Explore Air from Jo-Ann and some Plaid paint, I can turn any old box into something I am proud to give. Yup - that's right fellow party-goers...I made this and so can you!
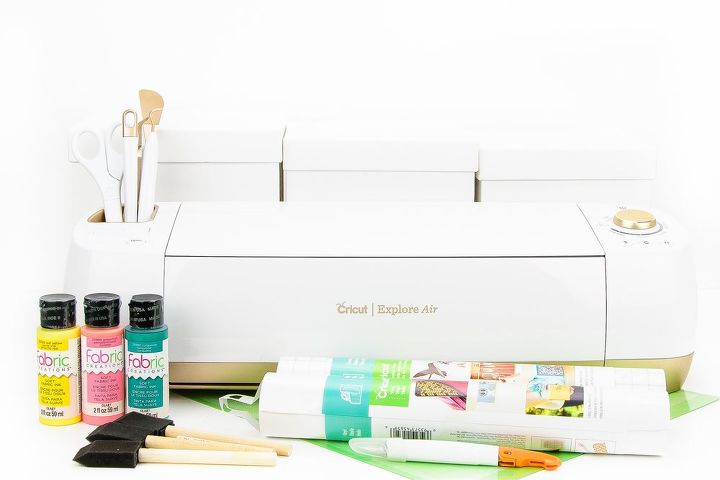
Here are the supplies you will need:
- Cricut Explore Air and Design Space
- Cricut Standard Grip cutting mat
- Cricut Tools Craft Basic Set
- Cricut Vinyl
- Cricut Transfer Tape
- Plaid Acrylic Paint (I actually used fabric paint because I loved the colors!)
- foam brushes
- assorted gift boxes
- craft knife
Optional Supplies:
- hot glue gun
- felt balls

Step 1: Paint each gift box as desired (you may need two coats) and allow them to dry.

Step 2: In Design Space, size your image to fit one side of the box and cut the image from some vinyl. Then, using the weeder from the toolkit, weed the excess vinyl from the backing so only the image remains.
Finally, apply transfer tape over your image, peel it off, and then transfer it to your gift box.
Note- If you want your image to be flush to the side/edge of the box (like my turquoise box) then read ''step 2 continued'' below.
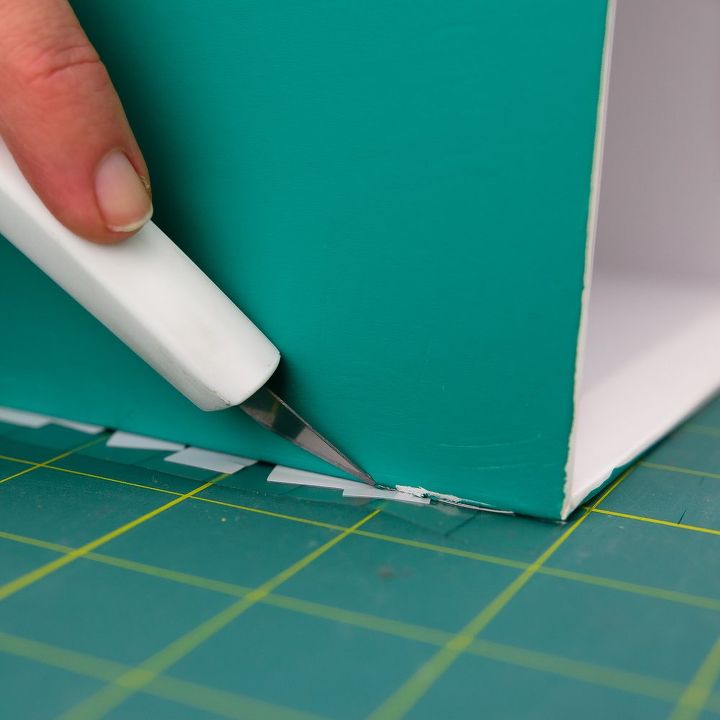
Step 2 Continued: If you want to line your image flush to the side/edge of the box, then that can be done! All you need to do is apply the entire image to the box and BEFORE you remove the transfer tape, use a craft knife to cut away the excess (like in the photo above). Then peel off the transfer tape from the rest of the image.
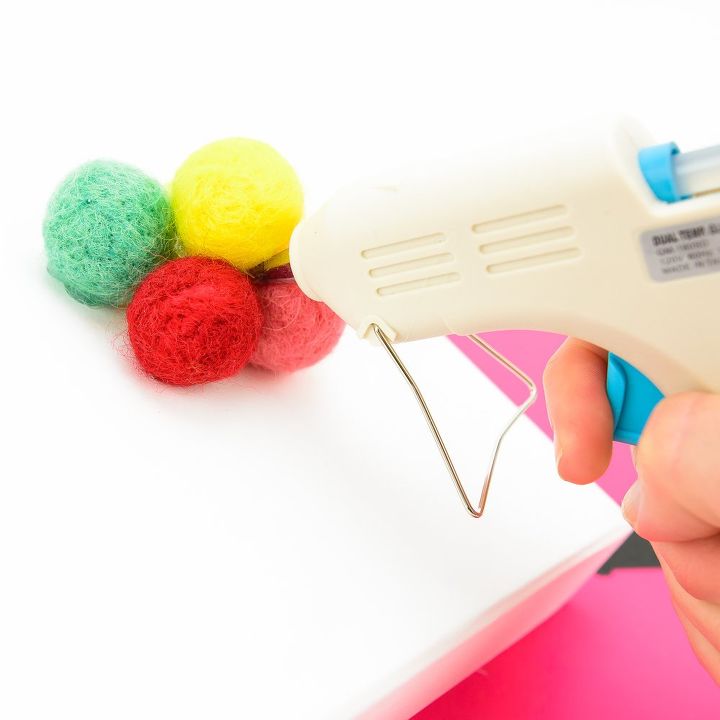
Step 3: To add a little extra color to my boxes, I hot glued some felt balls to the top of each box lid.
This actually saved quite a bit of time because I didn't have to paint the lids!
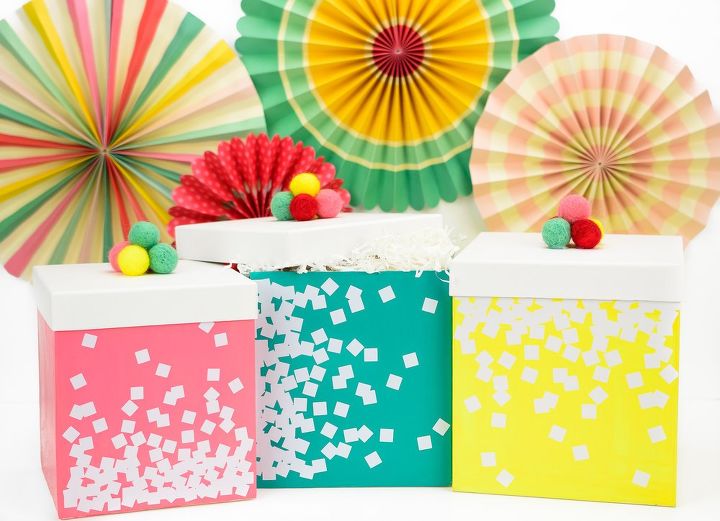
And voila! Bright and festive gift boxes that would be perfect not just for gift giving, but for party favors or as decorations for bridal/ baby showers.
To get more project inspiration for your home and to learn more about the products used in this project, stop by my blog!


Frequently asked questions
Have a question about this project?