


DIY Shiplap on a Budget
2 Materials
$150
12 Hours
Medium
Shiplap, shiplap shiplap… For the first year or so of hearing Joanna Gaines drop the shiplap word, I just kept saying… I am more of a rustic wood wall girl. But, now I must admit that while I still love a great rustic planked wood wall… I am loving crisp white (and even sometimes gray or black) shiplap walls!
Brainwashed or converted I am not sure, but whatever.
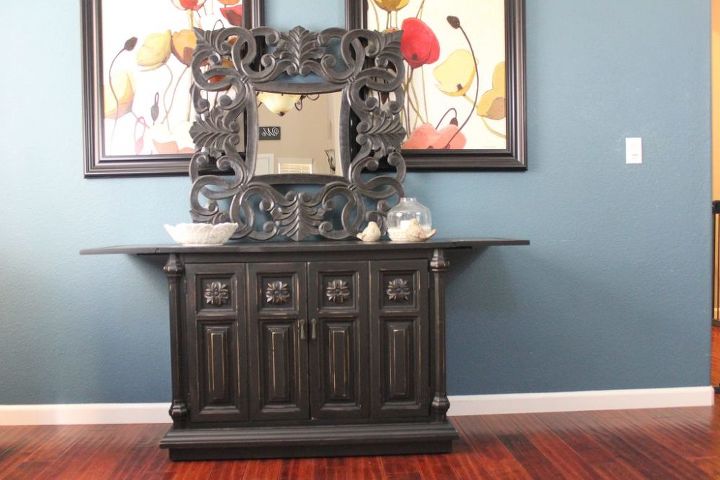
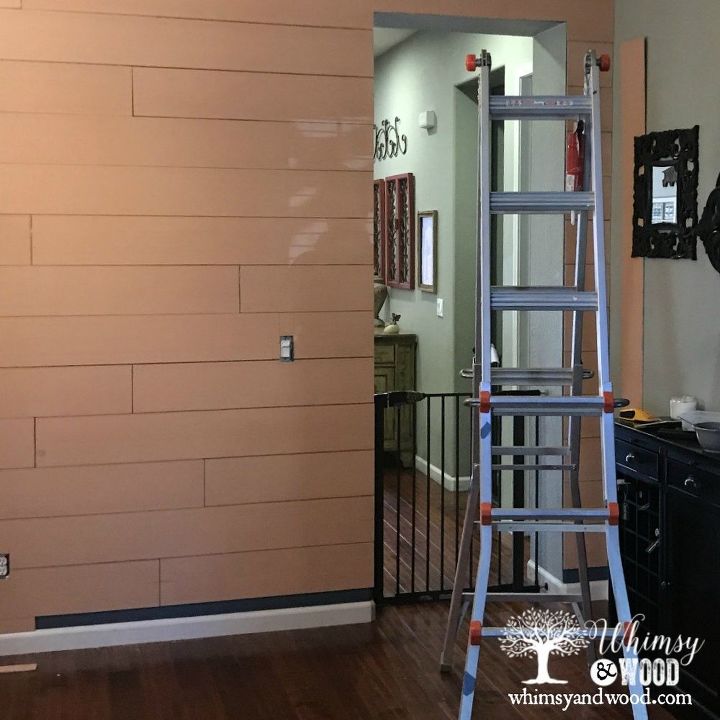
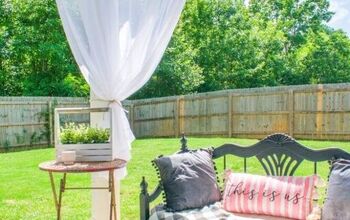
My existing wall was a deep blue that had a tinge of aqua to it. I was at once smitten and terrified when I painted this blue wall about 8 years ago. I am ready to let it go now.
I needed a bright white shiplap wall to photograph my refinished furniture in front of & wanted to lighten my dark dining room in the process. I Love getting the gorgeous Fixer Upper look on a budget.
CUTTING THE PANELS:
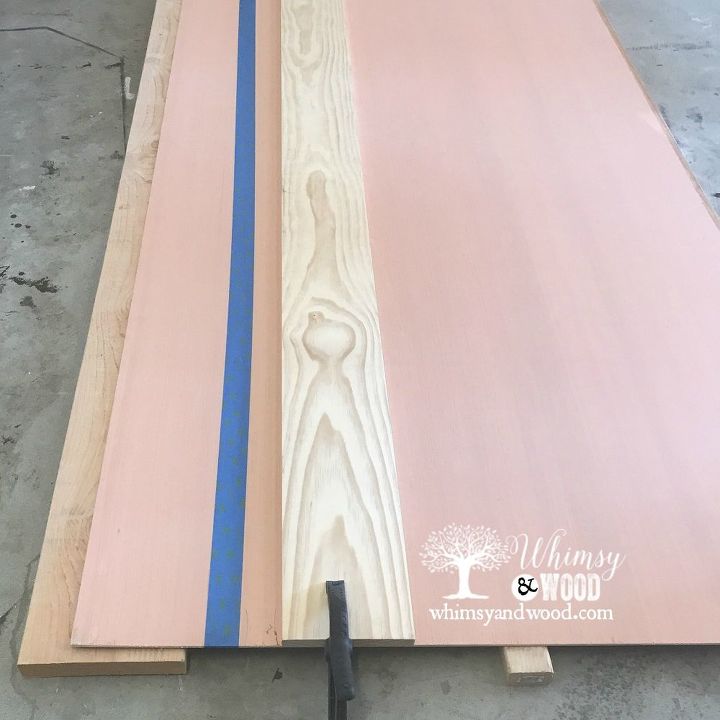
I headed to Lowe’s to get quarter inch plywood panels.
I was working solo, so instead of cutting on the table saw (which is the one thing in my garage that I stay afraid of) I cut my panels on the ground using my circular saw.
To do this you want to put 2 x 4’s (or 2 x anything) on the ground and lay your panel on top of them. The plywood is flimsy so you will want to make sure you have enough to support the center of the board and not create too much flex.
- I used one on each end and one just beyond my cut line and some random ones in the center.
- I just moved them around under my plywood as needed since my piece got smaller with every cut.
- Measure out the width you want to cut and mark it on the board, a mark on each end.
- Next measure the distance from your guide piece on your circular saw from edge to blade.
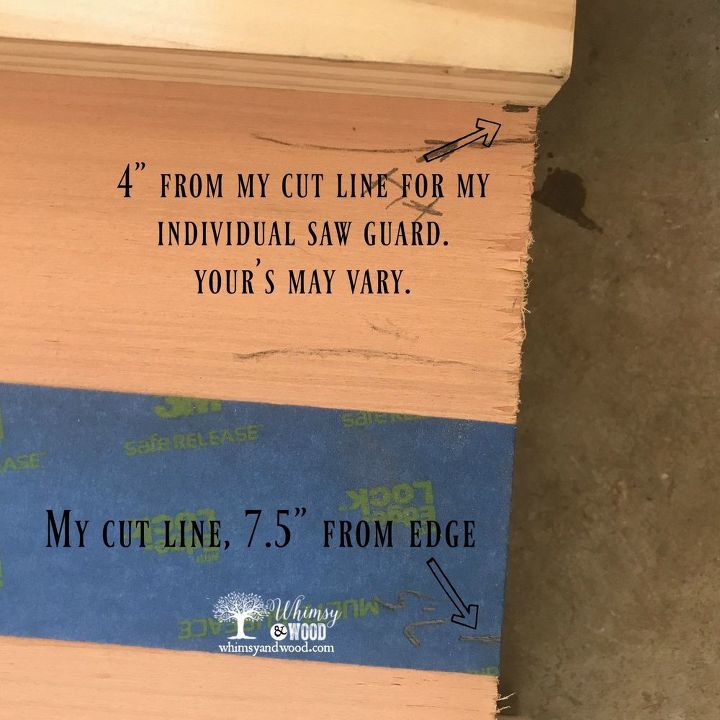
I created a “jig” from these measurements so I could repeat my cuts without having to bust out my tape measure.
- Cut a piece of scrap wood the size of your ideal cut, 7.5″ here, and then add the addition of your saw guide, 4″ for mine. So I cut my jig to 11.5″
- Now you can use the edge of your jig lined up with the edge of your material to know where to attach your straight edge.
ATTACHING THE SHIPLAP:
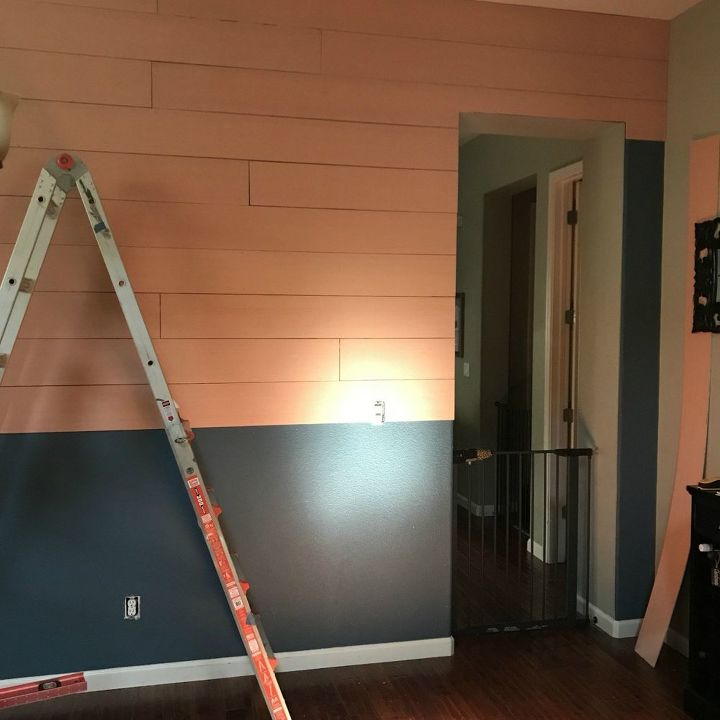
Once the boards were all cut they were ready to go up on the wall. For this part you will need help. At least on the top half of the wall. I chose to start at the top and work my way down. Begin with one full length of your cut panel:
- I marked the studs in my wall to have the best place to nail the panels. These panels are so light that I don’t know if this step is as necessary as I made it.
- My husband and I stood on ladders holding the panel up to the wall.
- Put your construction adhesive on the back of the panel in a zig zag pattern from edge to edge
- Press the panel into place and use your brad nailer to nail it to your dry wall studs all the way down the panel. You can also add nails to the ends if you worry they may want to bend up away from the wall over time.
- I used nickels as my spacers when laying out my pieces.
- Most walls are not square, I used a 4 foot level to make sure my boards were level from one to the next.
Measure the remaining space and cut your next board to install the next piece.
- To make these cuts I used my miter saw and did a quick chop.
- When grabbing pieces for the next line remember to stagger your seams. You may not want the exact seam pattern running down the wall. Eyes will be pulled to every line.
- If a row ends up having a really small piece to finish it. I would recommend cutting one of the prior pieces to make this end piece a bigger strip.
- Keep on repeating the steps until you have your wall covered.
REMEMBER: Where you have outlets you will need to make cut outs!
On my last row I cut thin strips to fit the end space at the very bottom.
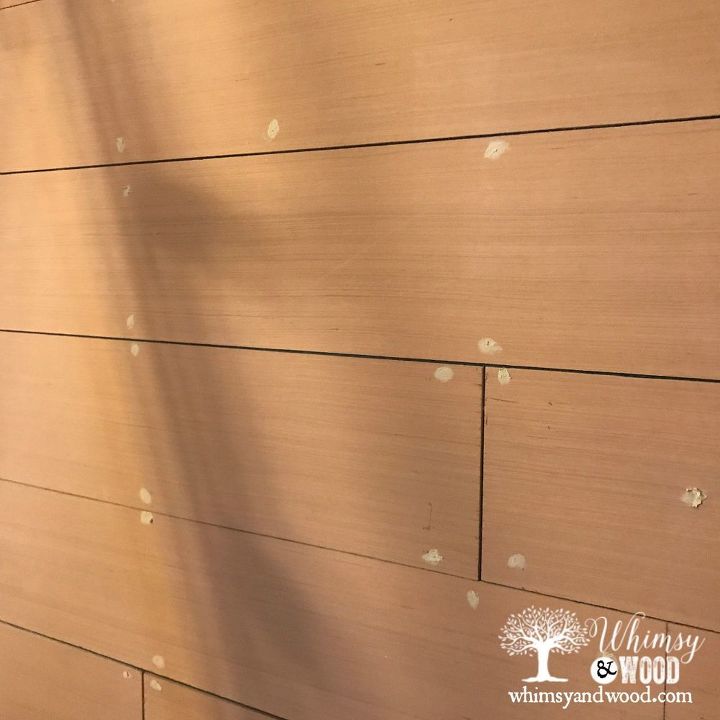
I used Magic Mud and filled the nail holes from shooting nails in. let dry quickly and sand away any build up.
Finally it was time to paint. I love painting furniture, walls…not so much. I did not caulk the lines between the panels, I did caulk the ends where the shiplap touches my walls. You could use trim instead, but I don’t have crown moulding and it looked finished enough to me when caulked and painted.
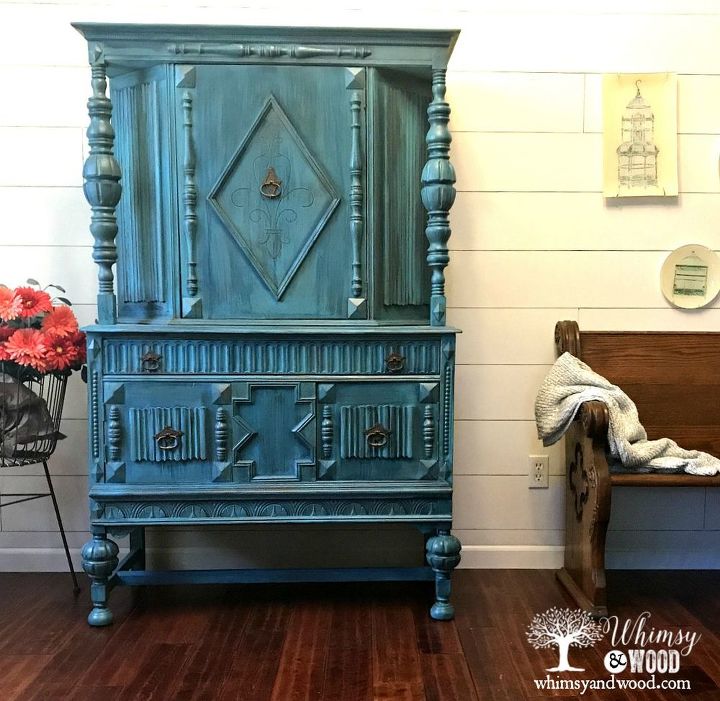
This new wall is making it so much easier to take photos of furniture! It also made my room much brighter and I love the freshness of the white.
If you have rounded interior wall corners CLICK HERE to see how we dealt with them.

Want more details about this and other DIY projects? Check out my blog post!
Comments
Join the conversation
2 comments
-
I also need to do this for the furniture I refinish. It makes the furniture really pop. Great job!!


Frequently asked questions
Have a question about this project?