


Master Bath Renovation

4 Materials
$500
7 Days
Medium
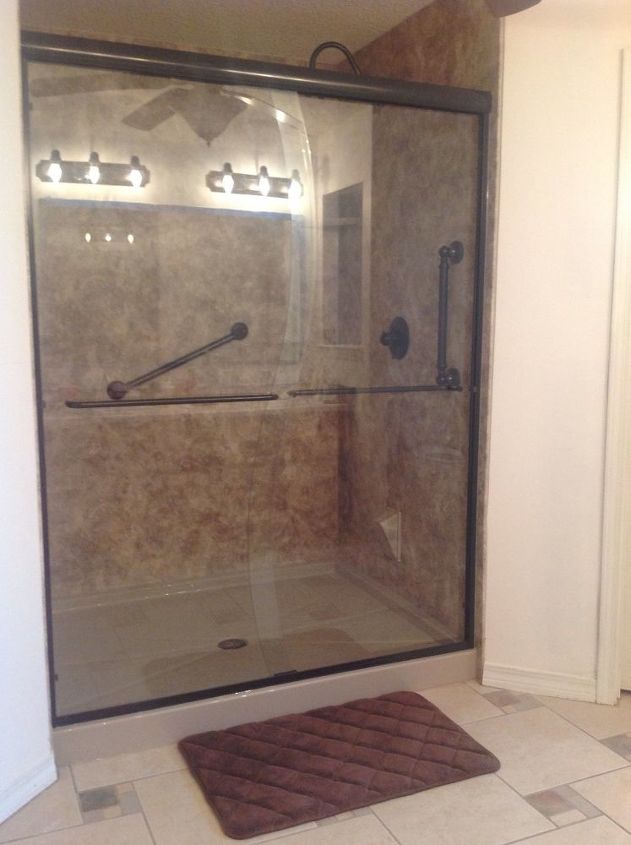
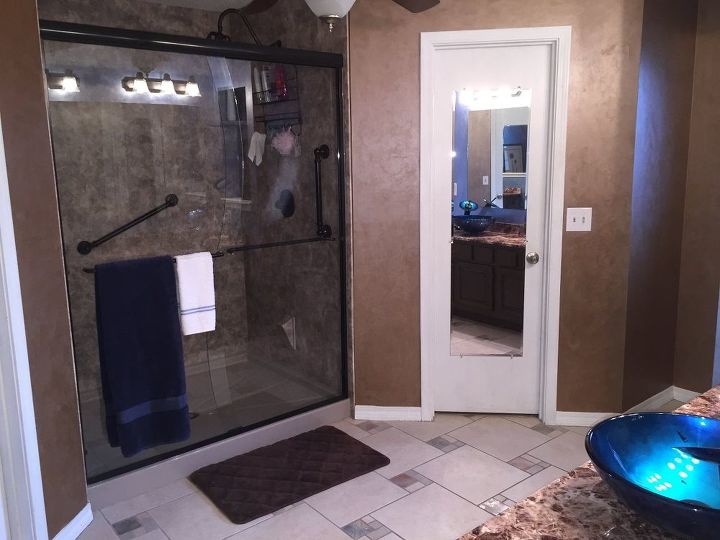
Another renovation in our new (previously loved) home in Florida. The master bath had great bones. Unfortunately the garden tub was an accident waiting to happen for my wonderful husband who is semi handicapped. We hired a local company to convert the garden tub into a big beautiful walk in shower with enough room for my 6' 9" husband to shower comfortably as well as a shower chair.
My DIY part of the renovation was stripping the awful wall paper, painting the walls, and re-doing the builder grade cabinet and sinks.
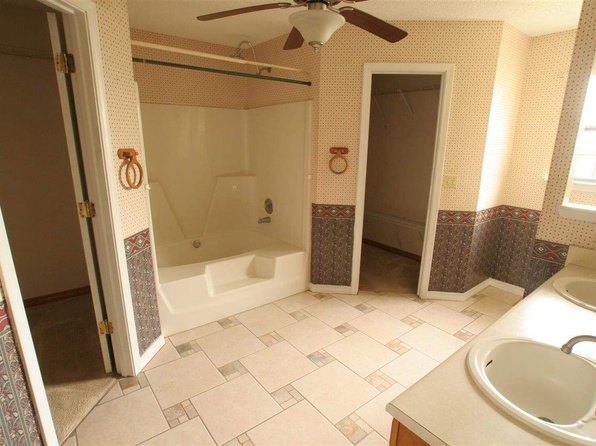
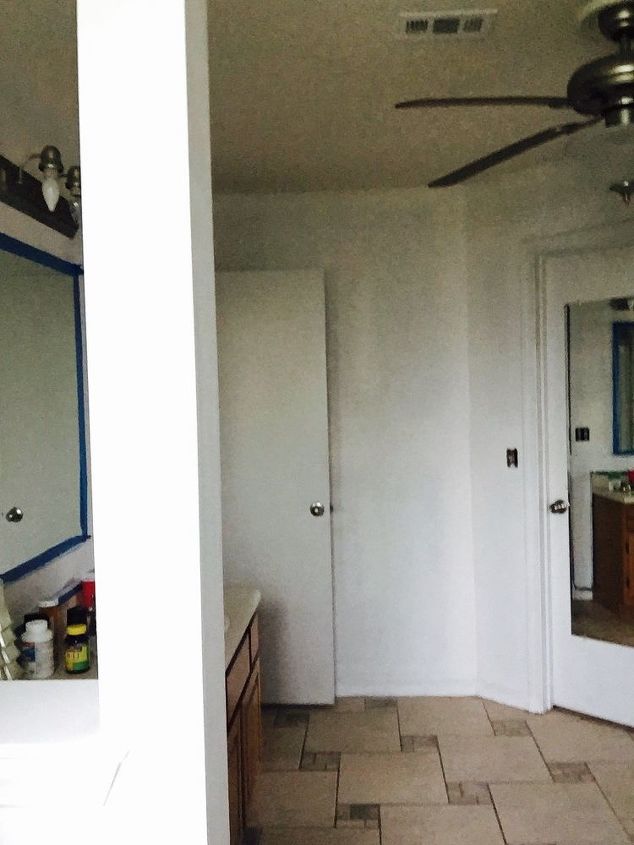
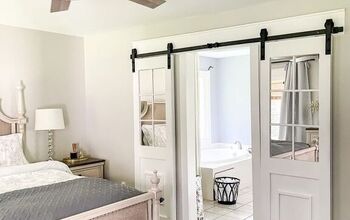
Here is an overview of the bathroom when we moved in. This was really hard for my husband to get in and out of due to multiple knee surgeries over the past few years.
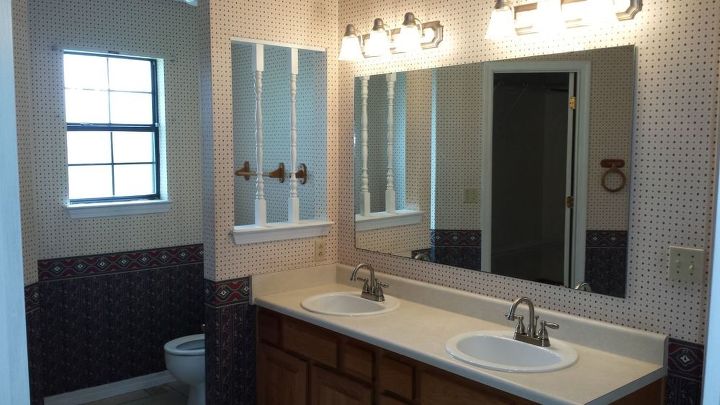
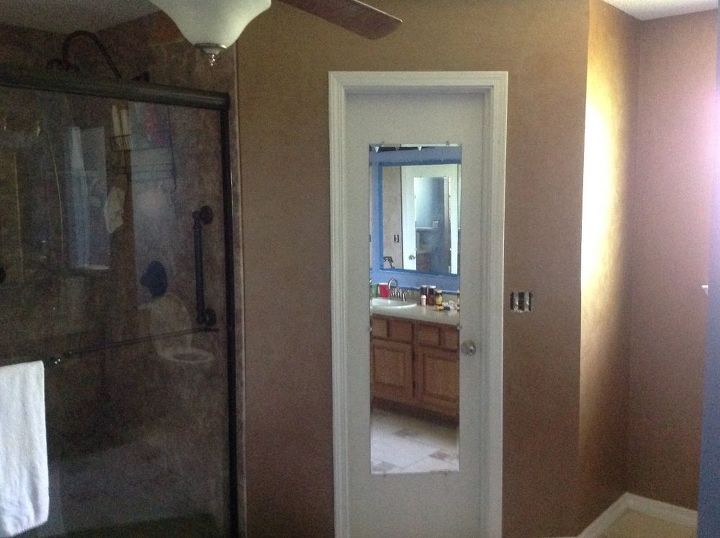
First and foremost, we replaced the toilet with a taller "handicapped" toilet. Next, the wallpaper had to be stripped off all the walls, light fixtures removed, removed the spindles, and began painting. Went with a bronzy brown for three of the walls and the wall behind the mirror blue. I did a glazed technique on both colors to give some texture.
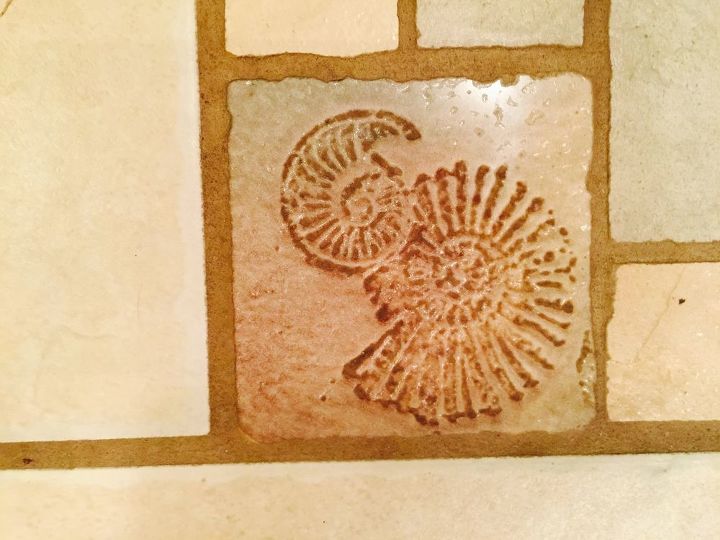
Loved the floor and the unique tiles, so this is why we chose the bronzy brown.
So, once the shower was completed, the wallpaper stripped off, walls primed.
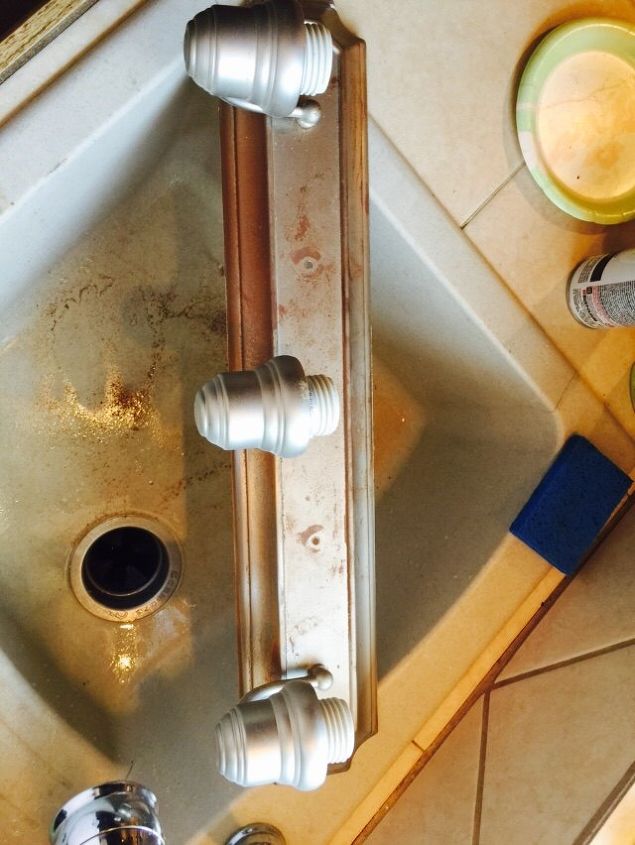
Living in Florida with the humidity the light fixtures and fan were quite rusty. Rather than buy new fixtures, I scrubbed them down smooth. and you'll see in the next picture, I invested in a spray paint can of Rustoleum Oiled Bronze (to match the fixtures in the shower. And by the way, I did the same to the Shower head and fan which was a stainless finish.
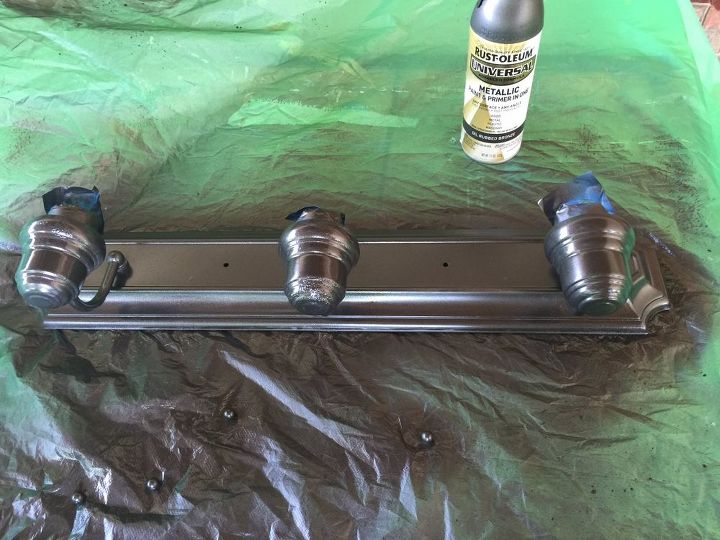
Looks brand new and saved a ton by refinishing!
Here the bathroom is primed and ready for painting.
Here is the bronze brown base before the glaze finish, you can see in the mirror the blue accent wall.
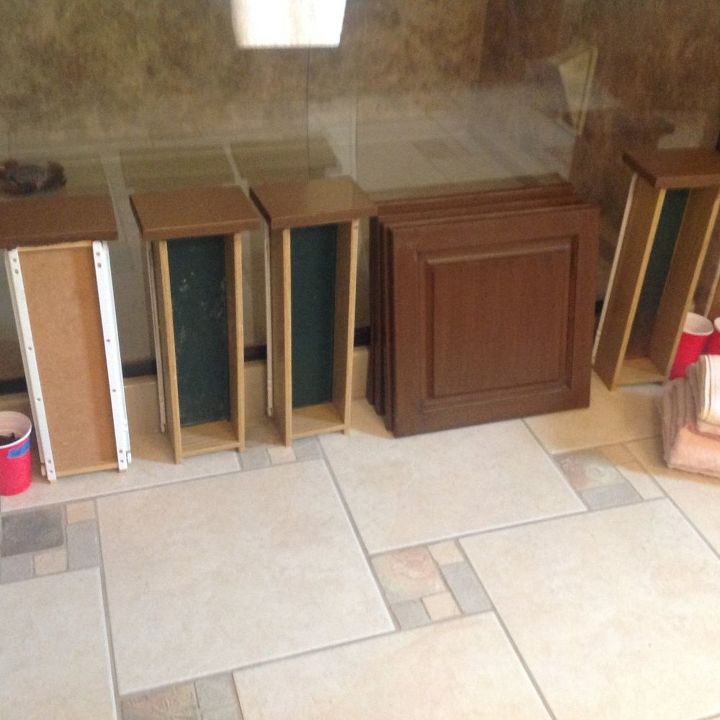
Next, I used the Rustoleum Cabinet Transformations again since it was so easy in my craft room. It took the builder grade cabinets from dull to gorgeous. As before, take out the drawers and the cabinet doors, numbering from left to right on painters tape. Then I painted to back sides first and front sides last to minimize any smudges or drips.
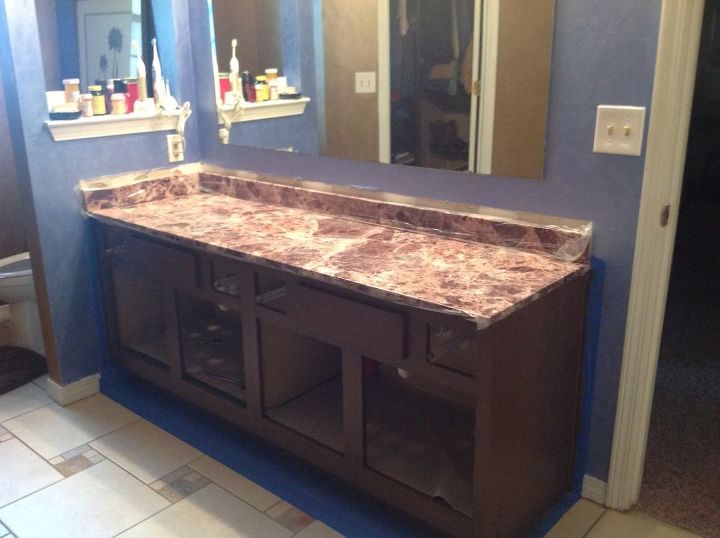
After removing the formica top and builder grade sinks, here we installed the new cabinet top ordered from Home Depot. It is not real stone, but the River Rock matches the new shower walls.
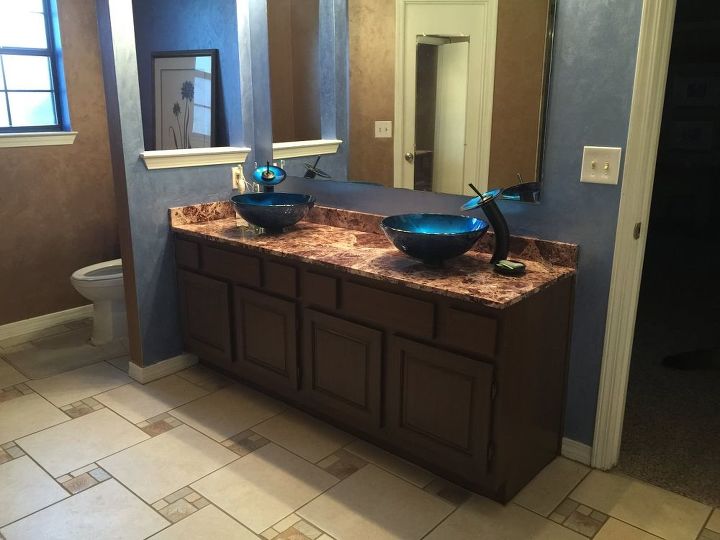
I ordered vessel sinks from Overstock with Oil rubbed bronze faucets to you see installed. They were easy to install, did it myself! It may be hard to see, but the glazing finish is complete at this point.
This is a little better shot of the glazing technique used on the walls. And I LOVE the sinks, aren't they gorgeous? Also love the waterfall faucets.
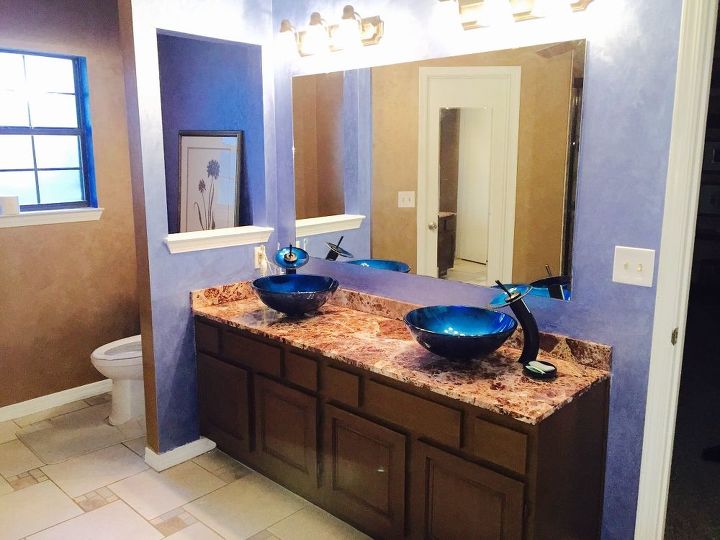
All that is left to do is install glass shelves on the Pony wall between the toilet and the sinks, and add a frame around the mirror. Very pleased with the final renovation!
Comments
Join the conversation
2 comments
-
What an incredible transformation!


Frequently asked questions
Have a question about this project?