


Sew Easy Cushion Cover

2 Materials
$2
1 Hour
Easy
This project is part of a larger, more extensive stool experiment. A friend had received an old stool from her aunt. It was in rough shape, especially the cushion, which was badly stained. She saw my last Folding Stool Refurbish at my house (https://www.hometalk.com/diy/kitchen-dining/kitchen-dining-furniture/folding-stool-refurbish-34380361?r=1 ) and asked me if I wanted to try and rescue her stool so she could use it in her computer room. Since I’m always looking for things to DIY, I said sure. Her conditions were: New cover. Some leftover scrap of fabric, my choice of color, texture, etc. She didn’t care what color, so long as it wasn’t stained any more and I didn’t have to buy anything for it. Pretty good deal for both of us.
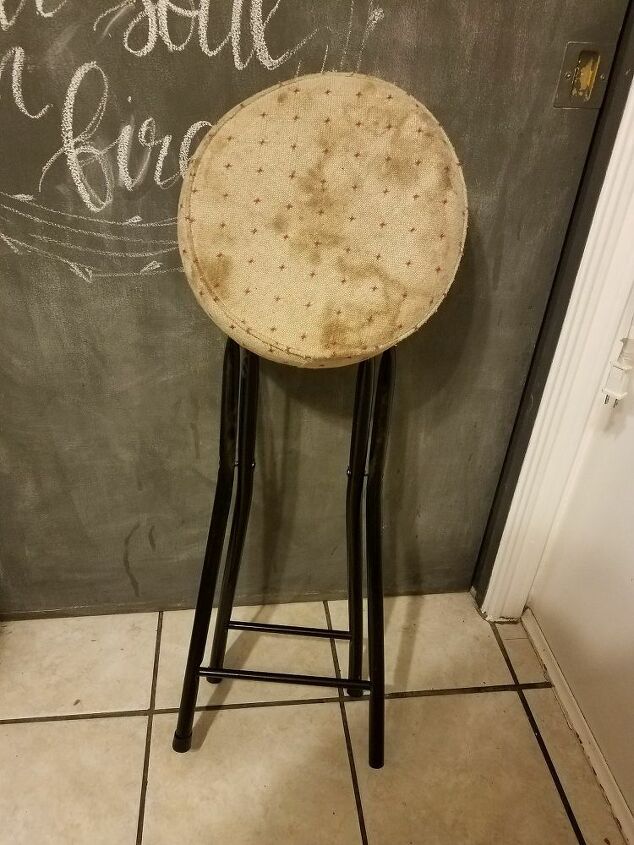
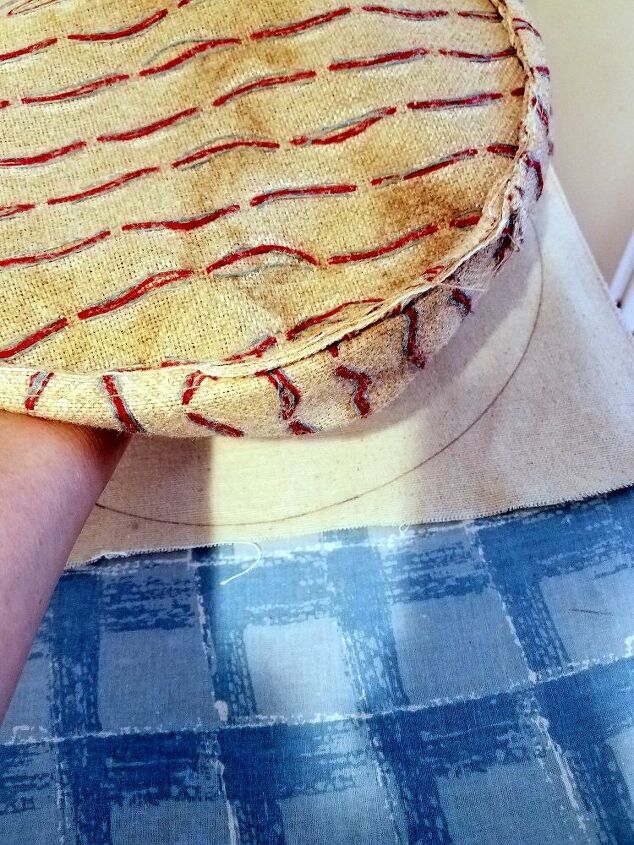
Old, Stained cover
When I got February’s list of challenges, I asked her to bring the stool over so I could work on it. After looking at the stool, I could easily see why she refused to use it in its current condition. You can see it in the picture.

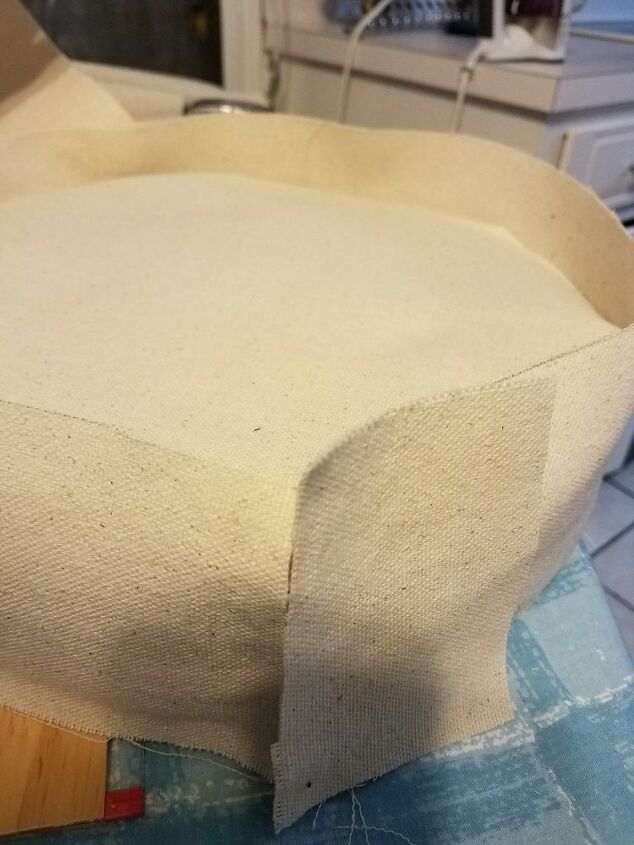
Made sure sides were straight
Since she didn’t care what fabric I used, I selected some scrap painter’s drop cloth. I had originally used eight of the 12 feet on my school bulletin boards. I’ve never actually used drop cloth as fabric before, but have been wanting to. This was the perfect opportunity. Win-win!
After laundering the fabric, I steam ironed it to get all the creases out. I’ve seen posts with comments about being careful of the seam bindings, because they’re not straight, so I used a T square to draw a straight line and cut off the seams.
My pattern.
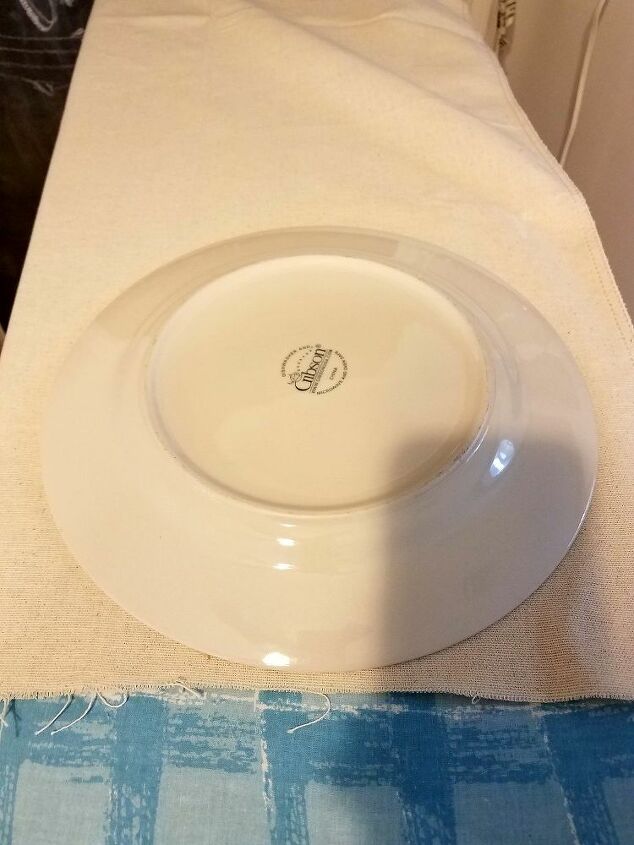
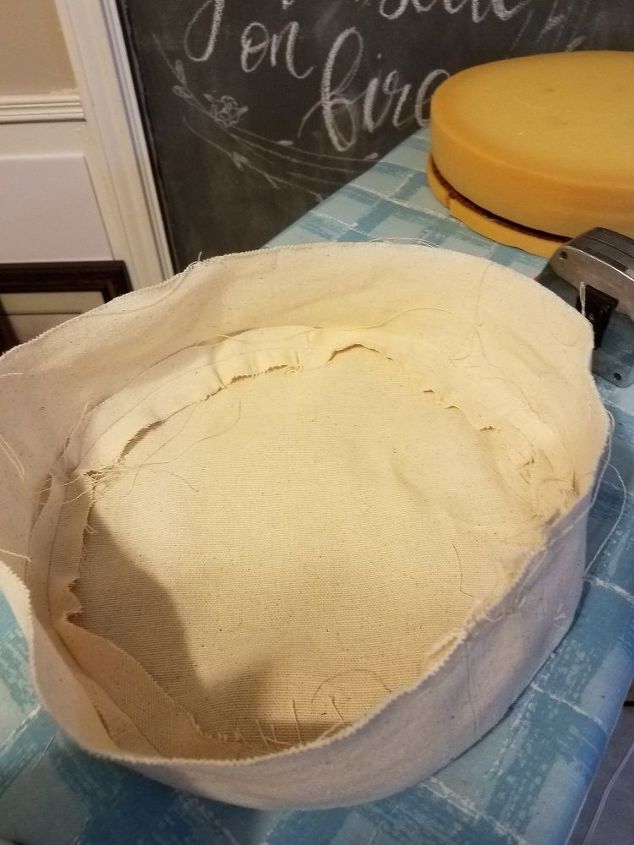
The cover was so nasty that I didn’t want it to touch my clean fabric, so I found a plate the right size after adding ⅝” seam allowances to the original size. I traced a circle around the plate, then carefully cut along the lines. Since there was no real pattern, I made sure that the plate was enough bigger than the finished cover to allow for seams. I didn’t try to duplicate the edging done in the original cover.
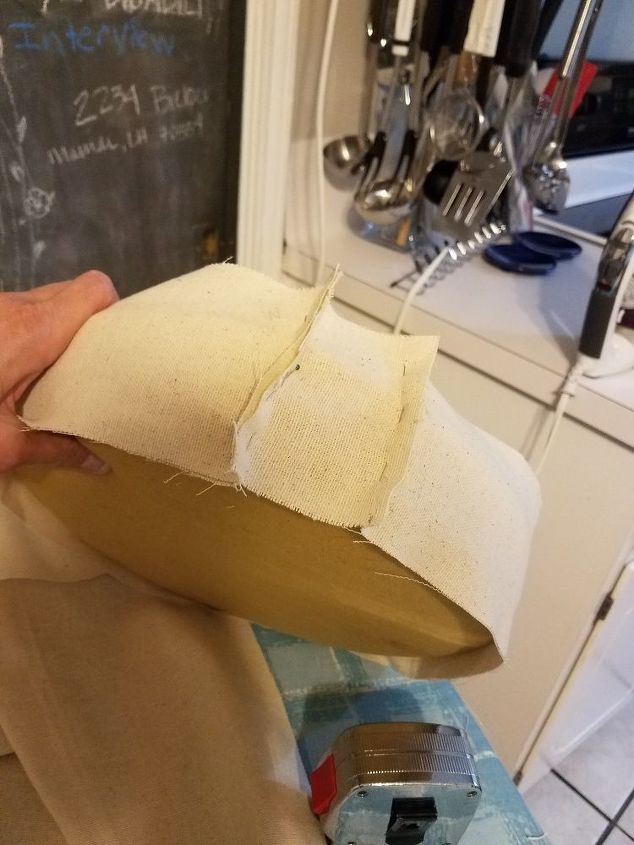
Turned inside out to measure
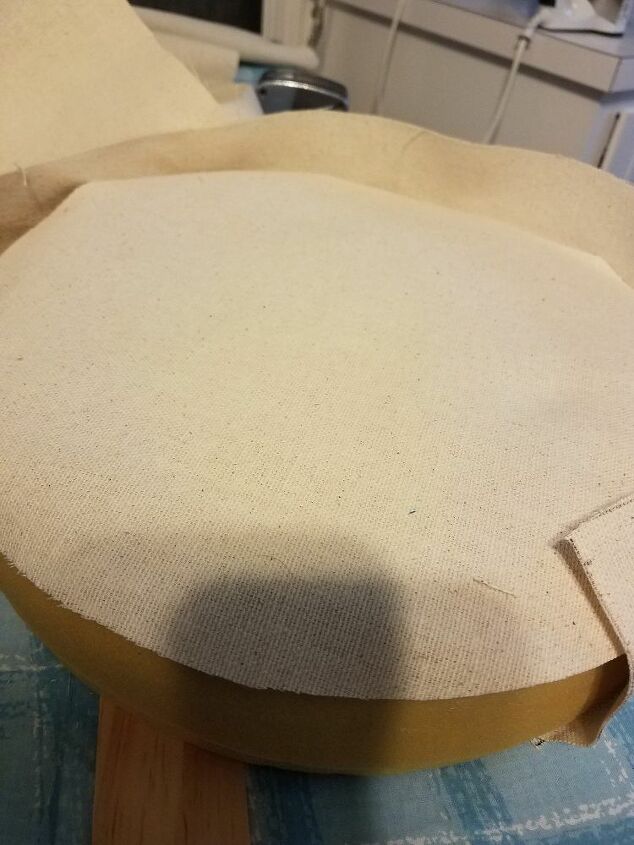
Made sure top covered cushion
For the sides, I measured around the circle that I had cut out using the plate.

OOPS!
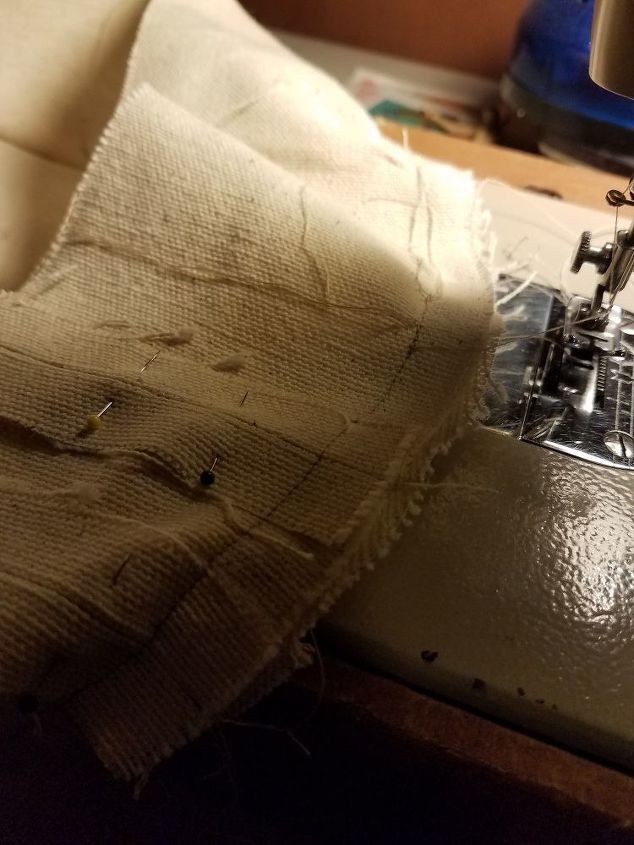
(I made a couple of mistakes here: I used a carpenter’s tape, not a sewing tape, so it wasn’t flexible. I ended up with a piece of fabric that was a couple of inches short of the needed length, so I had to splice it. In addition, I sewed the ends of the side piece together before I sewed it to the top. Because the fabric in a circle is so hard to sew in a straight line, I recommend changing the steps and not sewing the ends together until after the sides have been sewn to the top.)
Added extra piece
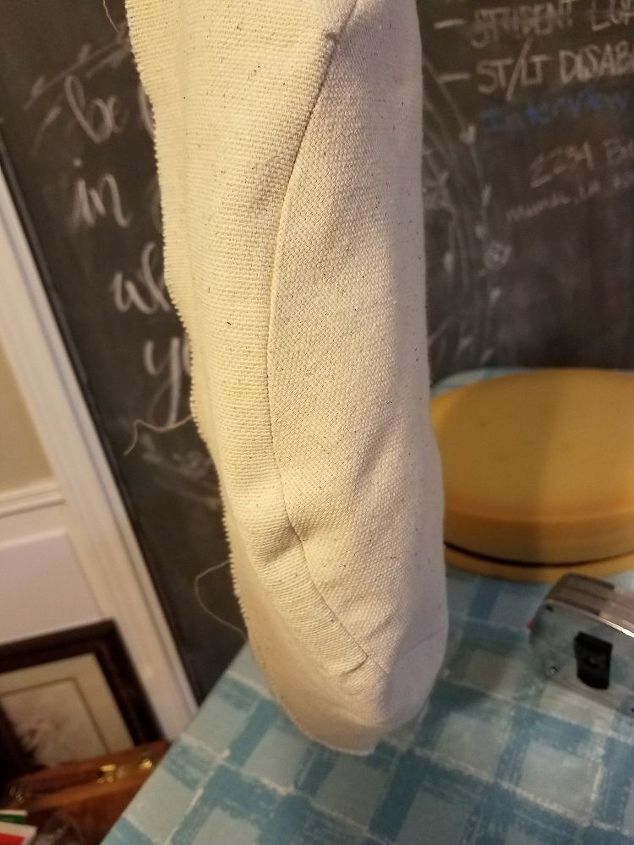
After I cut the splice to lengthen the sides, I sewed it to the ends of the side panel. I recommend leaving the ends unattached until the last step. Once these seams were finished, I pressed the flat with the steam iron.
Pinned to fit
Next, I carefully turned the right sides together (I marked the wrong sides while I was cutting the fabric. It will be easier to identify right sides when using patterned fabric.) I pinned the side piece around the outside edge of the circle. It’s important to place the pins in the ⅝” seam allowance, as this lets the fabric bunch the least.
Pinned side seams flat to sew
Once the entire circle was pinned in place, I carefully sewed the side to the top, following the markings for ⅝” on the machine.
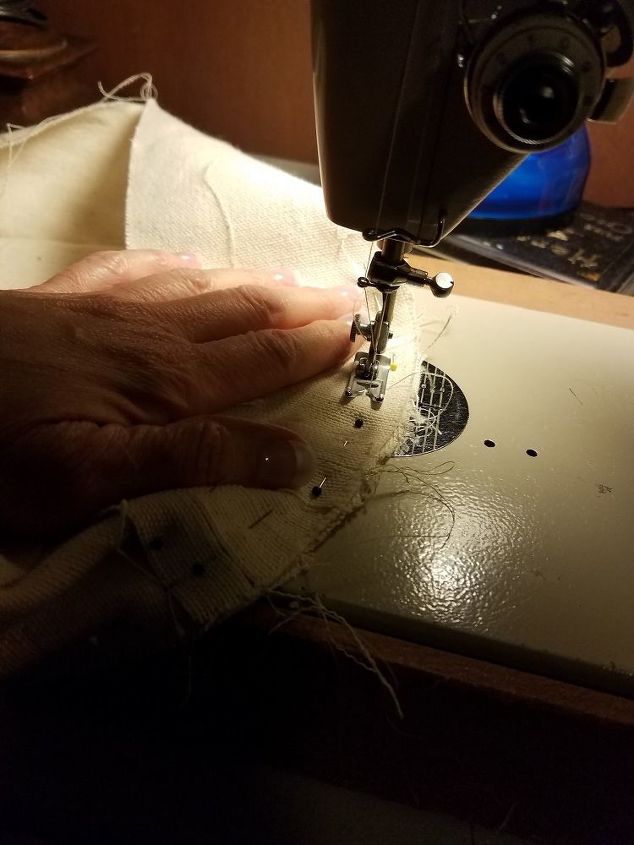
Careful of 5/8" mark
I had to turn the fabric about every inch to keep within my seam allowance.
There were a few puckers, which I believe could be avoided if I don’t sew the ends of the sides together next time. Thankfully, they don’t show once the cover is on the cushion. I went ahead and sewed the side seams flat so that they wouldn’t bunch up when I pulled it over the cushion.
Pressing seams
Once the sides and top were sewn together, I pressed those seam allowances flat. Don’t skip this step! It’s important so that your piece will have a nice, finished look. It makes the seams lie flat.
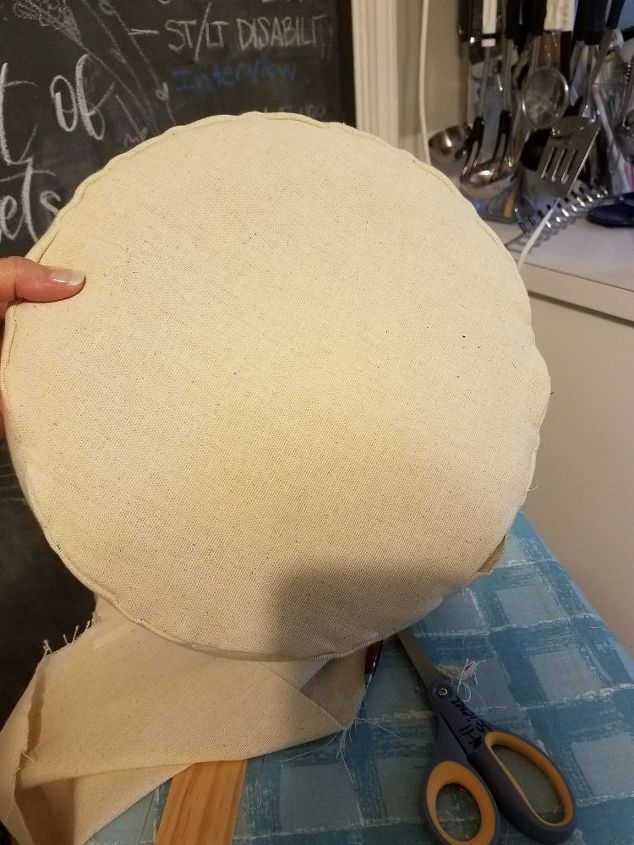
Seams ironed flat looks good
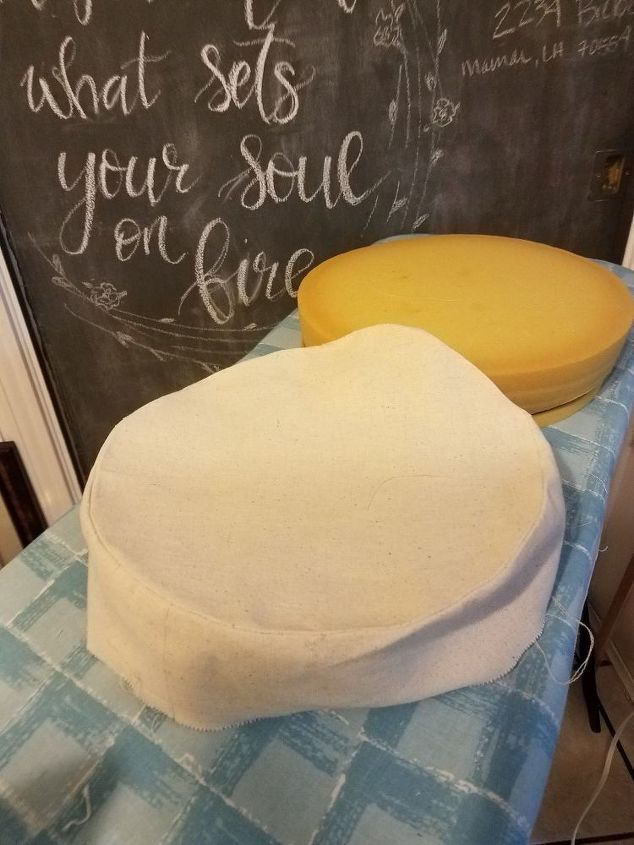
This is the finished cover before I put it all together. It looks like a cake! I try to make my tutorials as comprehensive as a recipe for baking.
I added a special touch, since I needed a project piece this week. Be sure to check out Beginners Stencil and Stool Experiment to see how everything turned out!
That’s basically it. I then pulled the finished cover over the cushion. It fit really well, especially since I didn’t have a pattern, and the cushion and base of the seat are different sizes. I love it when a piece comes together! I will definitely Scotch Guard this seat cover!
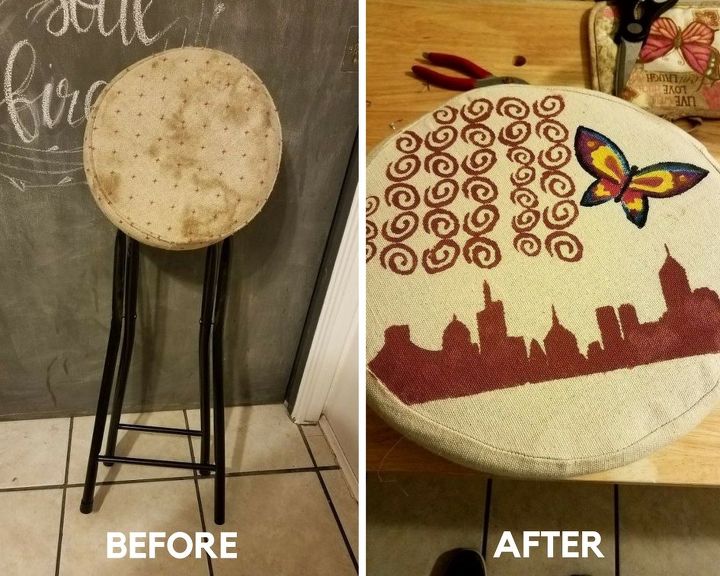
I added a special surprise. I forgot to take an after picture once I finished sewing it all together before I added the stencils.


Frequently asked questions
Have a question about this project?