


Shabby Chic Stools With Image Transfer
3 Materials
$10
3 Days
Easy
These re-purposed stools were well worn and needed updating!
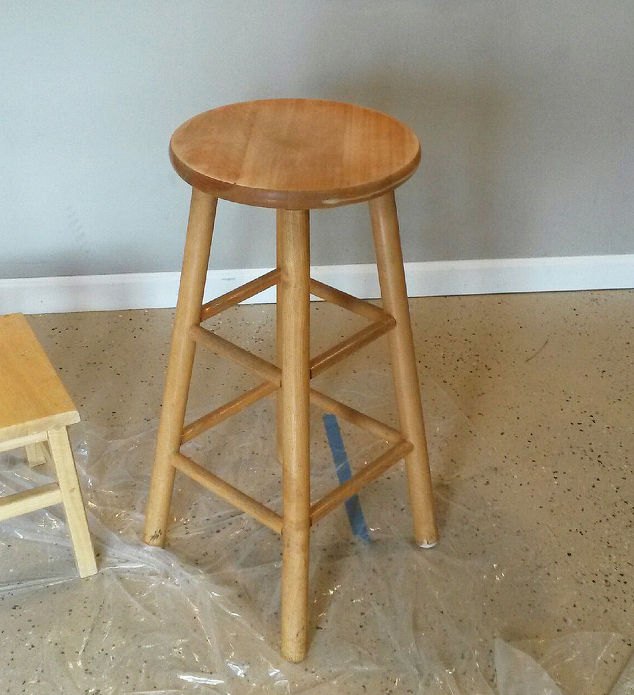
Here is one of the stools before I started. It wasn't in terrible shape, but it really needed an update. The bottom of the legs, especially, were terribly beaten up and showed the wear of time.
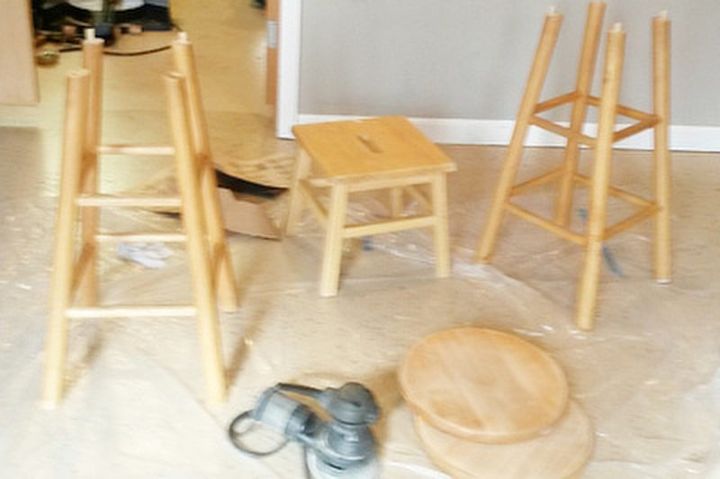
Step 1:
Remove the seats from the legs. This will make it easier to give it a light sanding all over. It's important to sand so that, when you go in later with the paint, everything adheres properly (you wouldn't want your paint to slip off all over the place!) It also helps remove that top layer of dirt and grime that inevitably collected over time.

Steps 2 + 3:
The next step is to paint everything. I don't have this photo, but the painting is pretty simple. Just make sure to get into all the nooks and crannies. These stools were given 6 coats of matte paint. Make sure to let the stools dry in between coats so you avoid bubbles!
Tip: If you want to go for that distressed look that is super trendy now, this would be the time to break out the sandpaper.
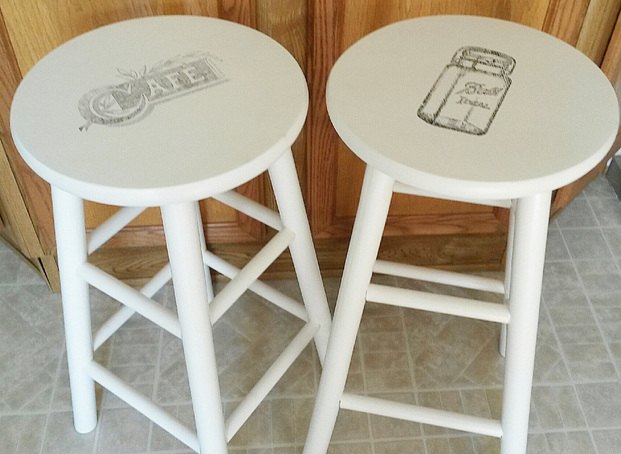
Now comes the fun part! Once the stools are completely dry, it's time to do the image transfer. You'll need freezer paper, ink jet paper and your image. These are from The Graphics Fairy.
- Get an image you would like and make sure to flip the image horizontally before printing on freezer paper or wax paper. I have a wide-format printer but an image will work on any regular ink-jet printer. The freezer paper must be cut precisely the size of your paper and attached to a piece of paper (so you can run it through the printer). I use either doubled sided tape or spray adhesive to attach together.
- Print and carefully remove the freezer paper, handling the printed side carefully as the ink will be very wet and will smudge easily.
- Place the ink side face down on the seat and use a brayer (spoon, ice cream stick, your finger) to transfer the image. I sometimes will tape the transfer so that I can lift the image up to see if the image is dark enough, if not continue to use your brayer until you get the look you want.
- At this point you can wipe off the paper for use again.
- The transfer will be wet for awhile. Let it cure for a few days
Step 4:
Finally, once everything was dry, I gave them a coat of Krylon triple thick crystal clear glaze for durability.
Tip: This also makes them a lot easier to clean!
And that's it! Super simple!

Want more details about this and other DIY projects? Check out my blog post!


Frequently asked questions
Have a question about this project?